
For today’s Insider, I would like to share with you how I painted the new Razorbat Vehicle for the Marcher Worlds Faction of Warcaster: Ne-Mechanika—Collision Course!
Step 1: Prep work
As with any model the first thing is cleaning, assembling and priming the model.
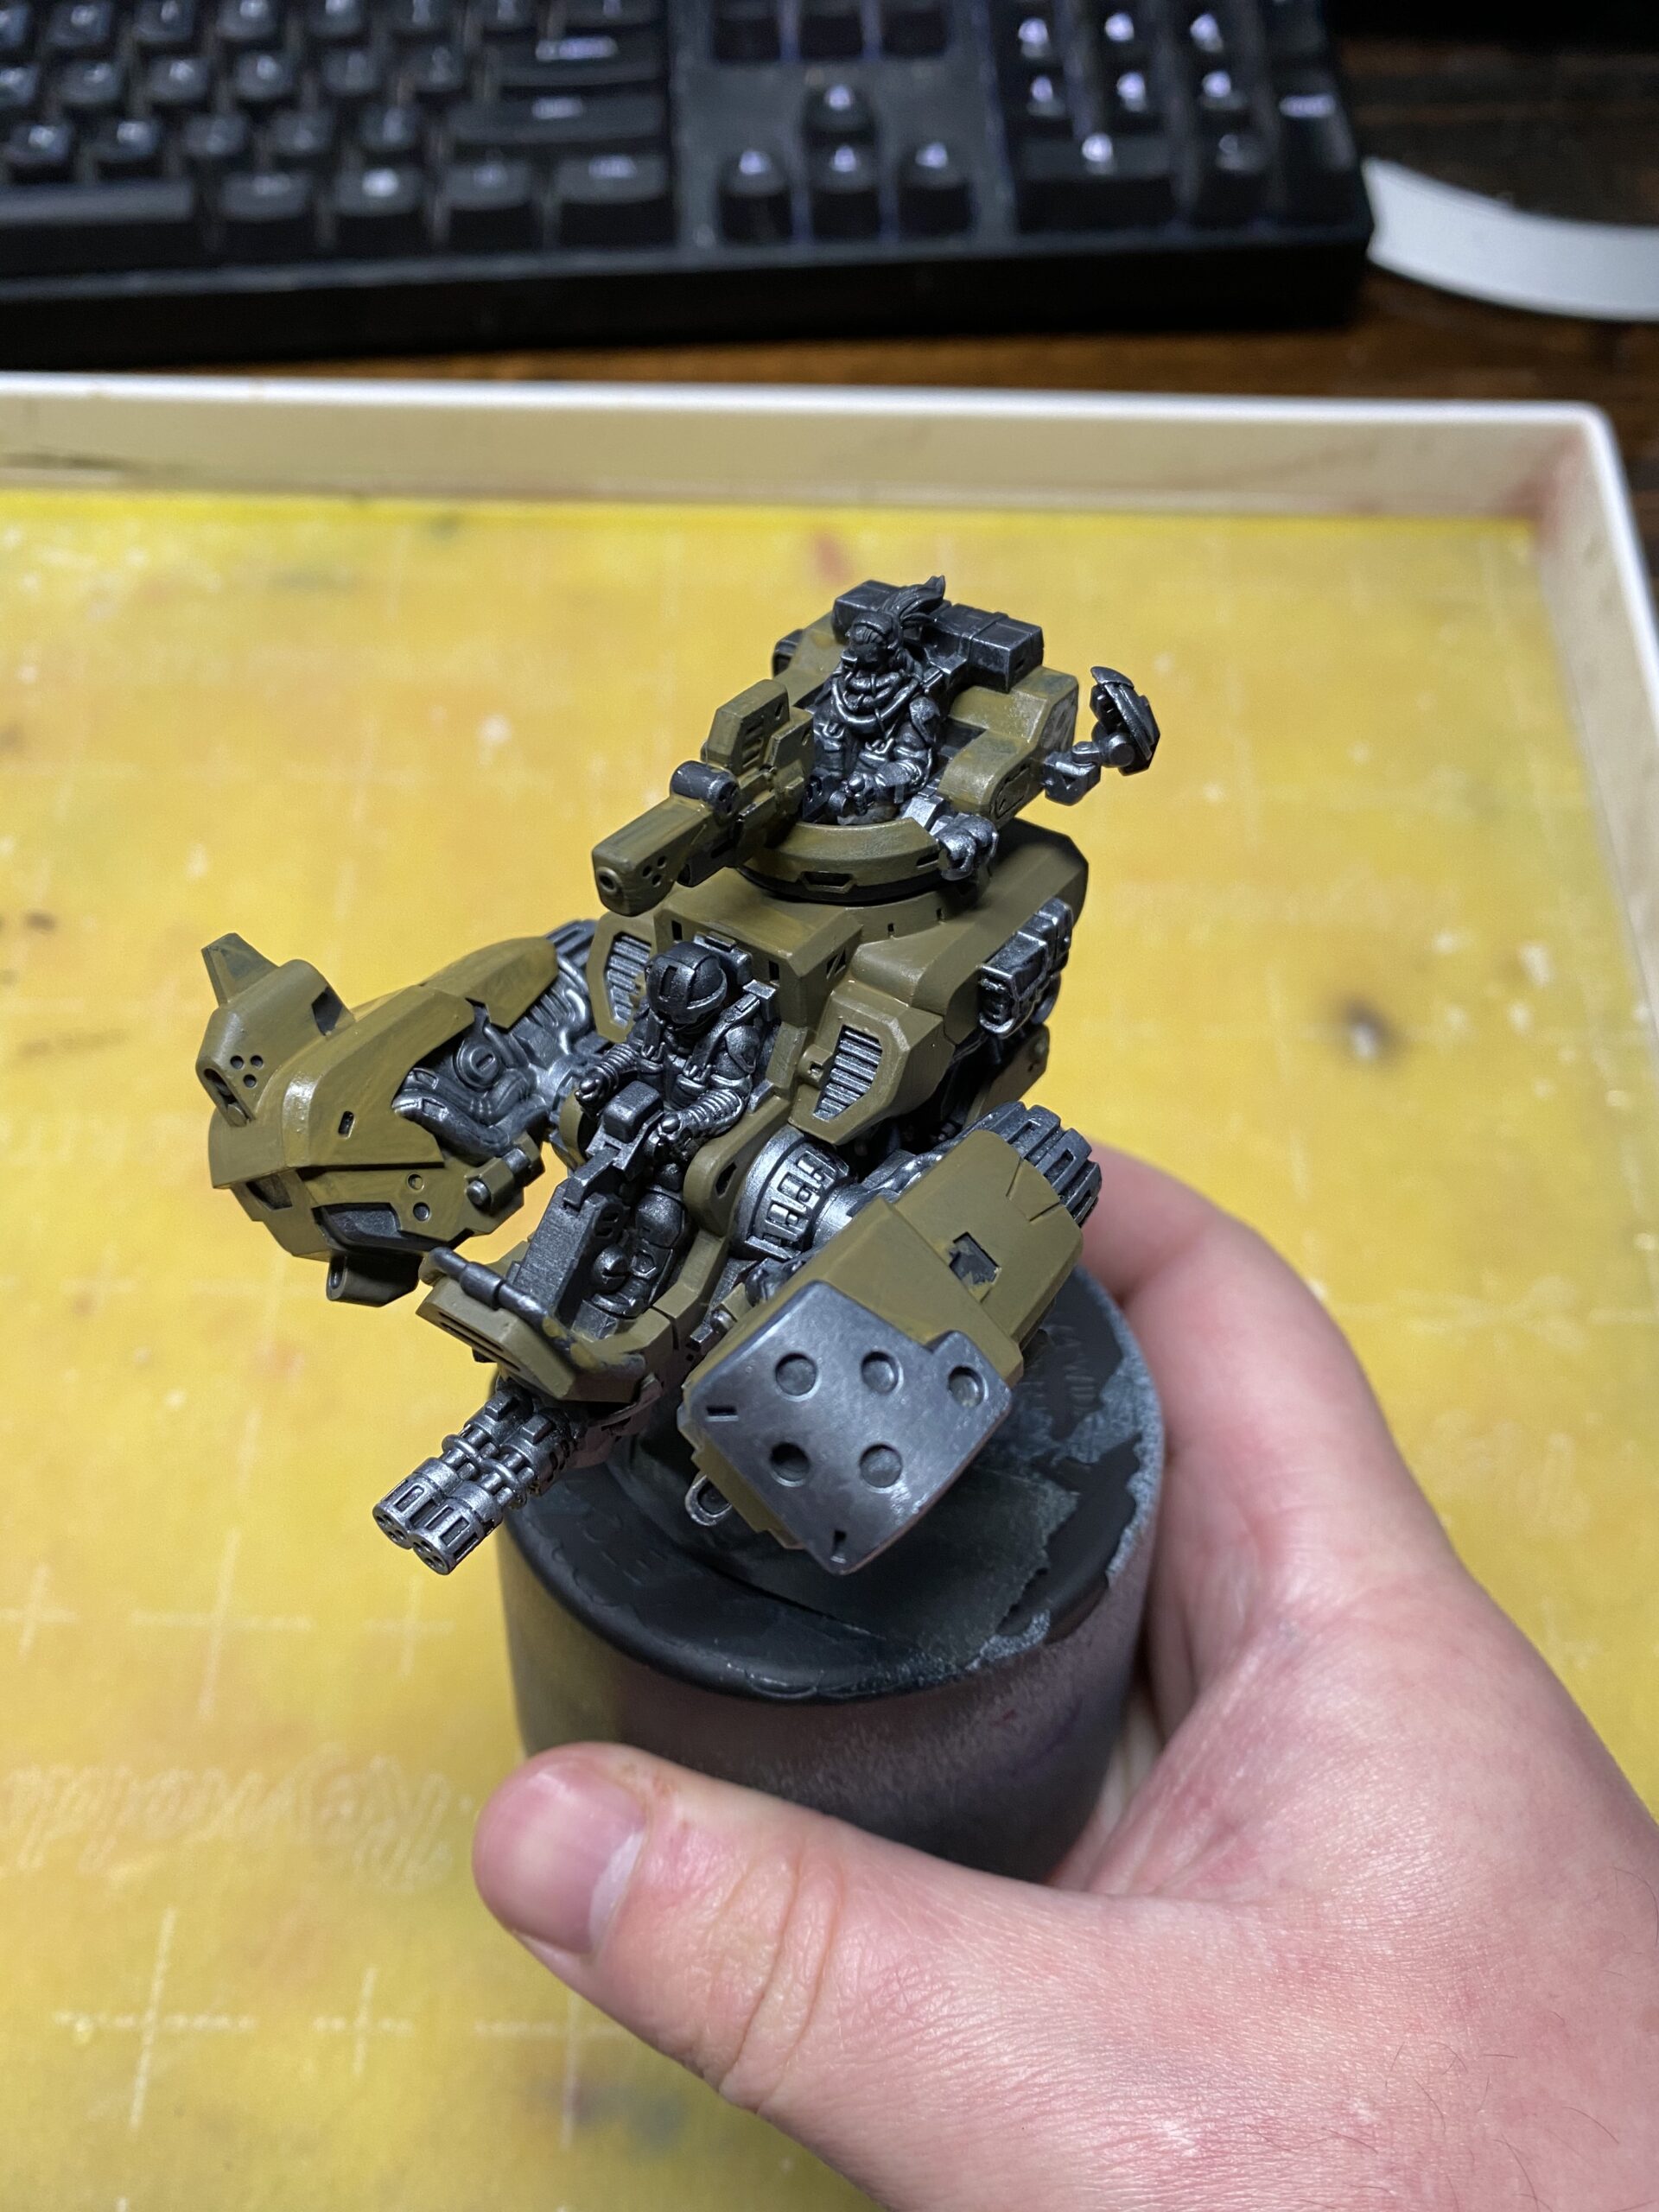
Step 2: Metal basecoats
With any model that has this much exposed metal, the easiest way to start is to drybrush the metal with a couple of stages of highlights to finish the bulk of the metal.
For this step, I drybrushed one layer of Boiler Black and a highlight of Cold Steel over the surfaces that would end up being metal. As always, I tried to avoid as much over-brushing into parts that aren’t metal as possible, but it’s not a big deal if you go a little overboard.
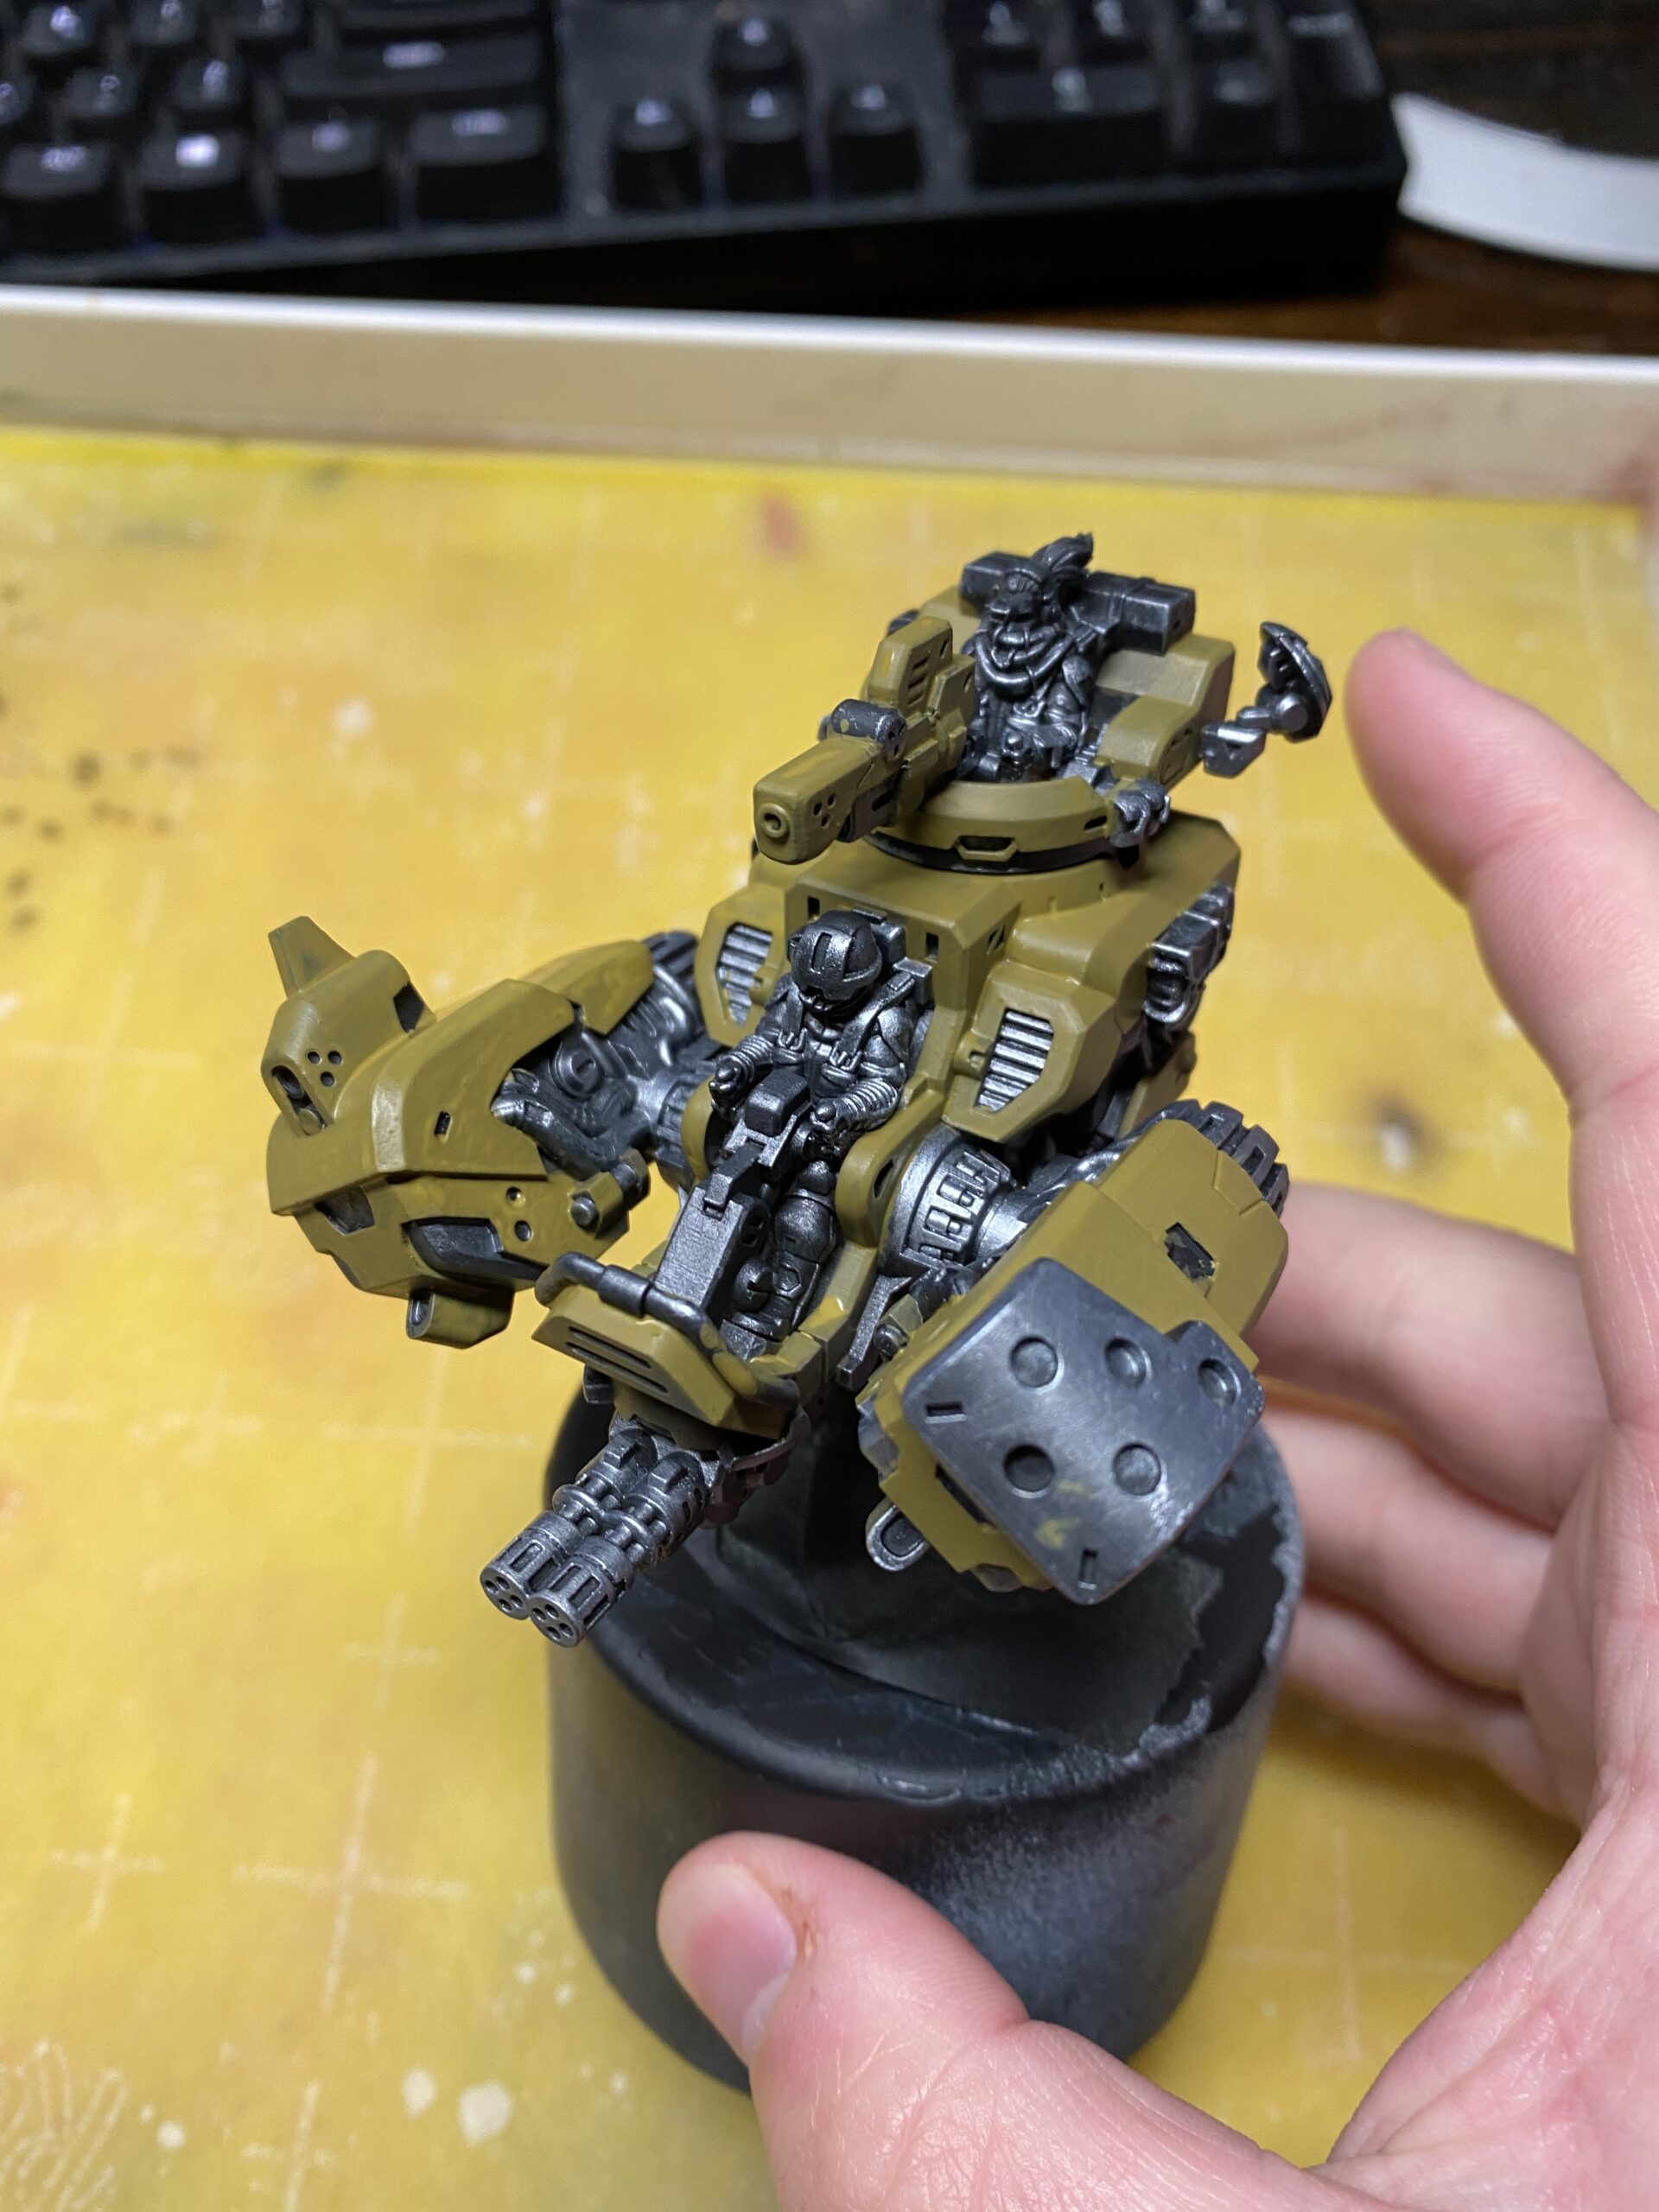
Step 3: Painting the ochre armor
There are a couple ways to approach painting this armor. One would be to mask off the parts that will not be ochre and airbrush the layers of color over the unmasked portion. Unfortunately, I don’t have an airbrush set up at the moment (as I am working from my home office), so I had to go with option 2, which is to build up layers of color starting with the shade colors to build a strong opacity with as few coats as possible.
You can see here that I’ve manually painted on a few layers of Thornwood Green on all the parts of the model that will eventually be ochre. I use colors with similar undertones to the main color so that it will have better coverage and take less coats of paint.
In this image, I’ve added one of our new unreleased paints, Bile Thrall, to the Thornwood Green to brighten up the model. You can use a ratio of about 2:1 Battledress Green to Moldy Ochre as an interim replacement if you are trying to follow along.
This next step is just pure Bile Thrall over the previous layers.
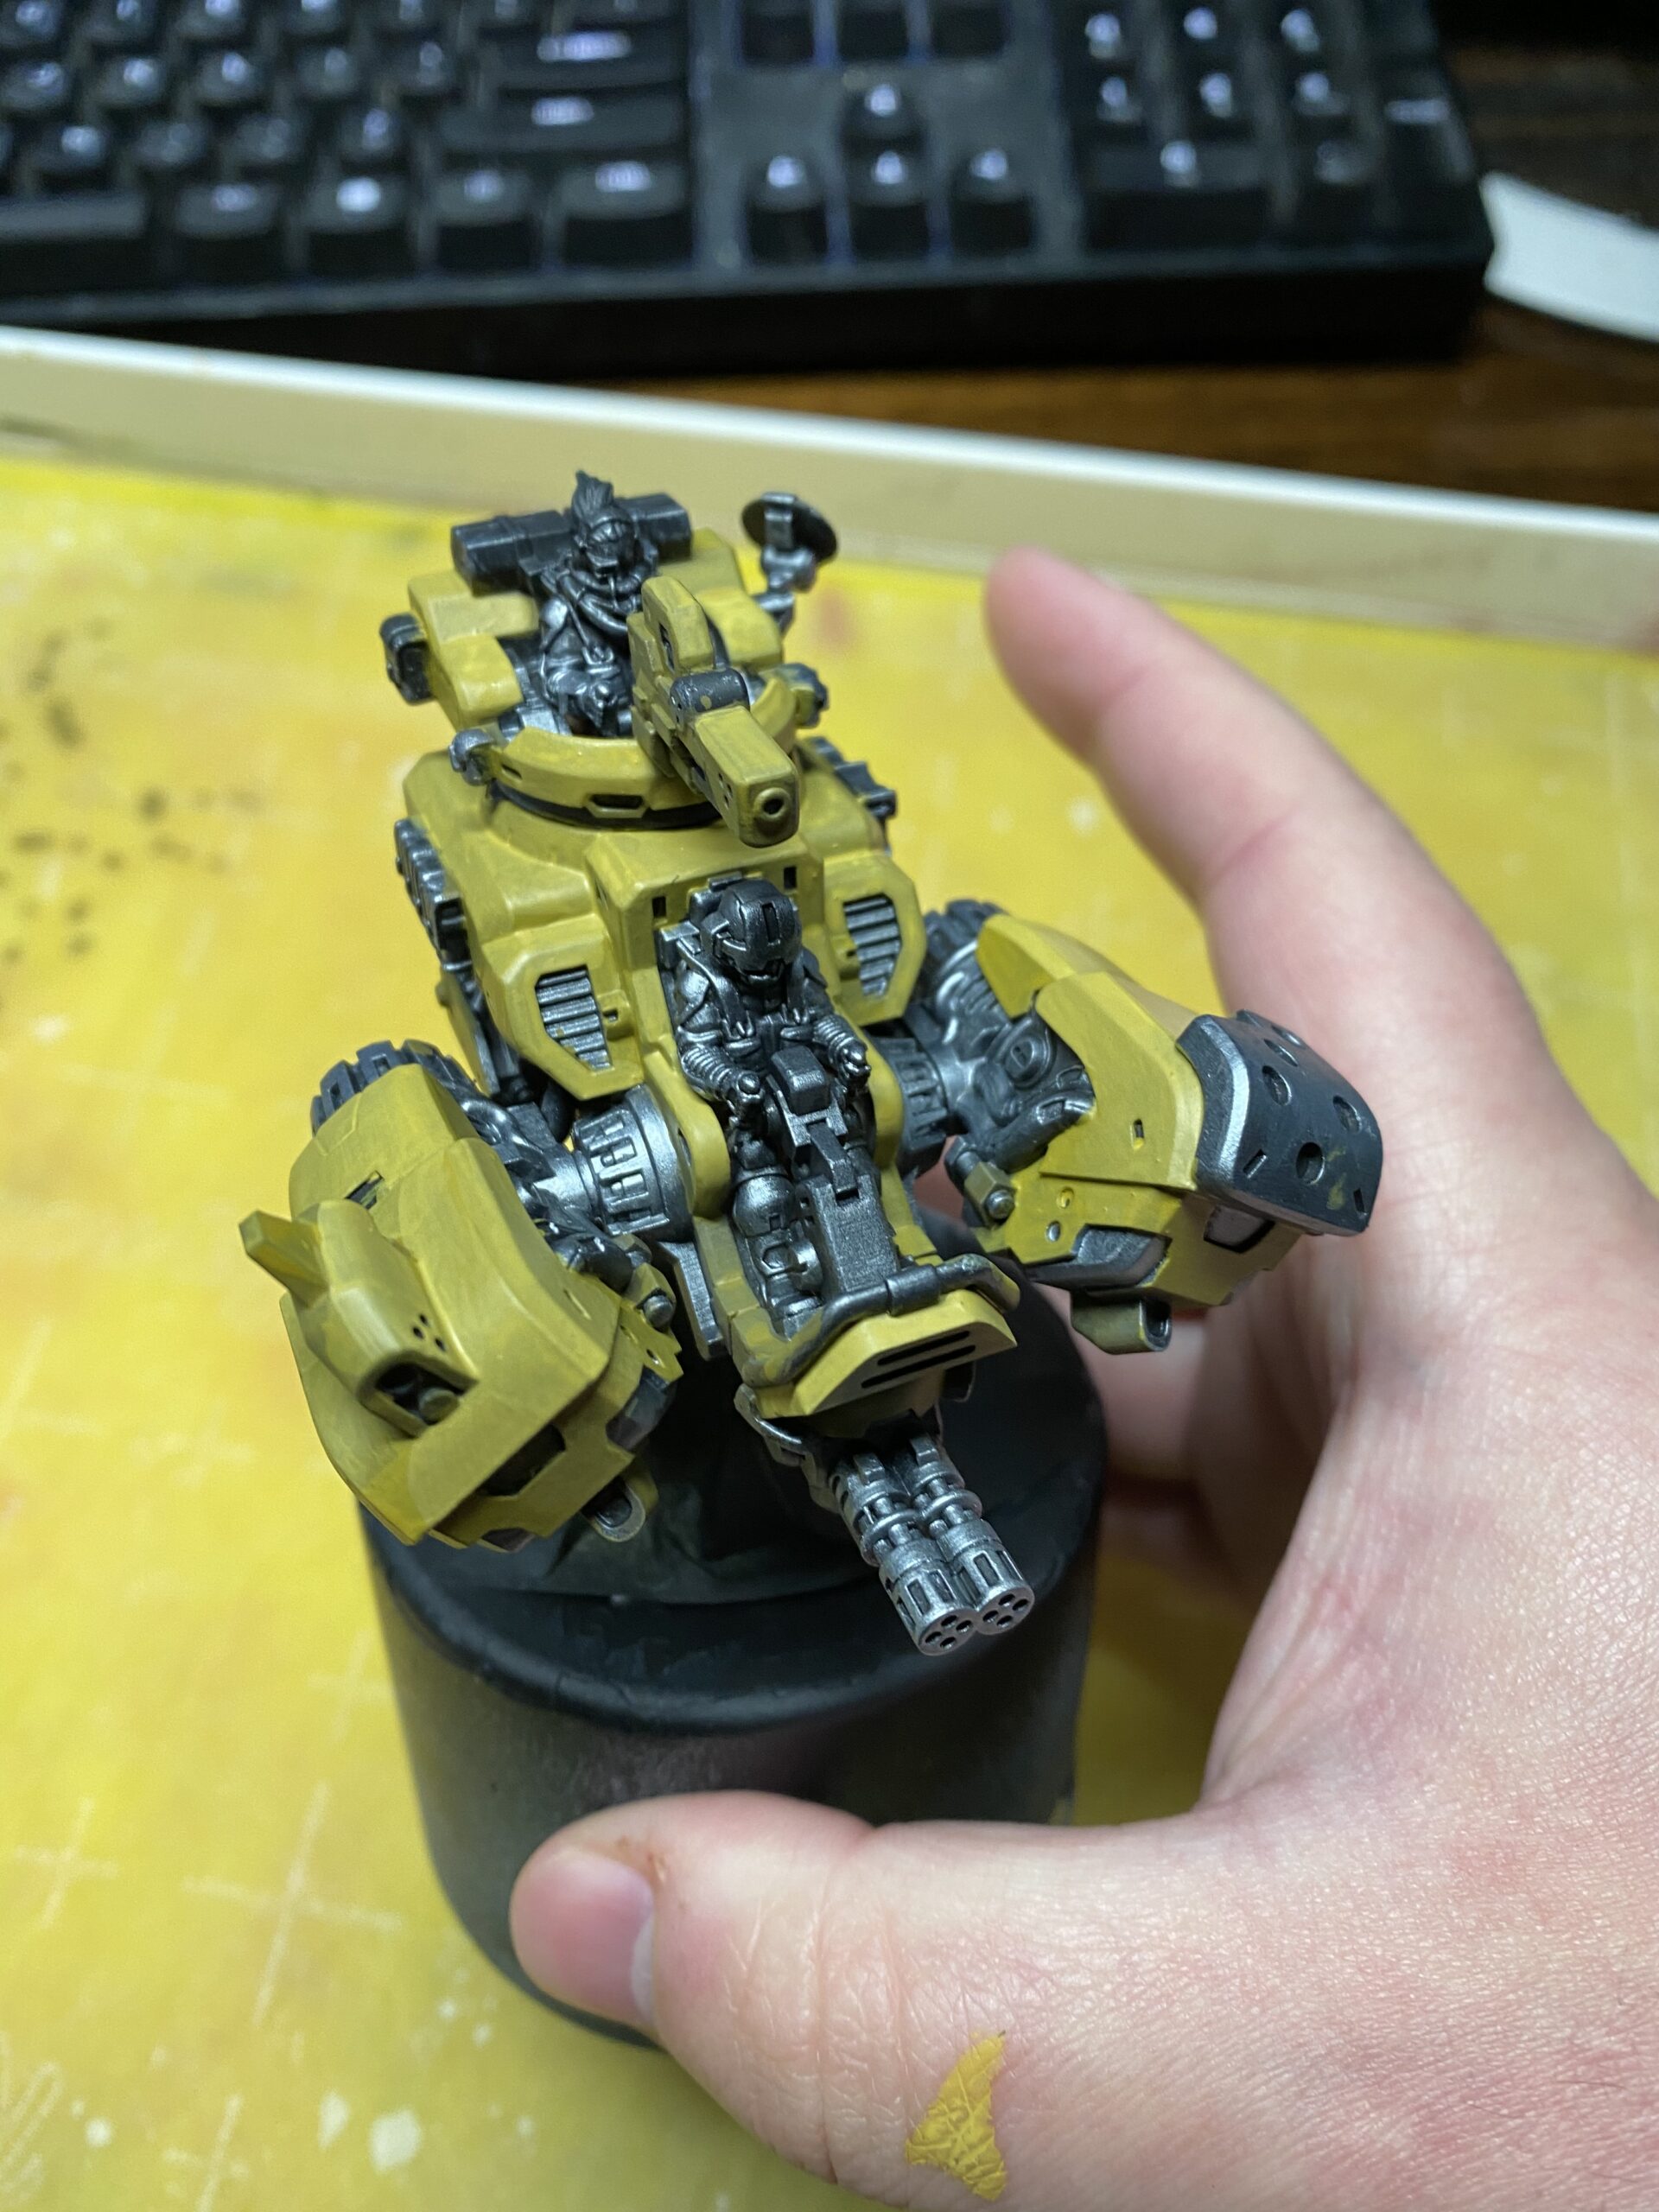
This is where we start highlighting, trying to define the edges of the armor plating. I used a mixture of Bile Thrall and Menoth White Highlight to achieve this first highlight layer.

Next, I redefine some of the shading to build contrast between individual shapes of the armor. I’m adding the Bile Thrall and Menoth White Base mix to these areas and further shading after with pure Bile Thrall.
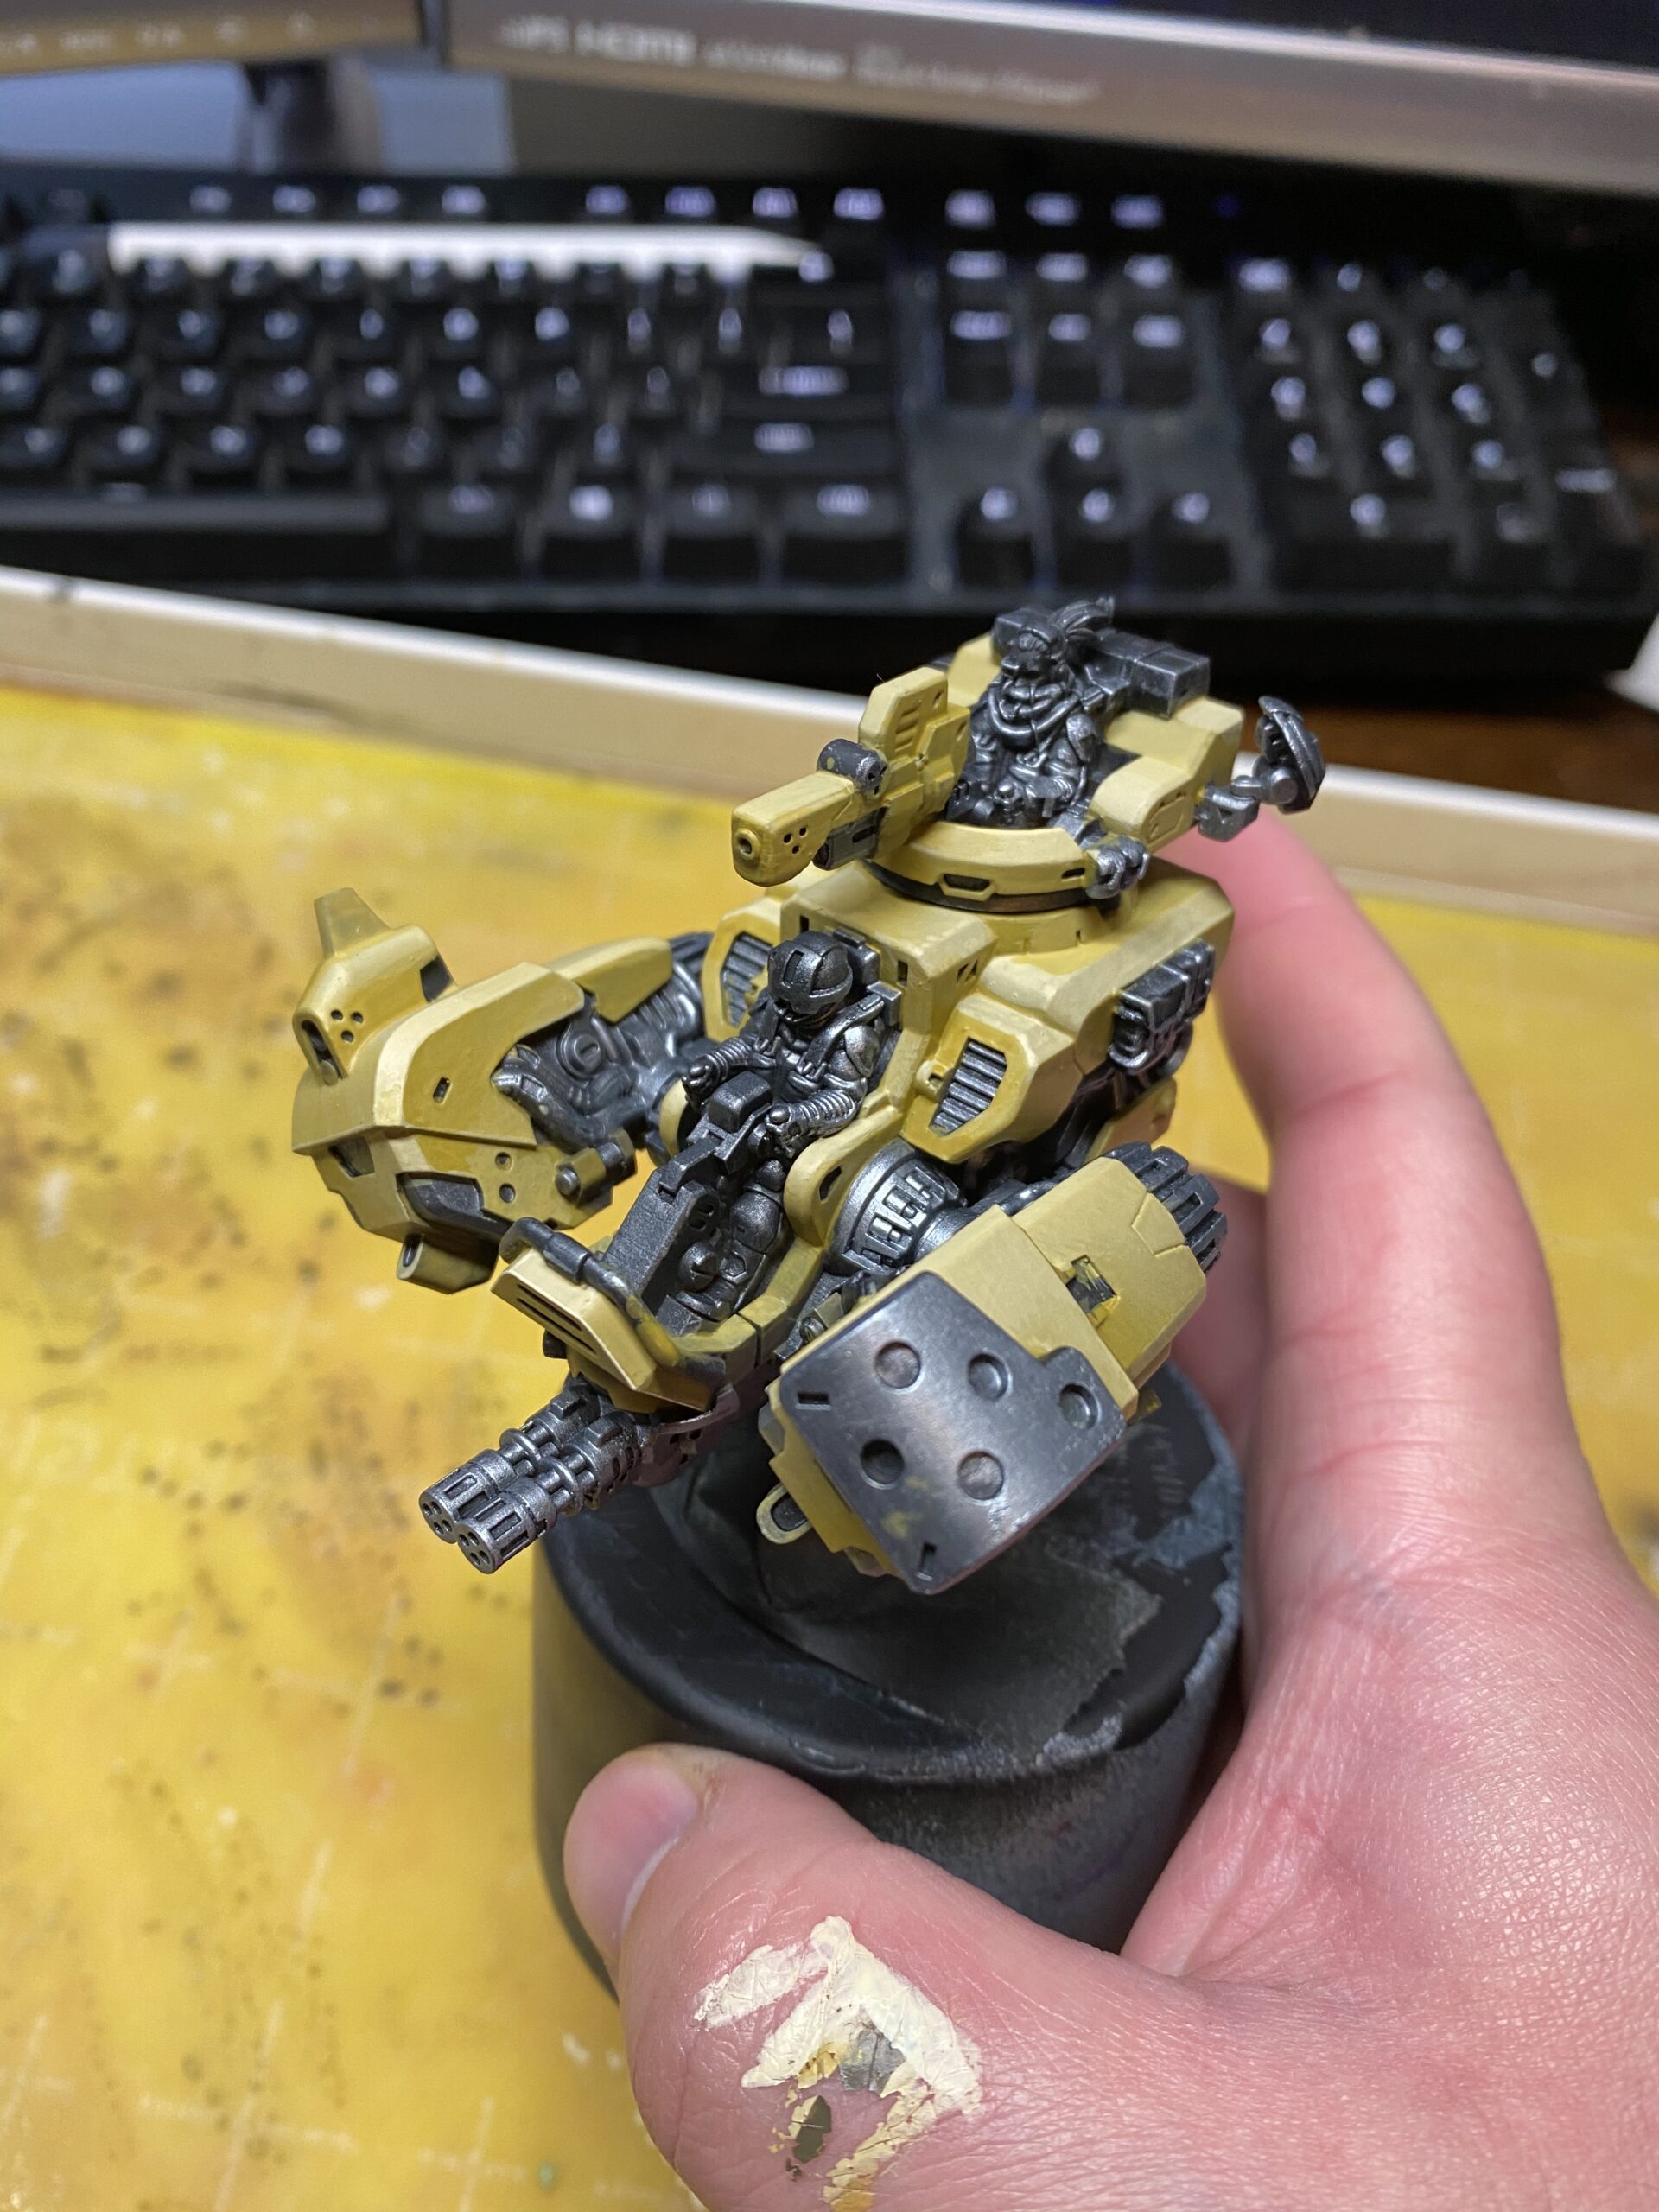
This is the last step for the armor plates, and it’s mainly just touch-up spots and edge-highlighting with Menoth White Highlight. This is a great time to go over the areas to make sure you haven’t missed any spots or if you need to smooth out some color transitions. I also take the time while I’m working with the Menoth White Highlight to paint in all the areas that will be glowing blue. This provides a good surface for the blue in the next step.

Step 4: Painting the remaining elements
This is when the rest of the model gets built out—basecoating the drivers, bags, glow, and darklining to separate all the different items.
The glow is painted with Voltaic Blue, which is a new paint. You can get a close approximation by using Cygnar Blue Highlight and Morrow White together. (This mix will be lacking a bit in saturation but will look similar.) It’s further highlighted with Menoth White Highlight and Voltaic Blue then Menoth White Highlight.
The green cloth is a mixture of Gnarls Green and Mage Hunter Green.
Highlighted with Mage Hunter Green then further highlighted by adding Trollblood Highlight to the previous color.
The brown leather bags are painted with Battledress Green, shaded with Umbral Umber, and highlighted with Battledress Green plus Trollblood Highlight.

Once all these are done and you go over the model and fix small mistakes, we paint the base!
Step 5: Painting the Base!
The base is painted by wet blending Coal black, Skorne Red, Khador Red Highlight, and Heartfire together. The thicker your paint application and more layers you apply, the more saturated it gets.
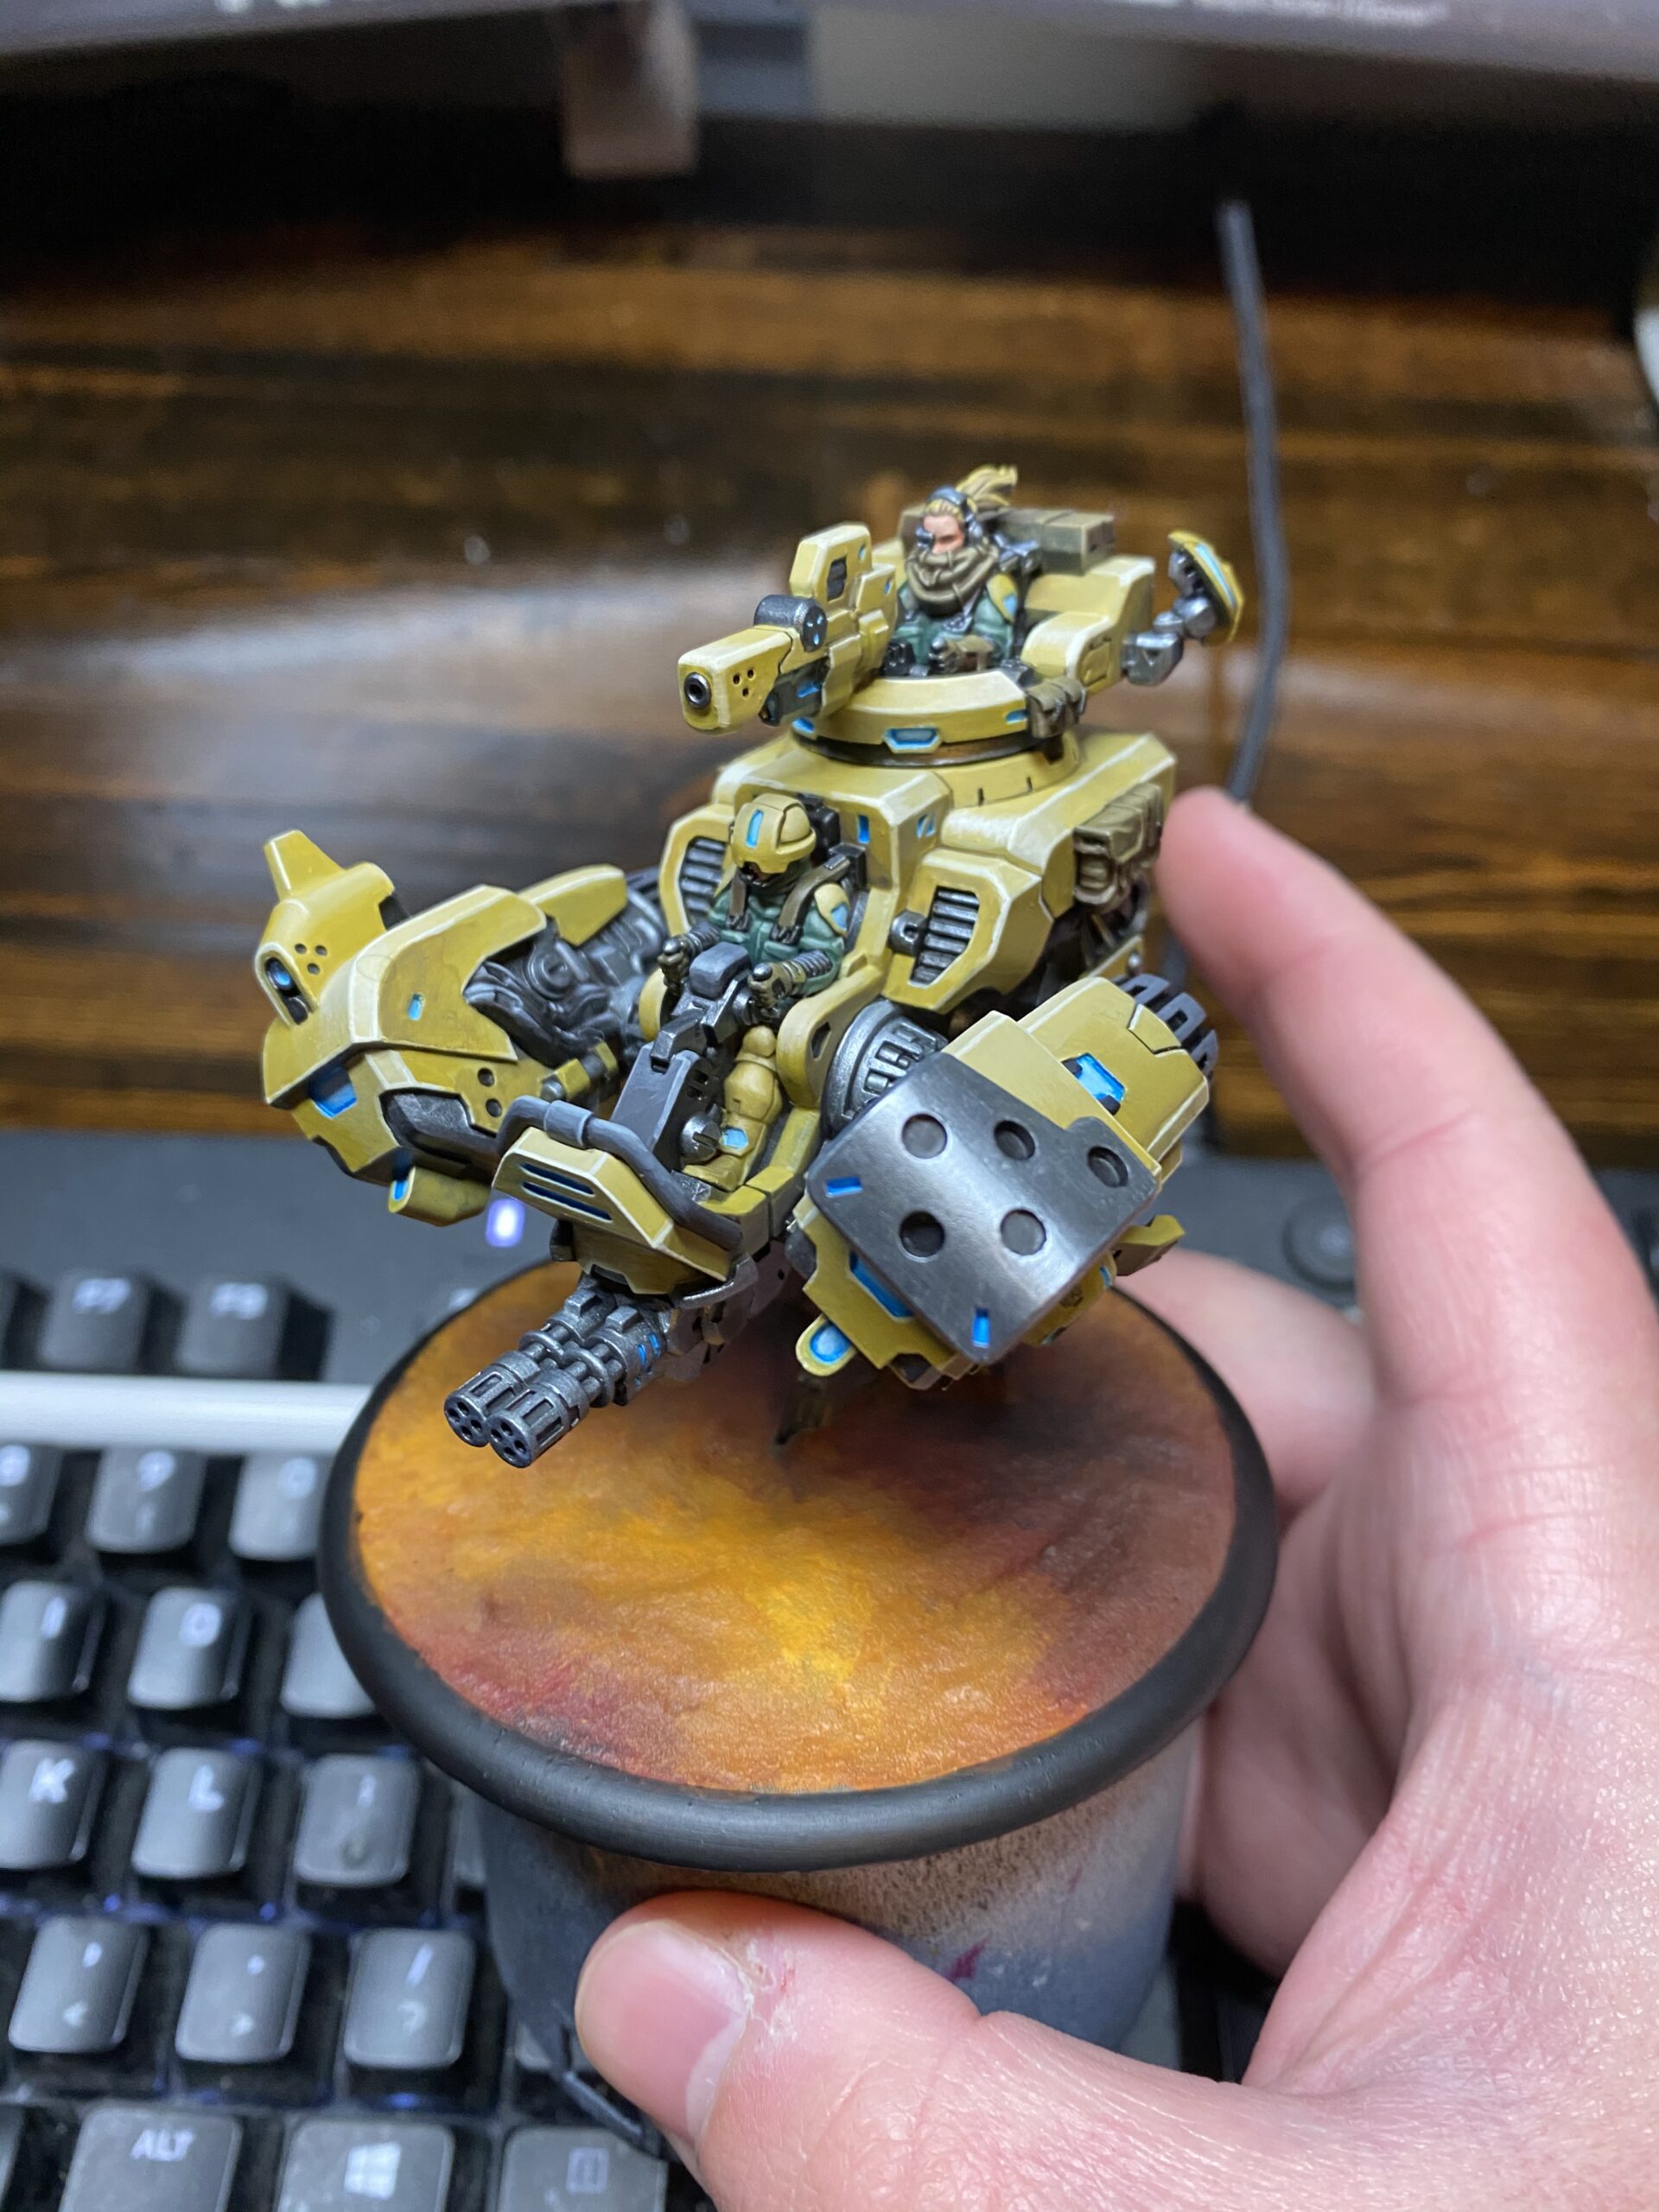
And there you have it! Thanks for checking out my paint tutorial—I look forward to seeing everybody’s painted-up Razorbats!

Warcaster: Collision Course is being brought to life through the pledges of our backers and community, you can join in through November 5th at https://www.kickstarter.com/projects/privateerpress/warcaster-collision-course