Hey, all, Danny here, art director at Privateer Press! Today, I’m going to walk you through one of my favorite activities: CARVING STONES! Stones are a great addition to any gaming table and super fun and easy to make.
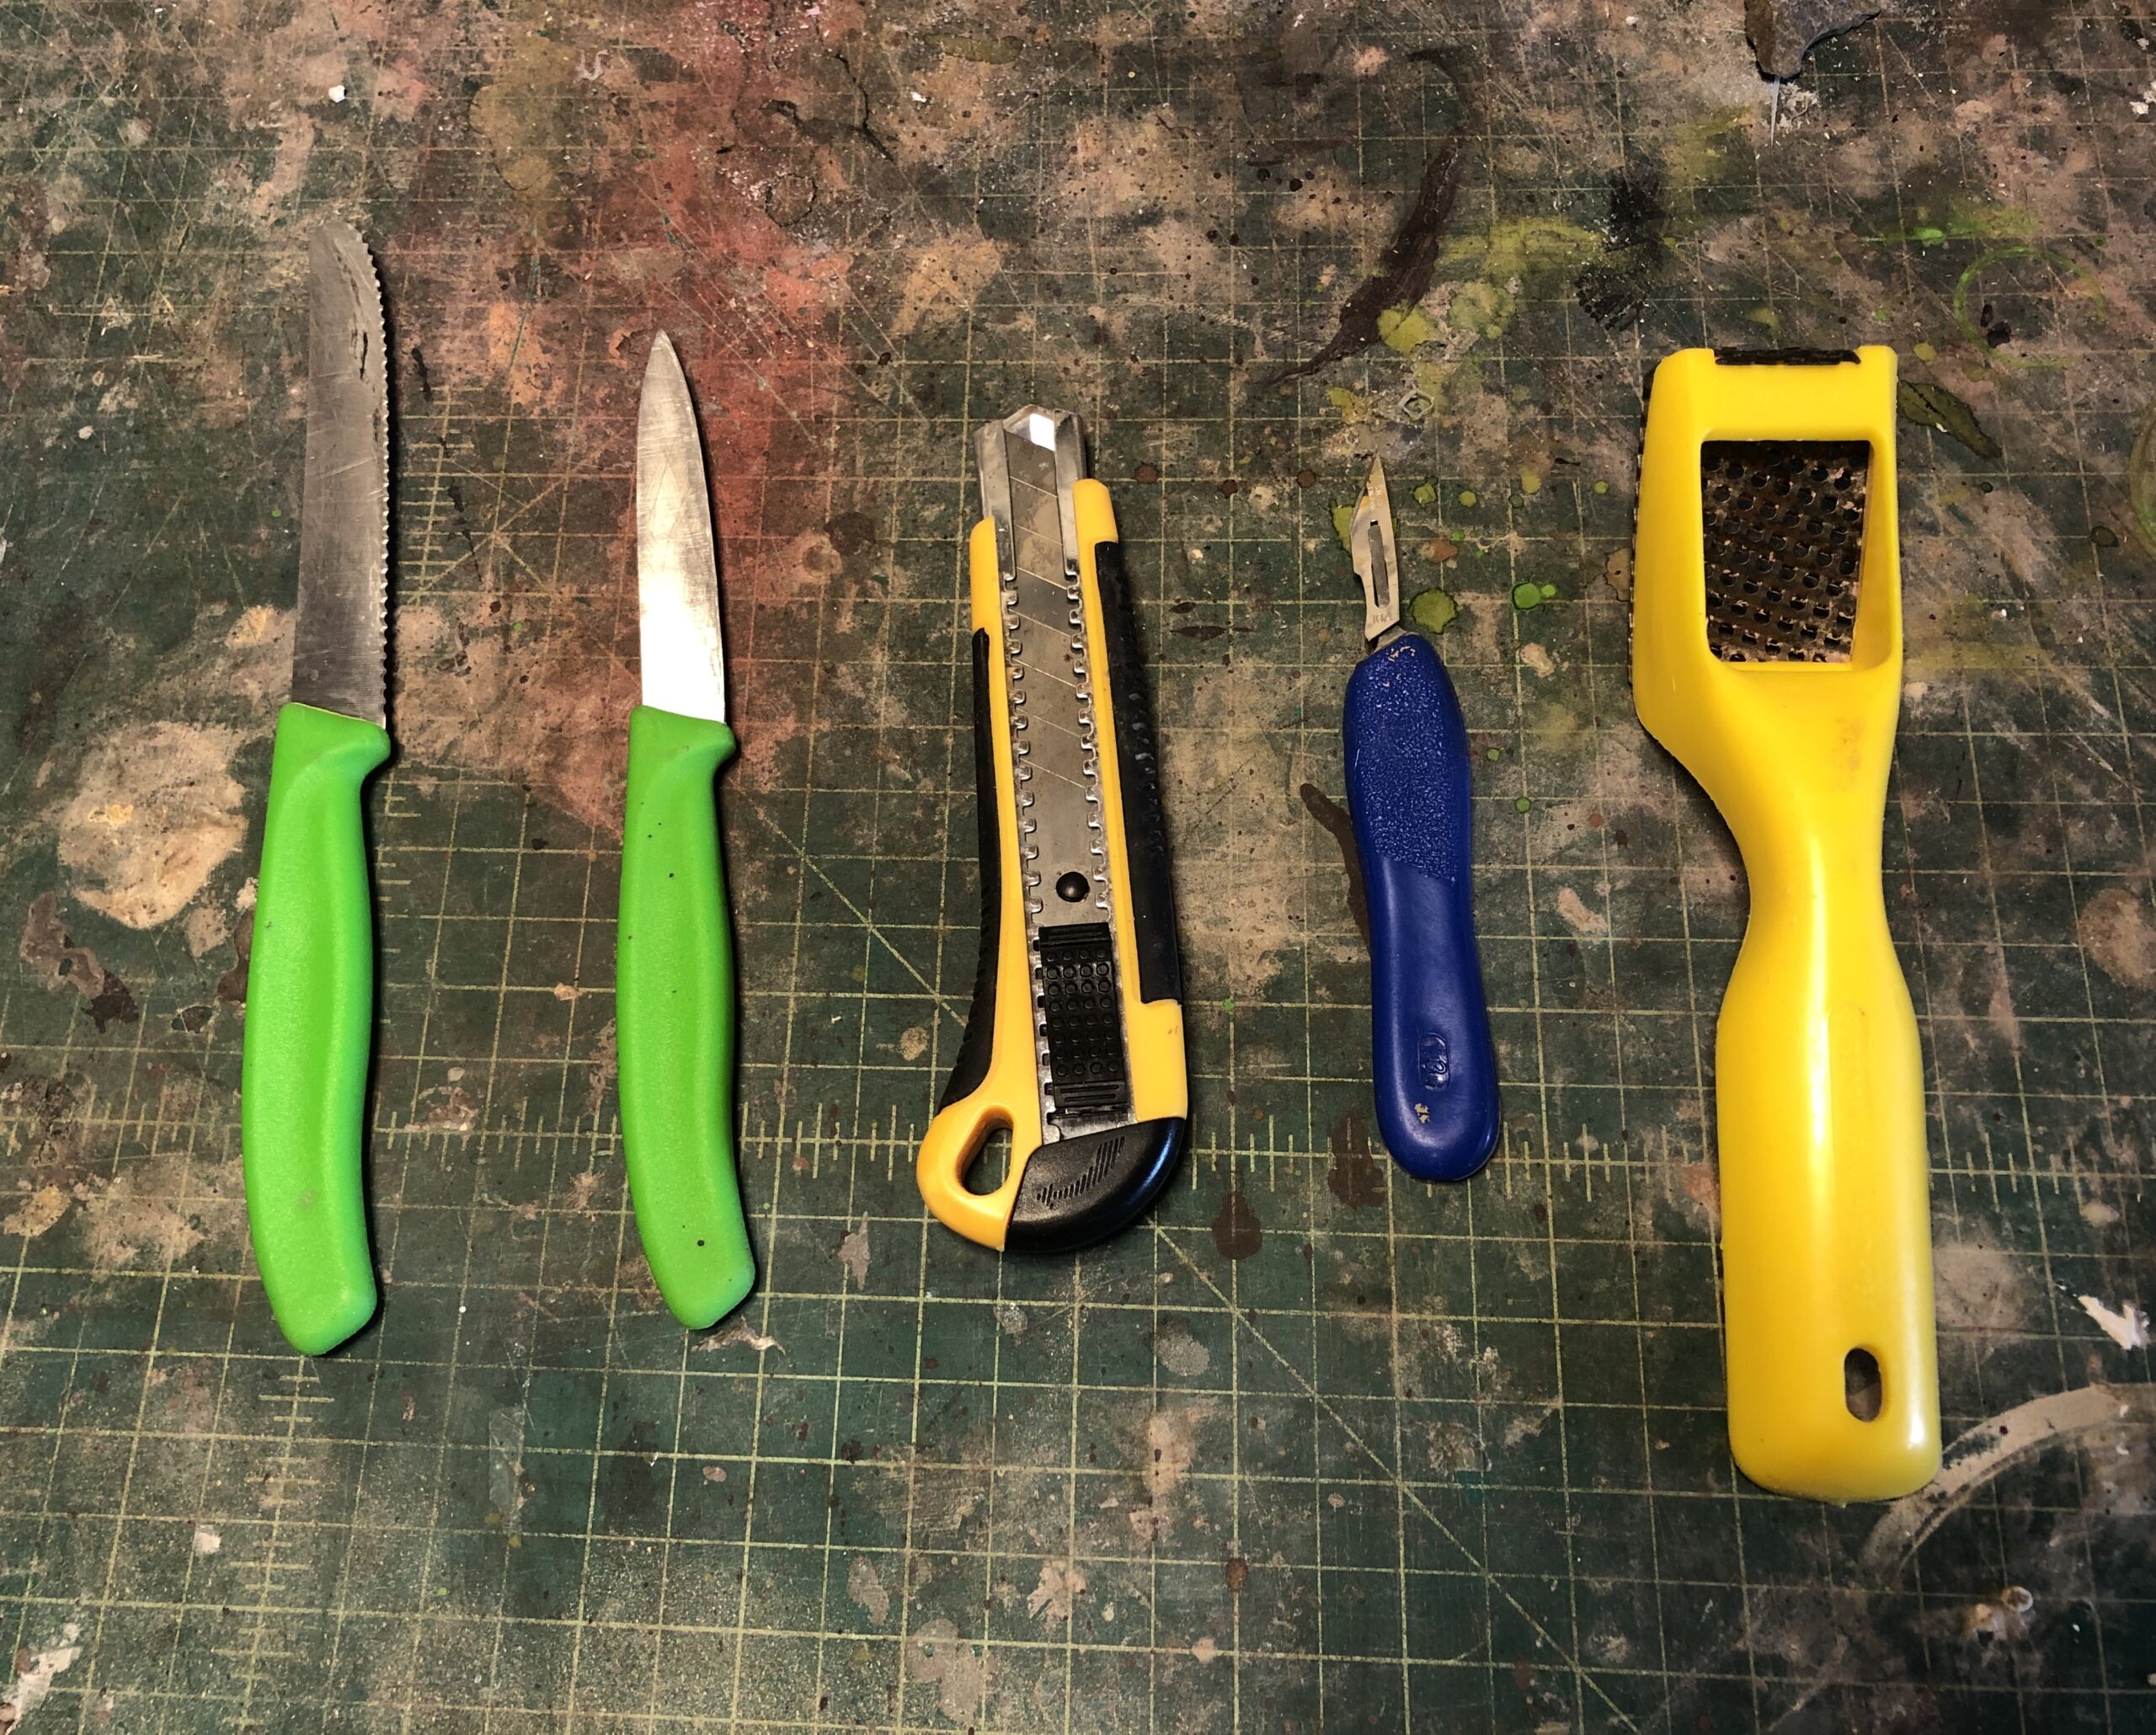
Here are my most reliable tools; I use the green-handled knives the most. One is a bread knife, and the other is a regular ol’ paring knife. I use the bread knife for roughing out main forms, then I work the finer, cleaner shapes with the paring knife. I enjoy a paring knife more than a large snap blade because I like to be able to sharpen my knife when it gets dull. I use a scalpel for fine details and a surform rasp if I have to rough out large round stones or do bits like cave interiors.
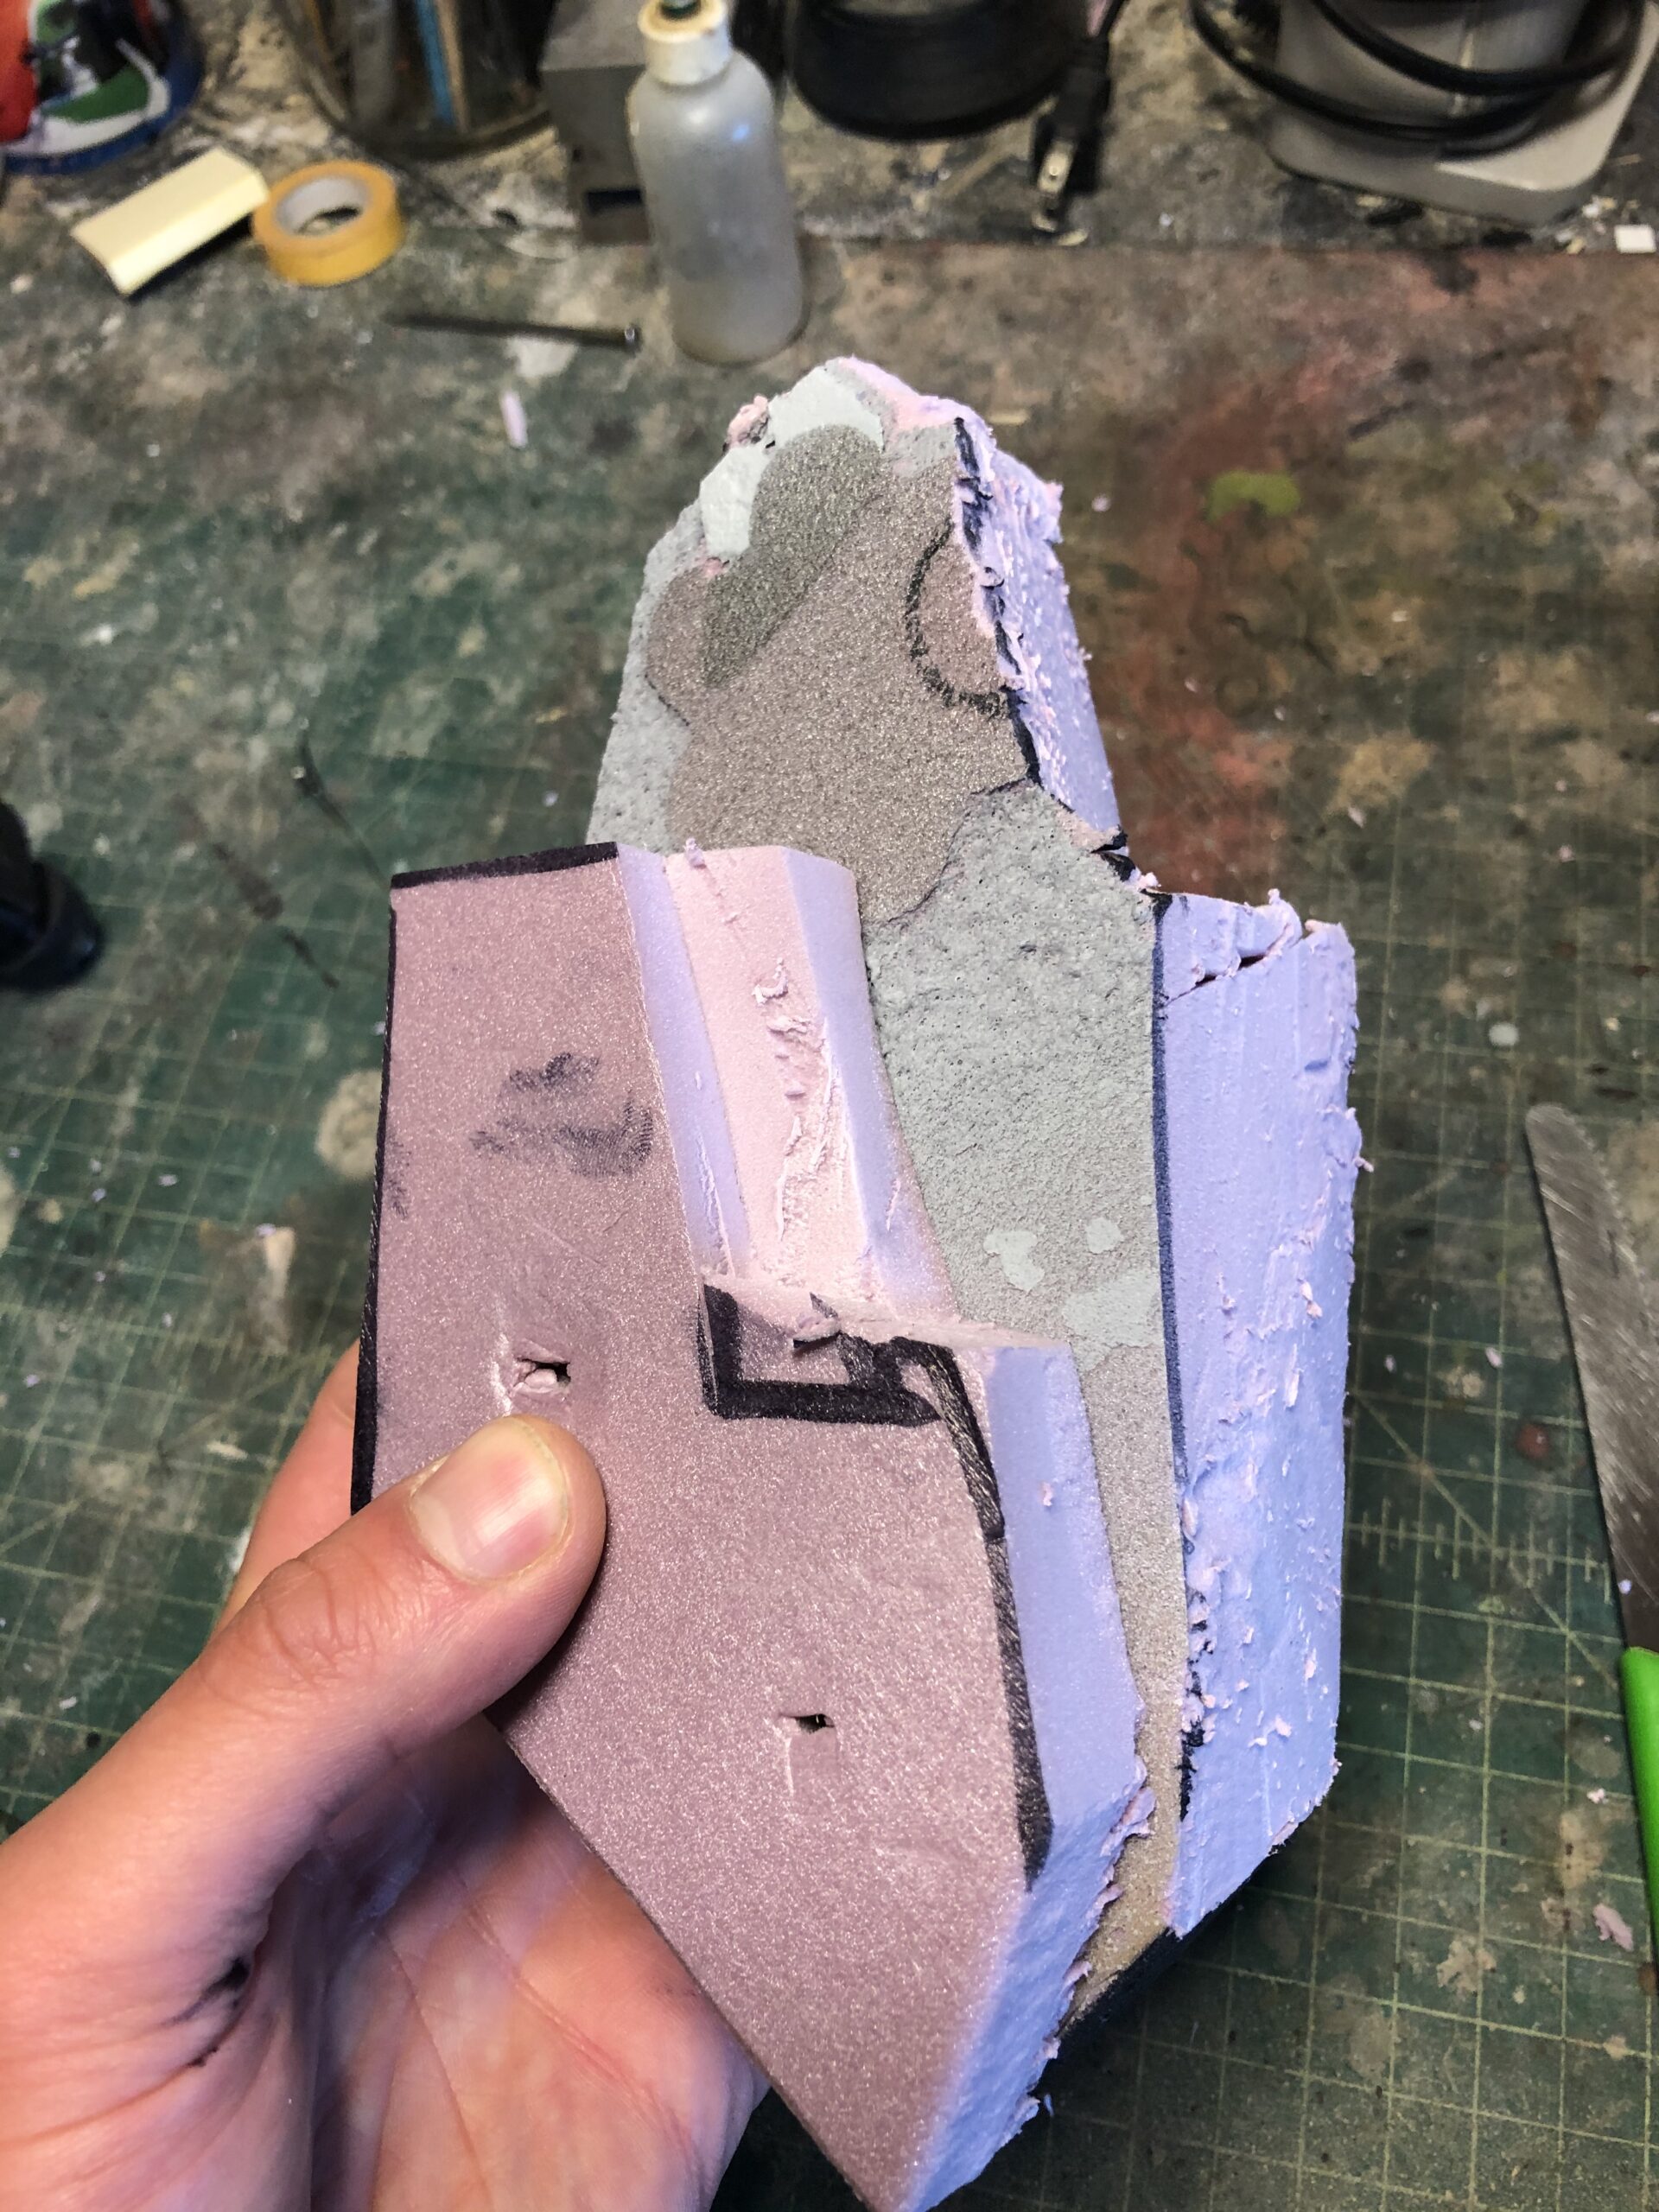
I begin carving the stone by cutting out two shapes of foam. At this stage, you want to make sure you choose a good-looking silhouette. I glue the two pieces together using hot glue and some bamboo skewers. Make sure to use hot glue in the middle of the object and not out toward the edge or you will run into the glue while carving—and hot glue is VERY good at dulling knife blades.

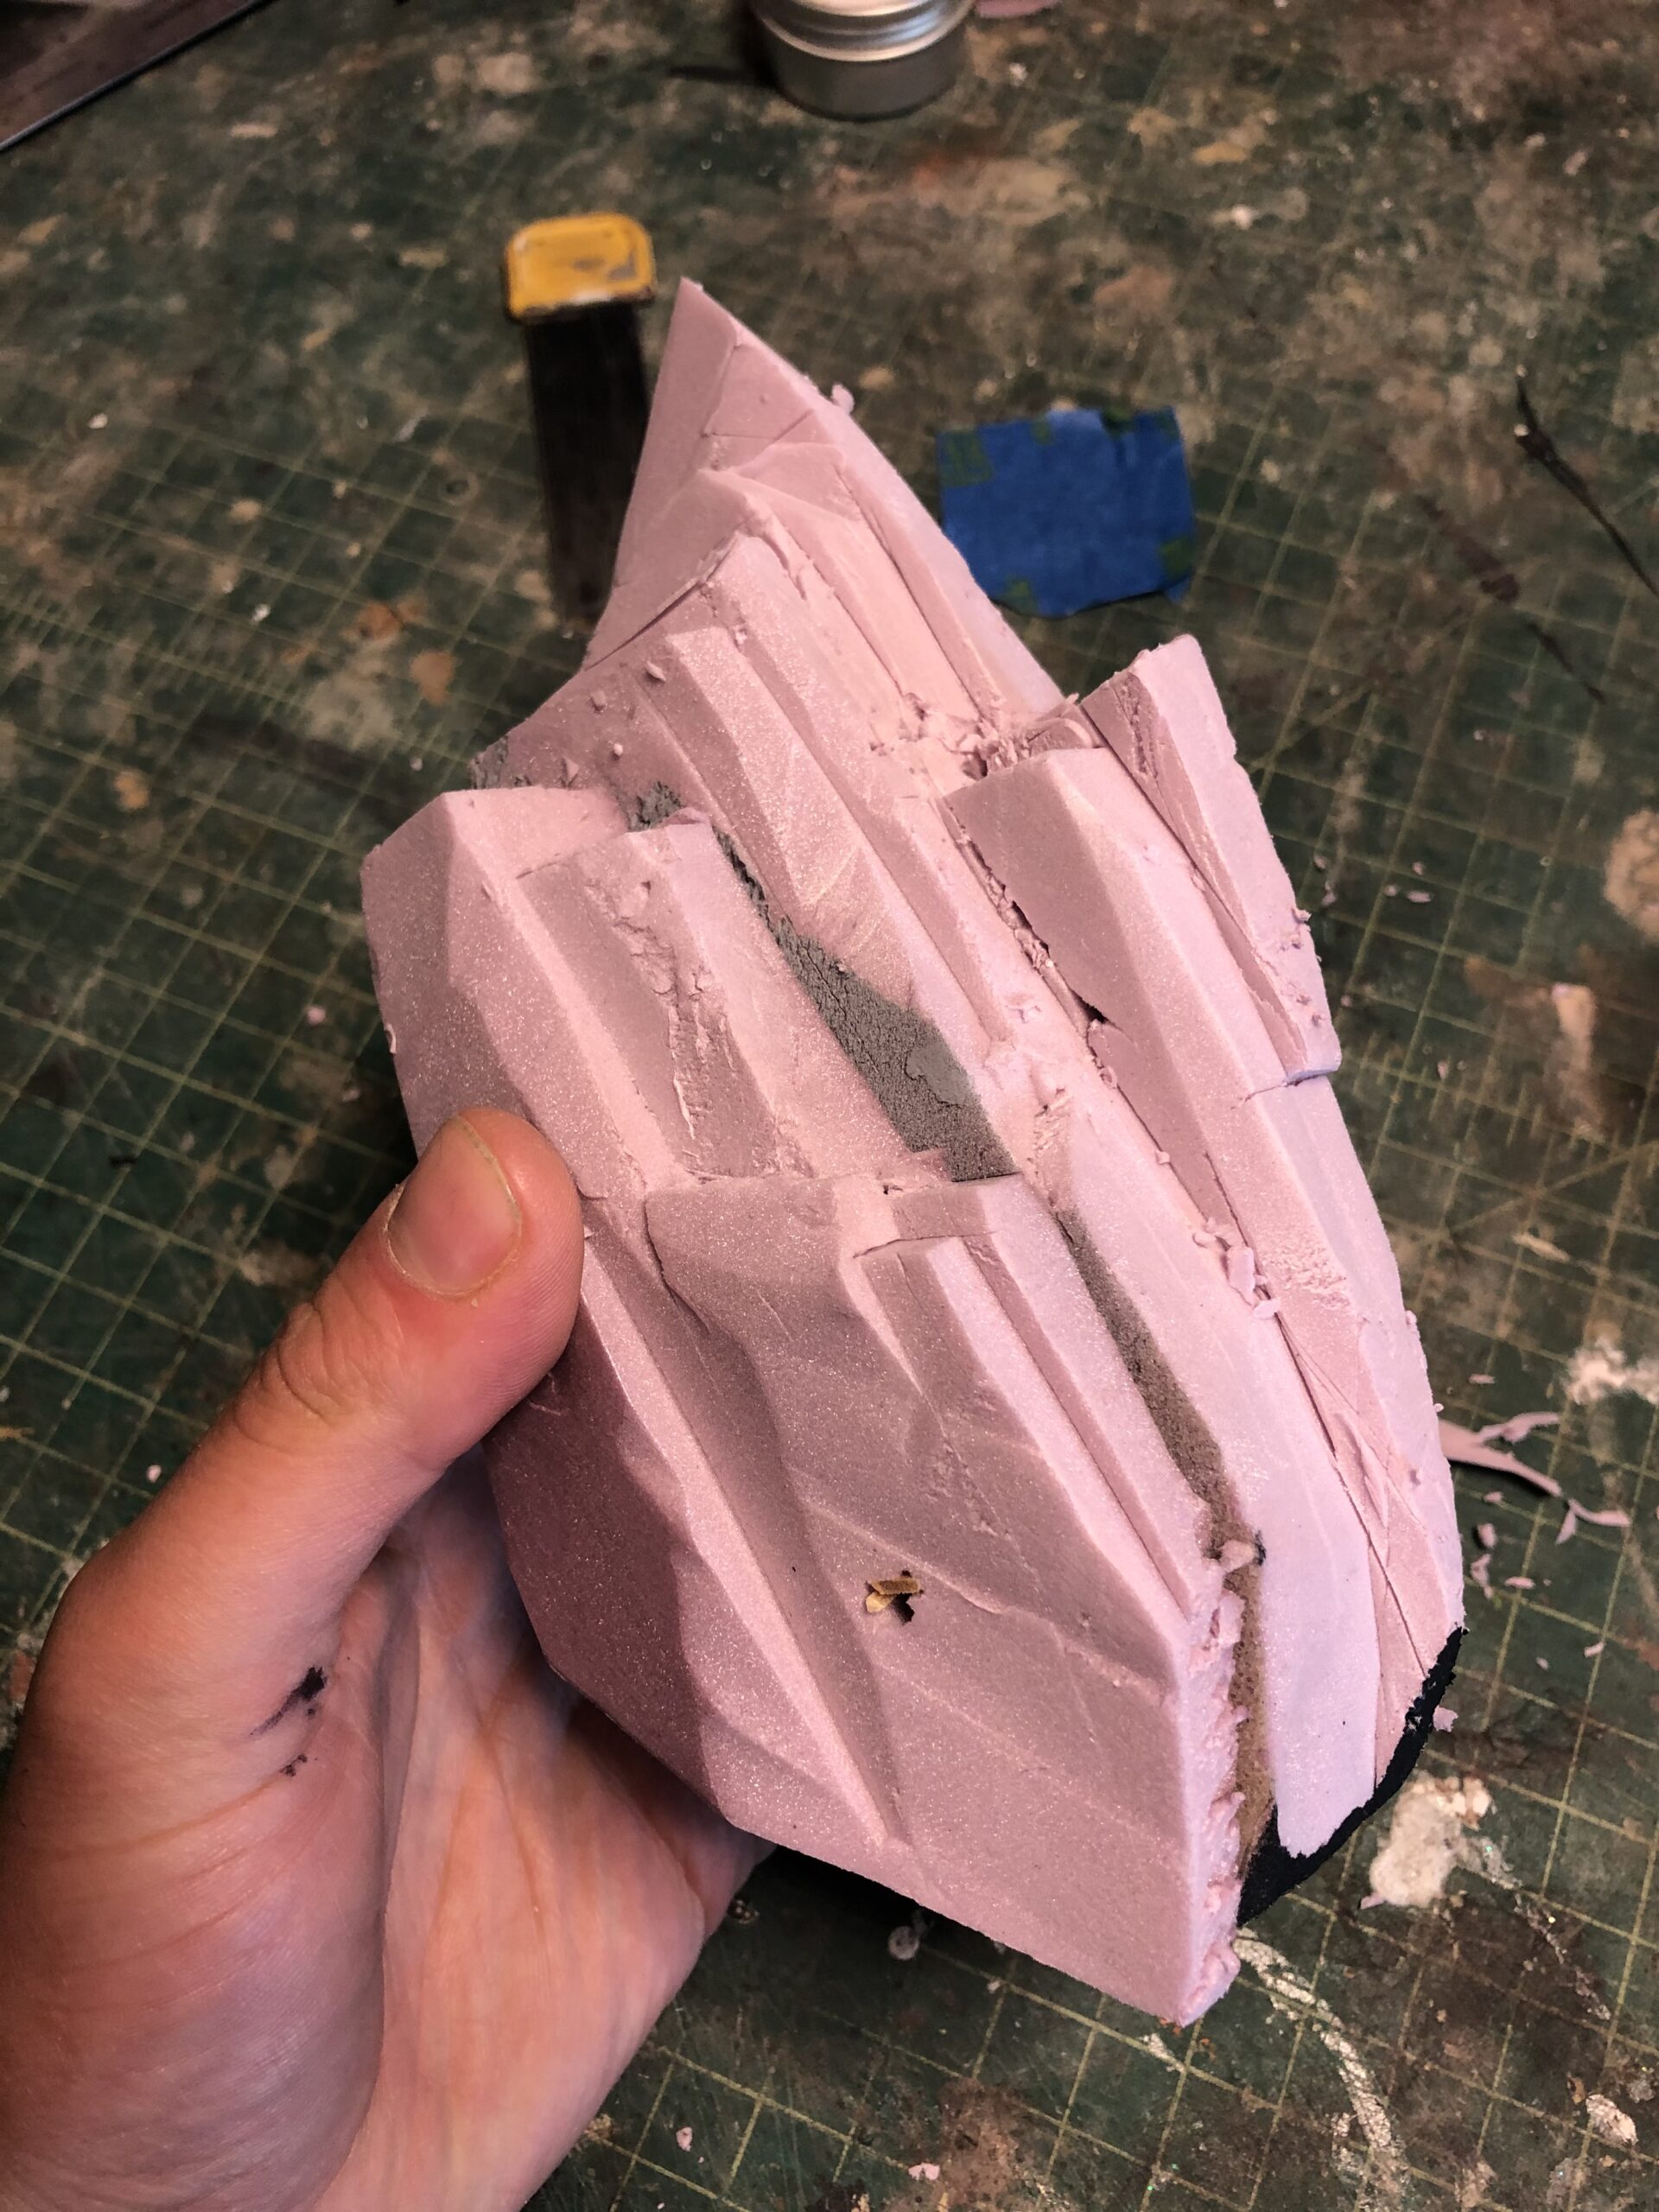
I begin breaking up the main silhouette by using a cutting method I call a stop cut. This consists of cutting straight down to a particular depth then placing the stone on its side and cutting again up to the previous cut line. I use a sawing motion to avoid tearing the foam.
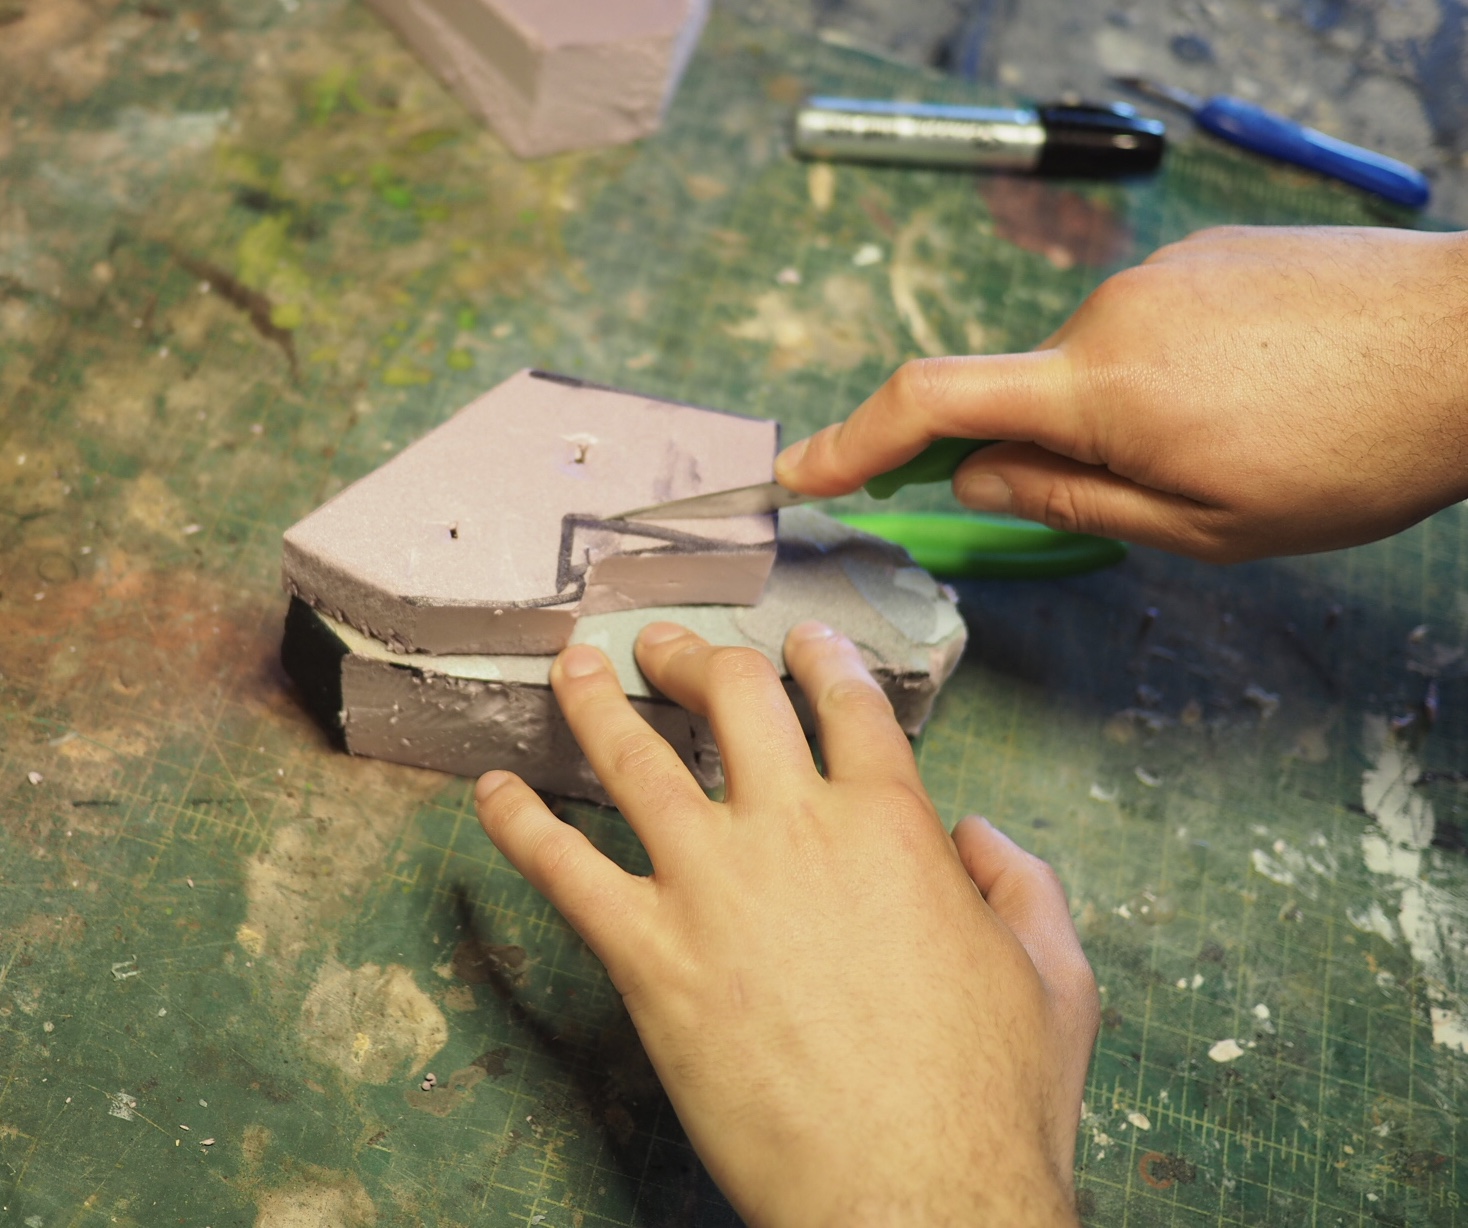
If done correctly, this should remove a nice clean chunk of foam and will break the main form into multiple secondary forms.
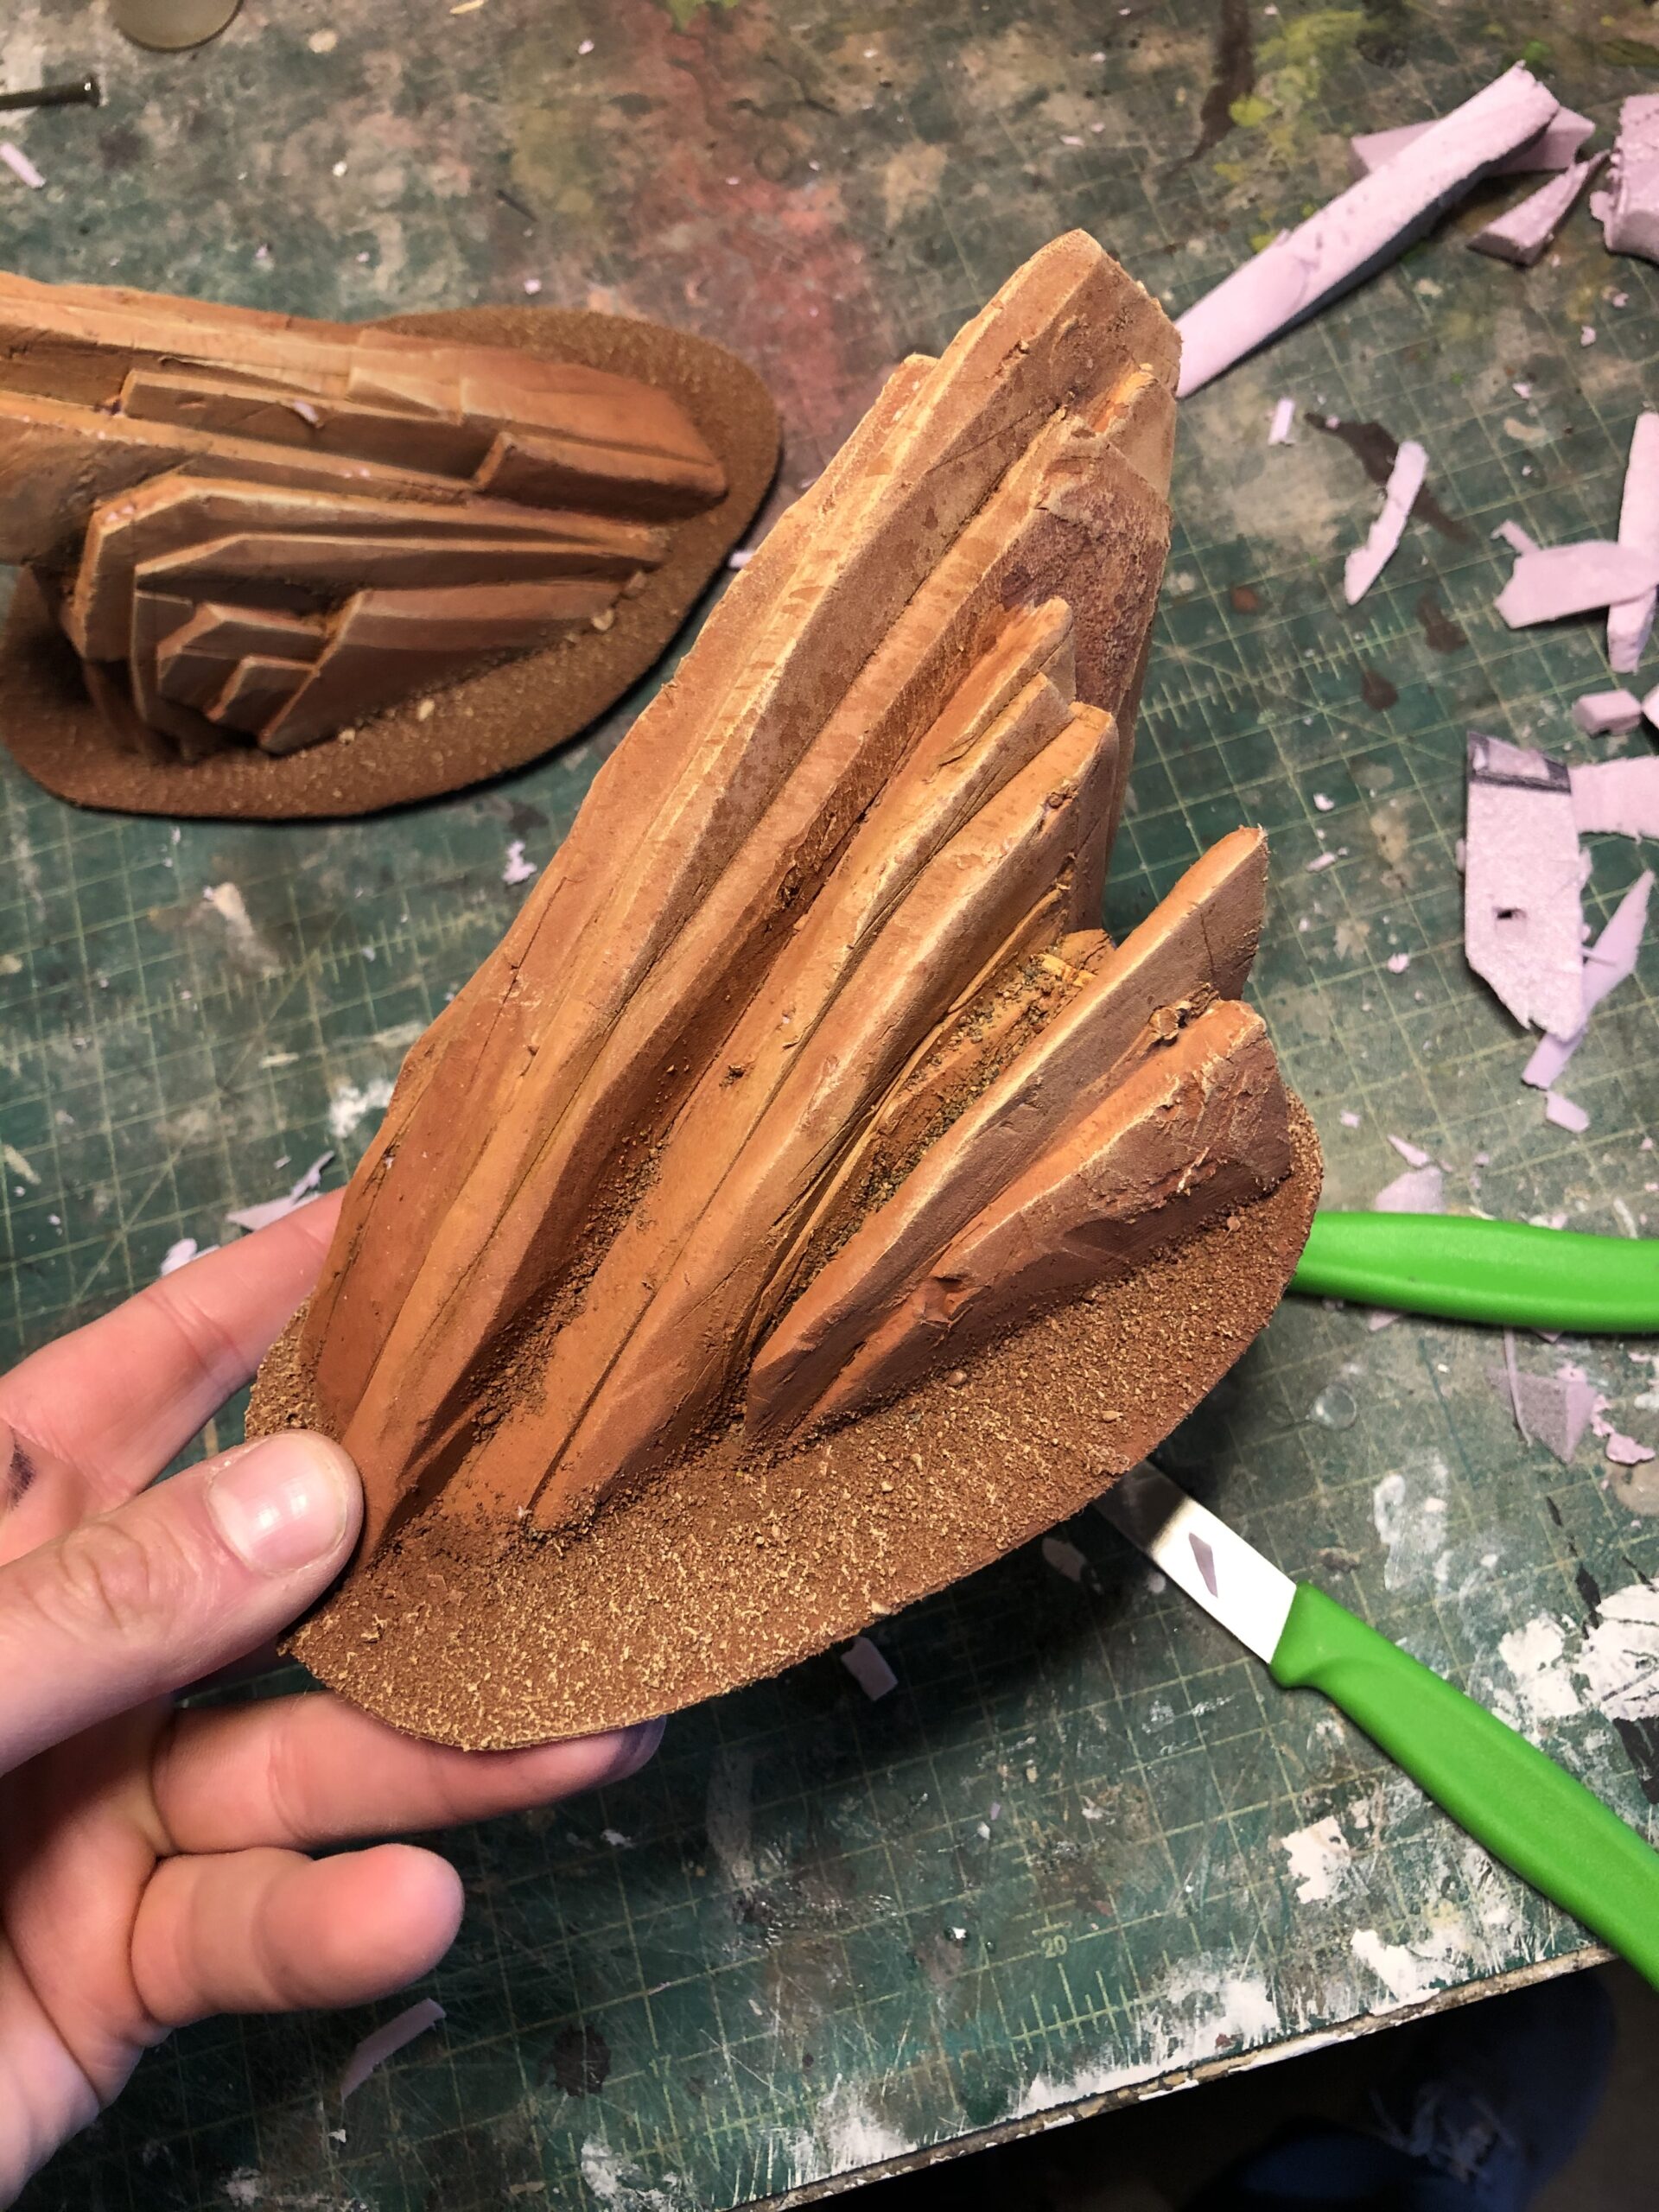
When creating secondary forms, it’s important to break up the main shapes as much as possible. You can see in the next image that I am using the knife again to break up the form even further.
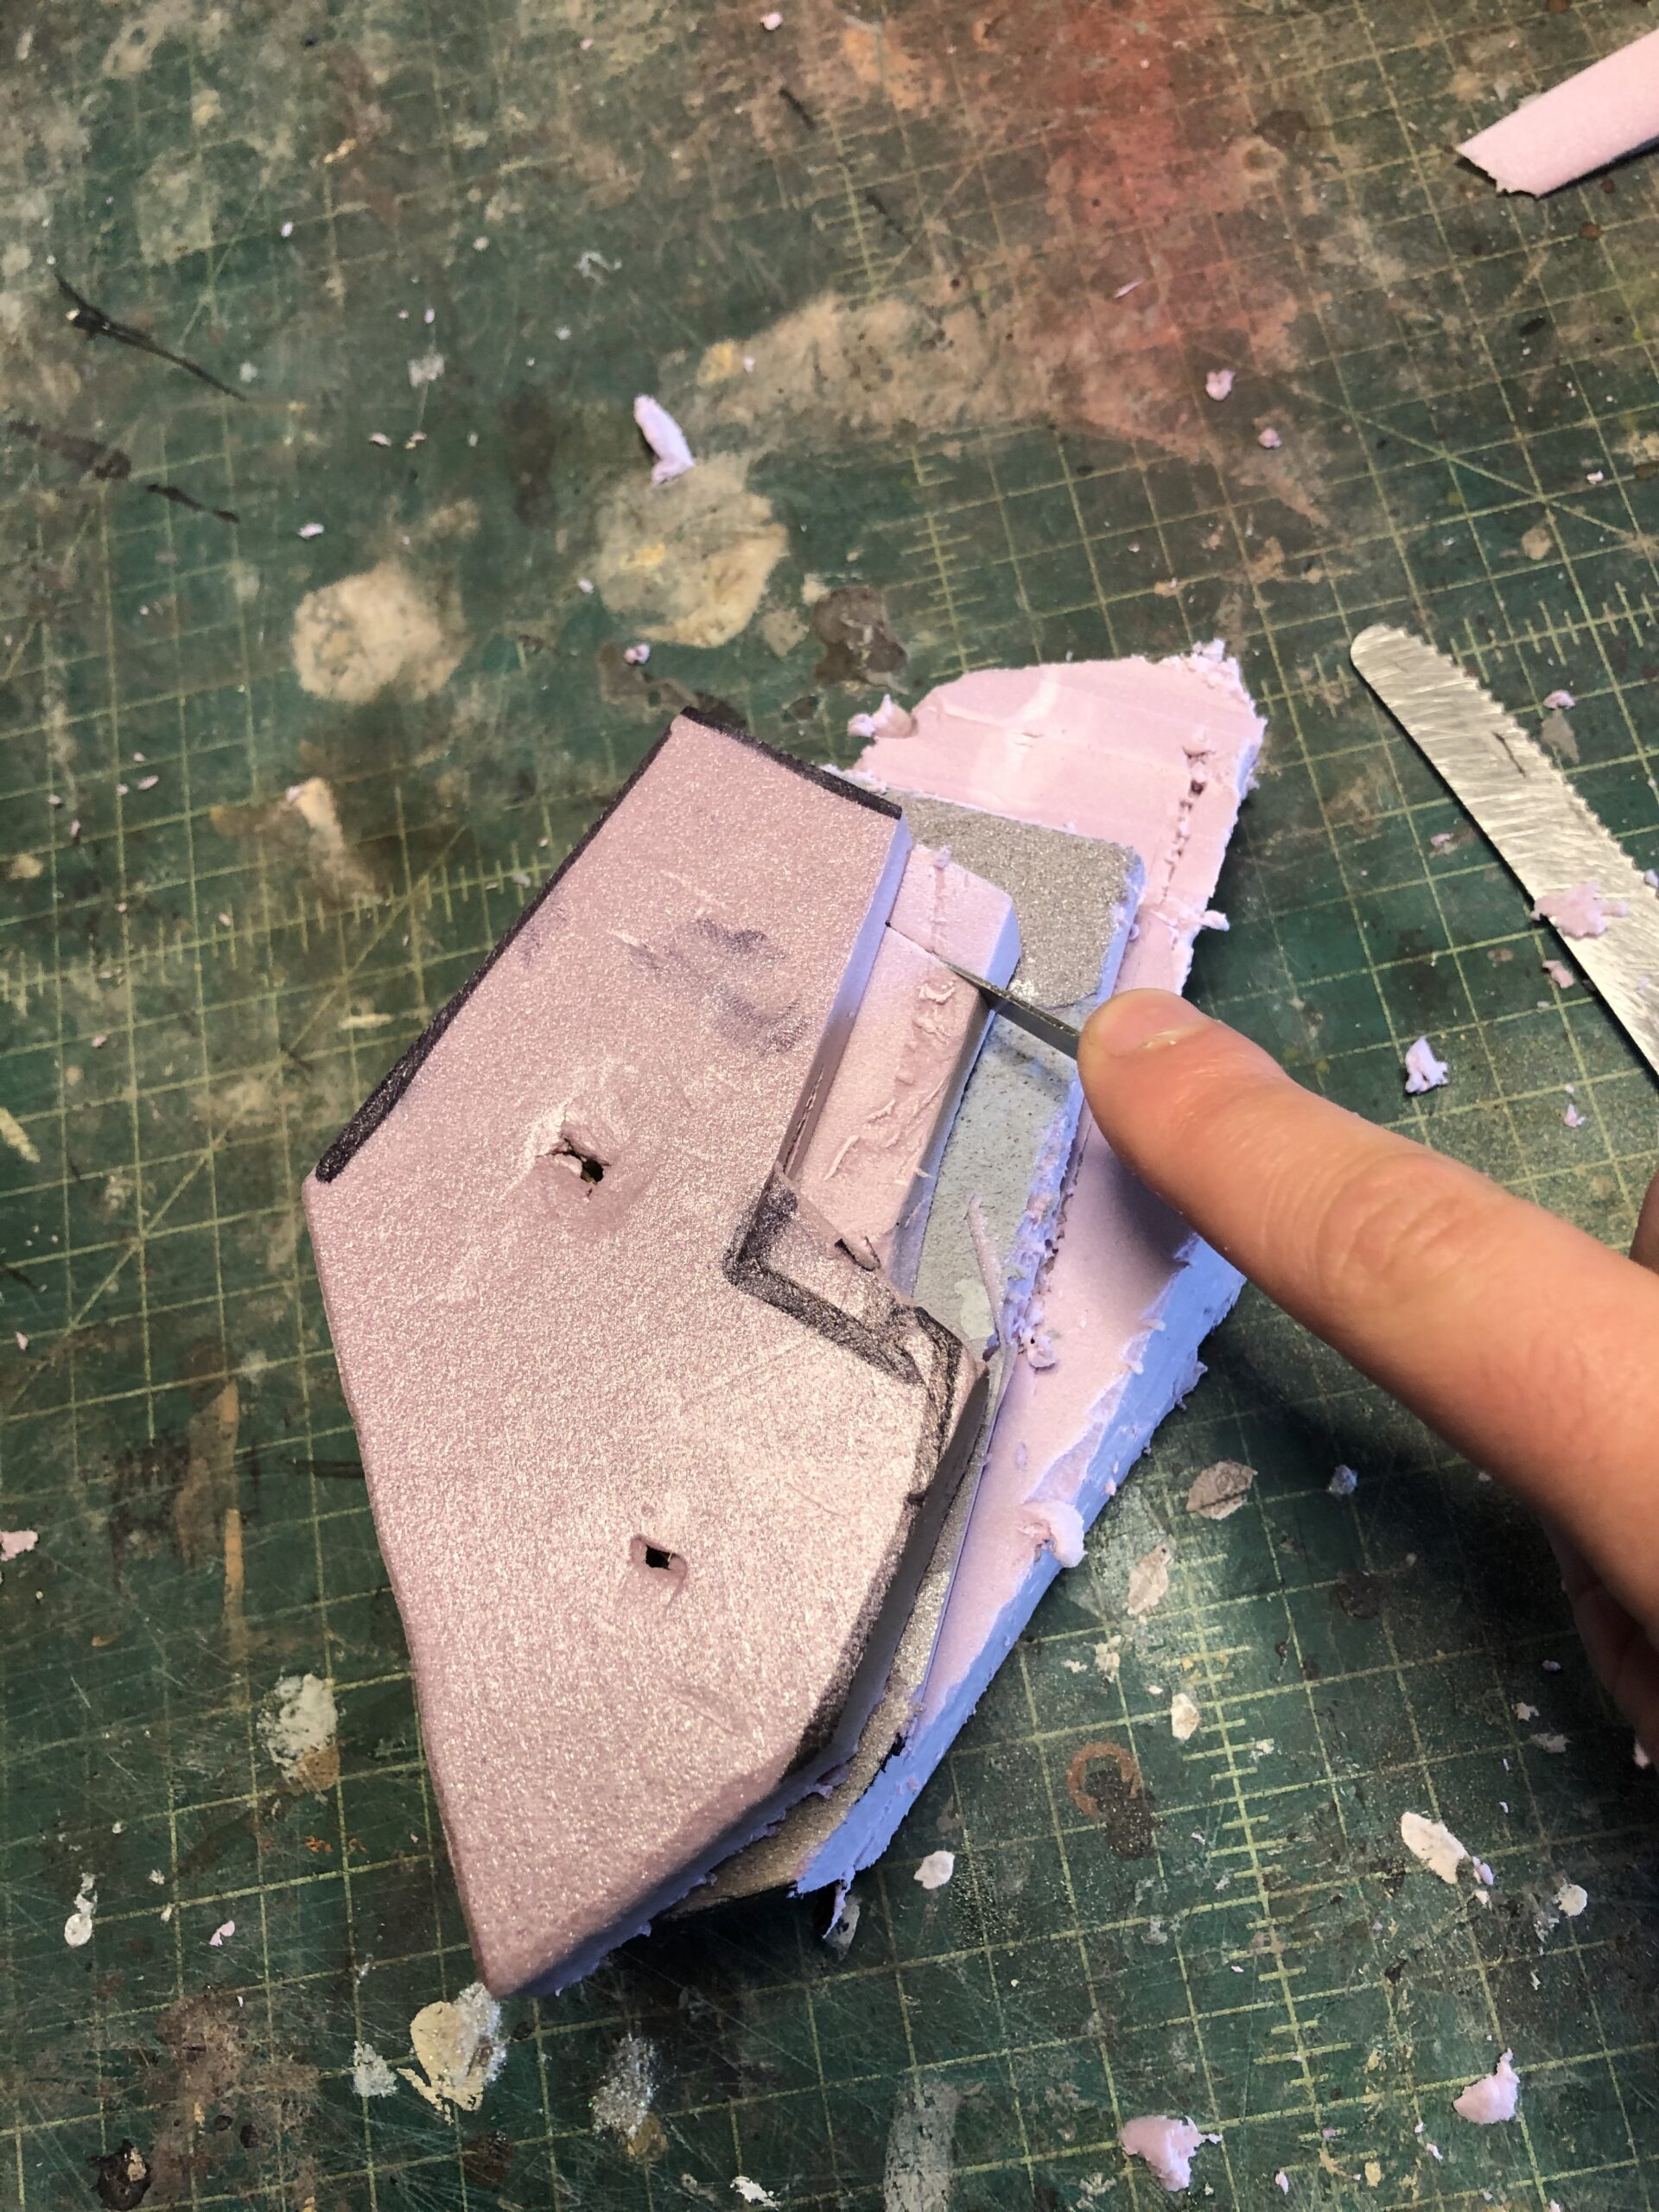
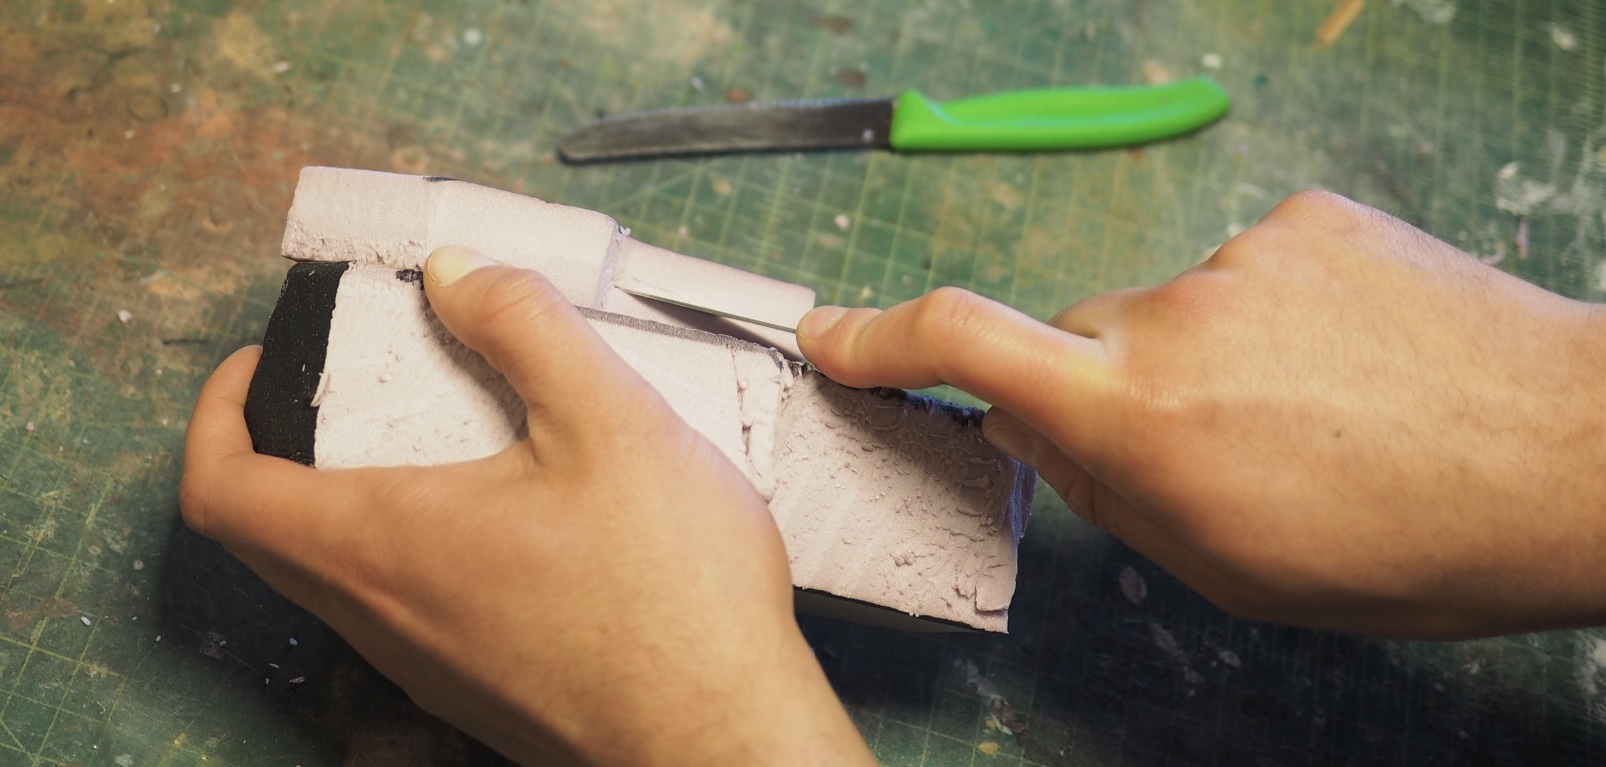
Always look at the stone from different angles; it should be interesting from all sides. If you look at it from the front and it still looks like two sheets of foam stuck together, then you have to break up the surface more.
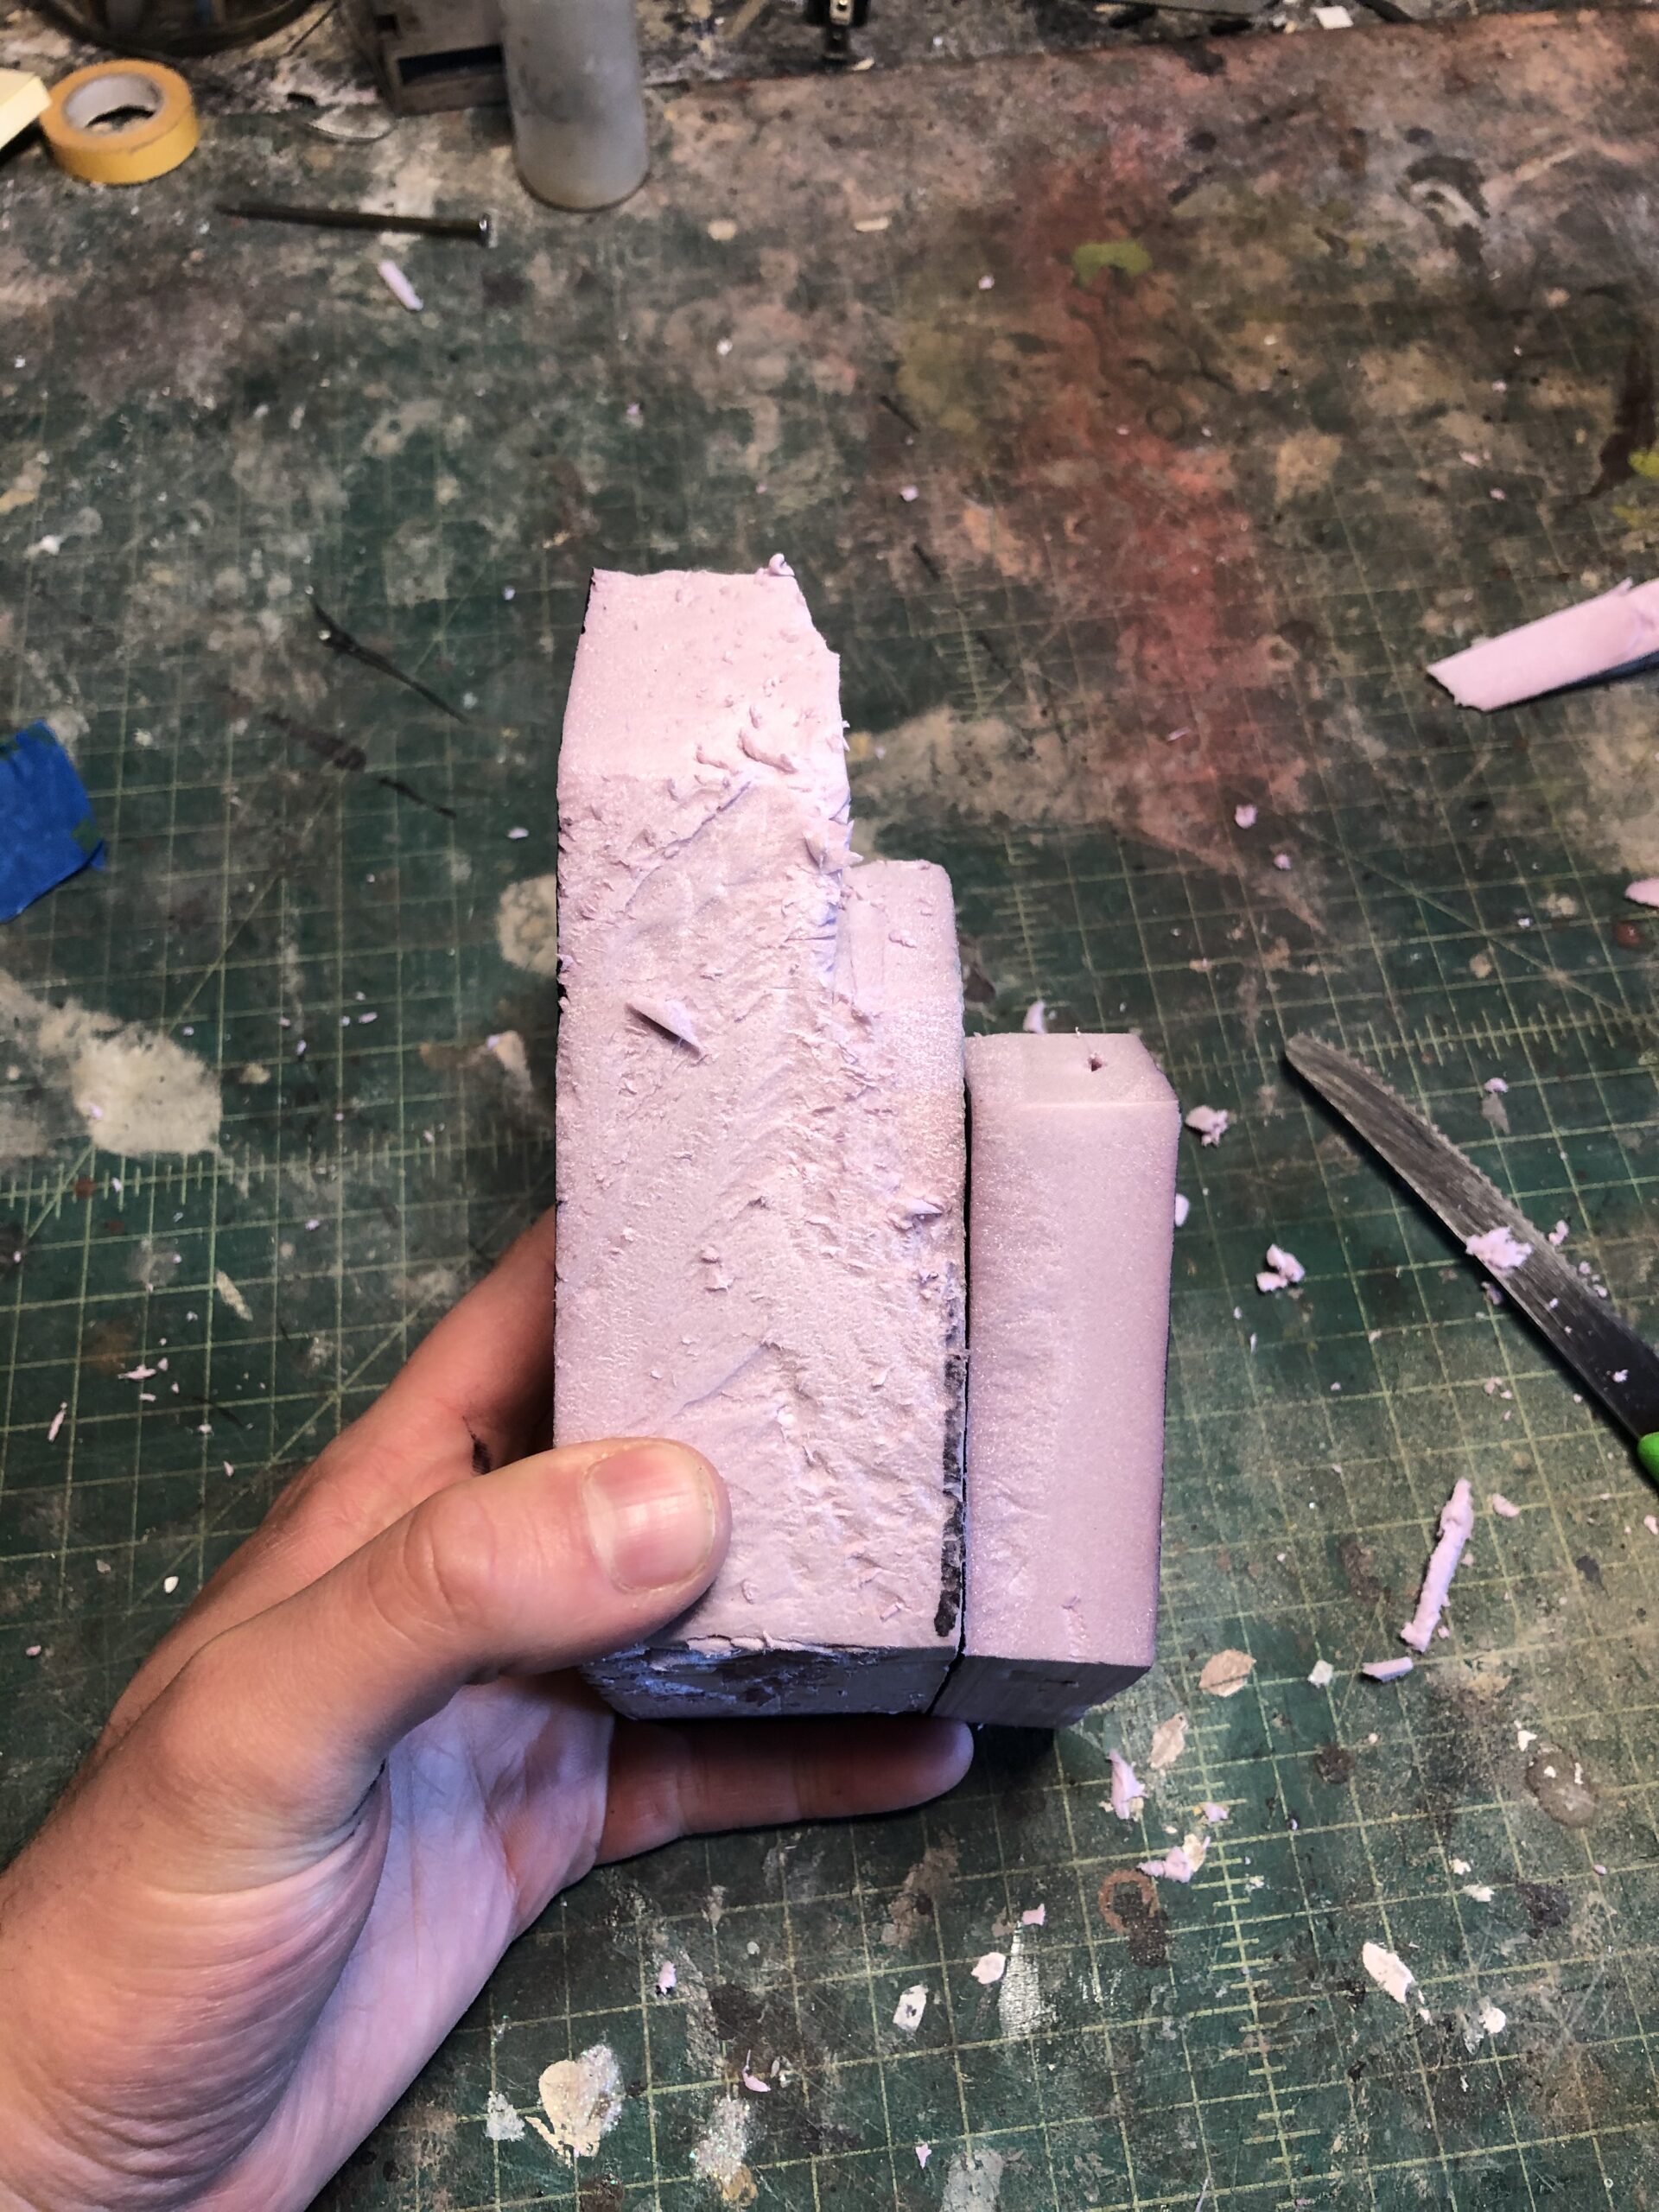
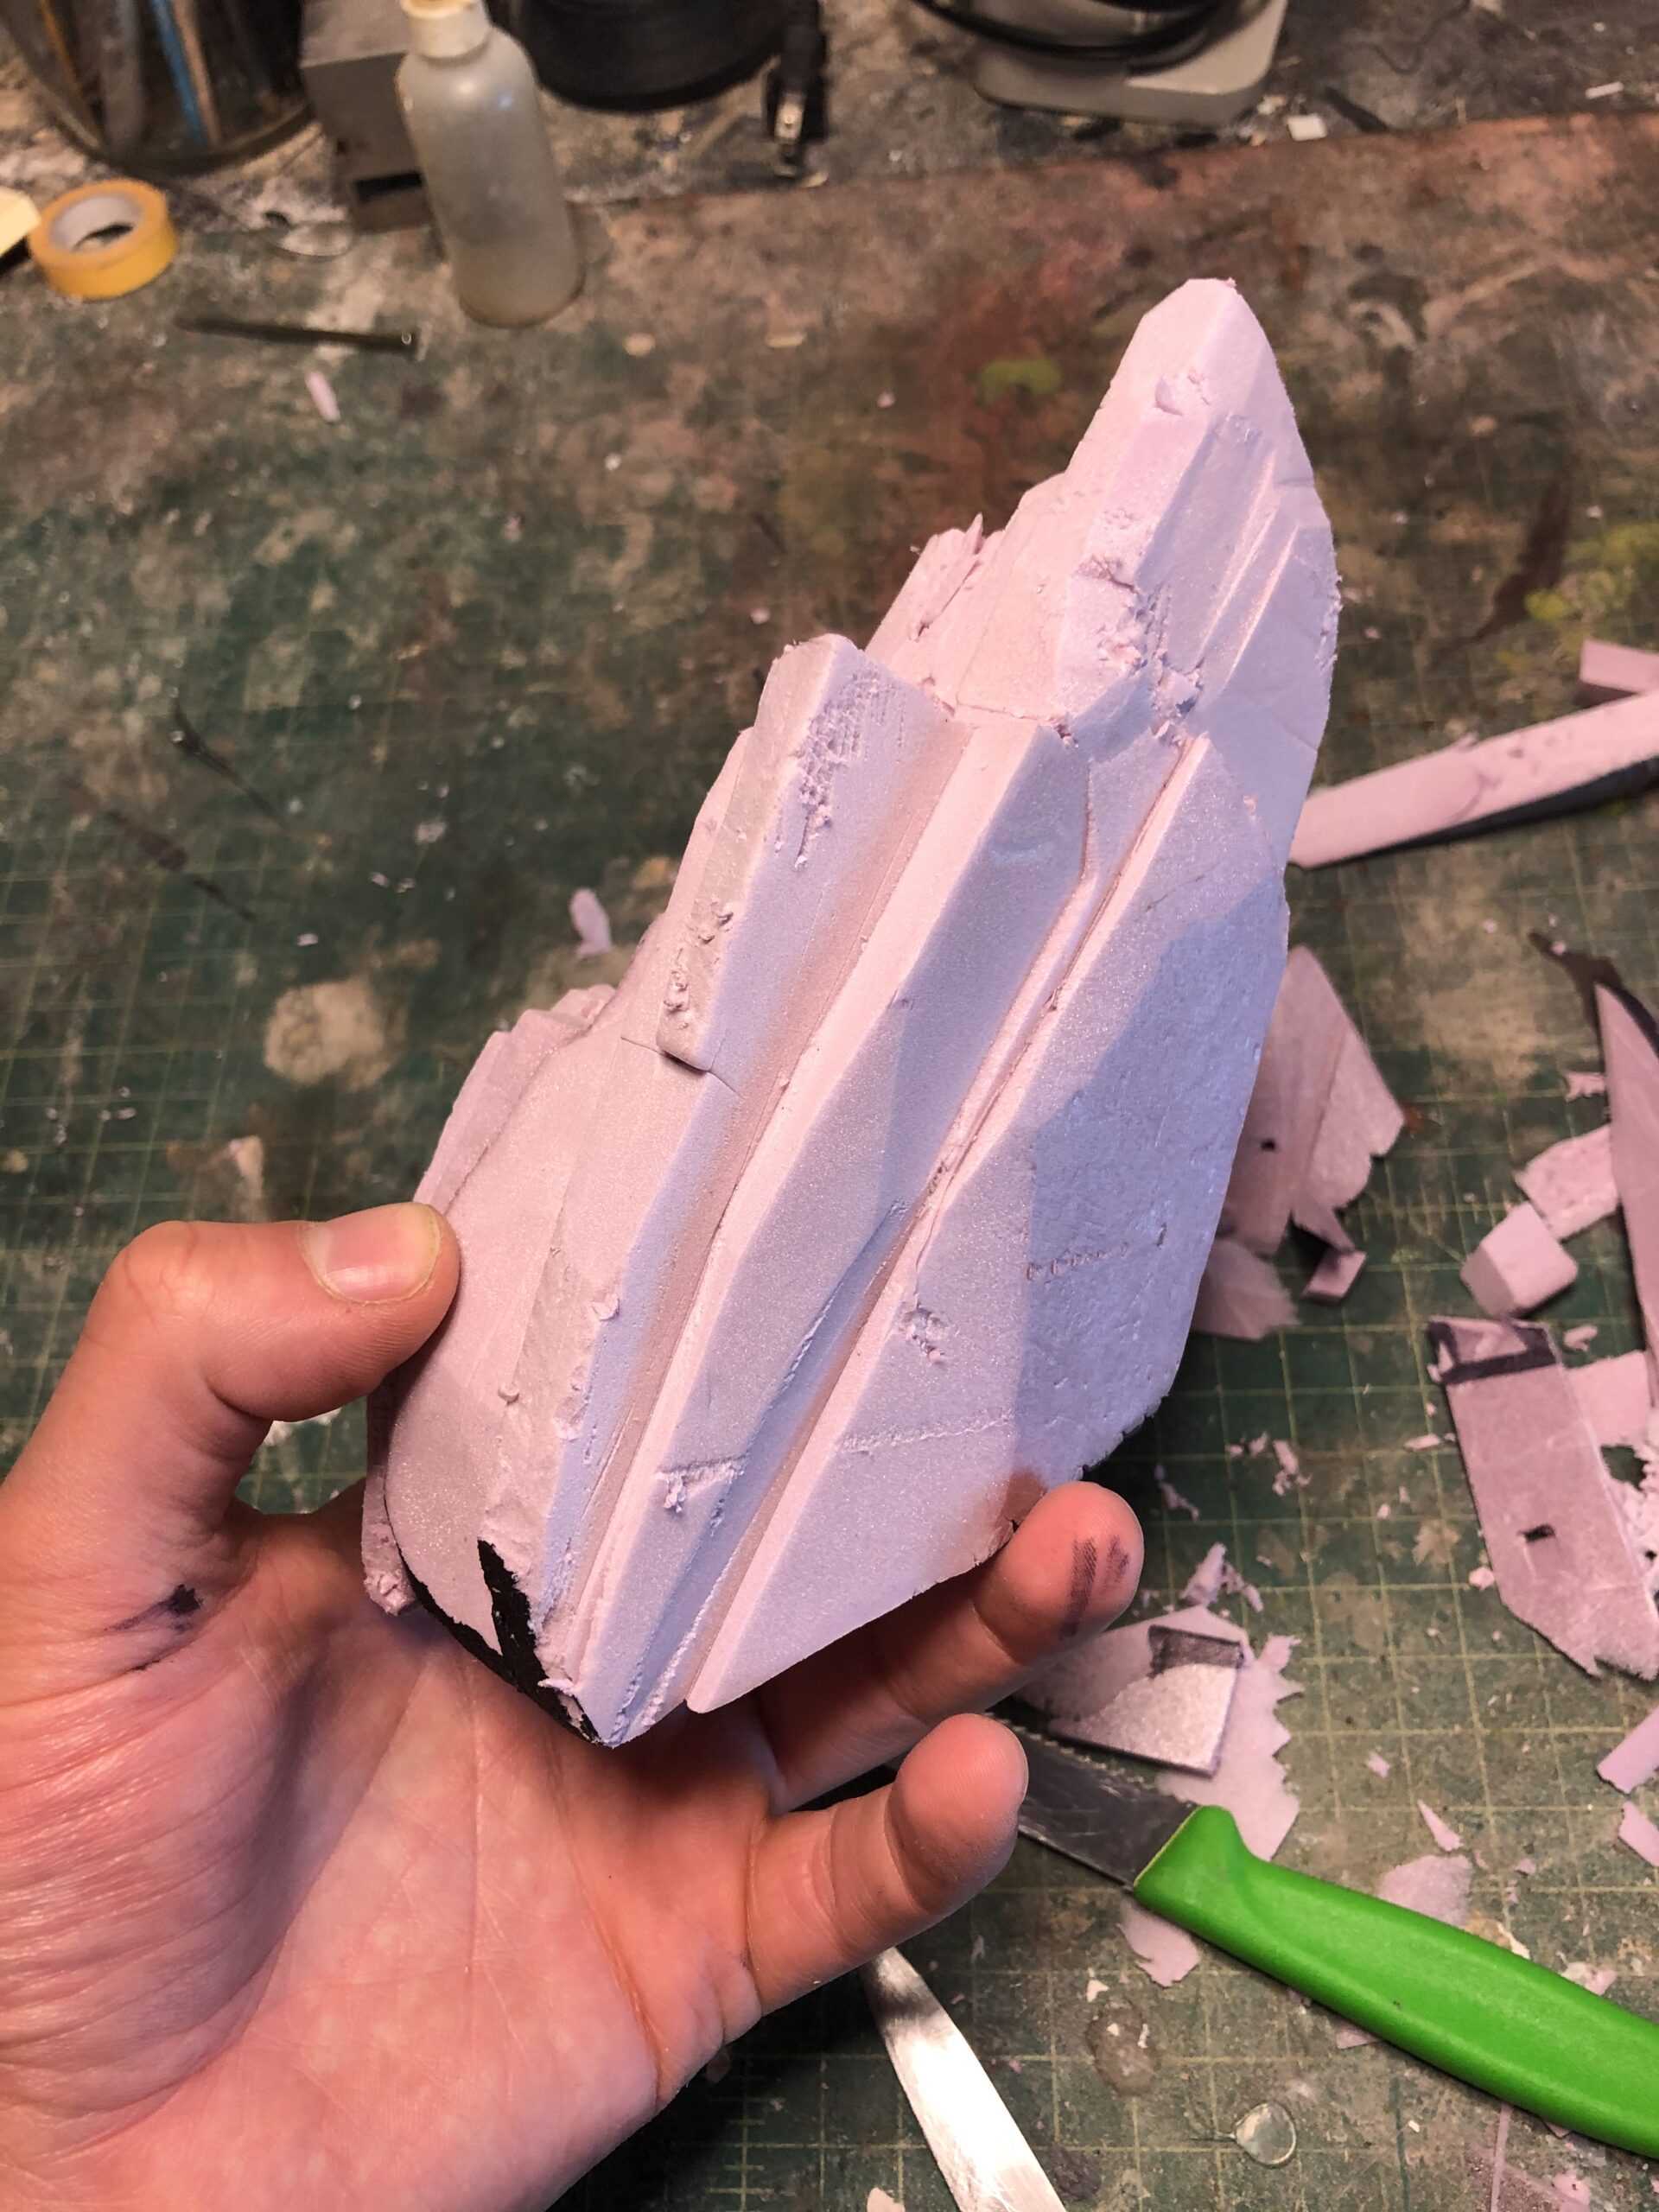
If I want the stone to be rounder and softer, I’ll just continue to cut off the corners until it looks more round, or I will use sandpaper and my surform rasp; however, I want this stone to look layered and jagged, so I continue to break up the surface and add details. You can see the progression below.
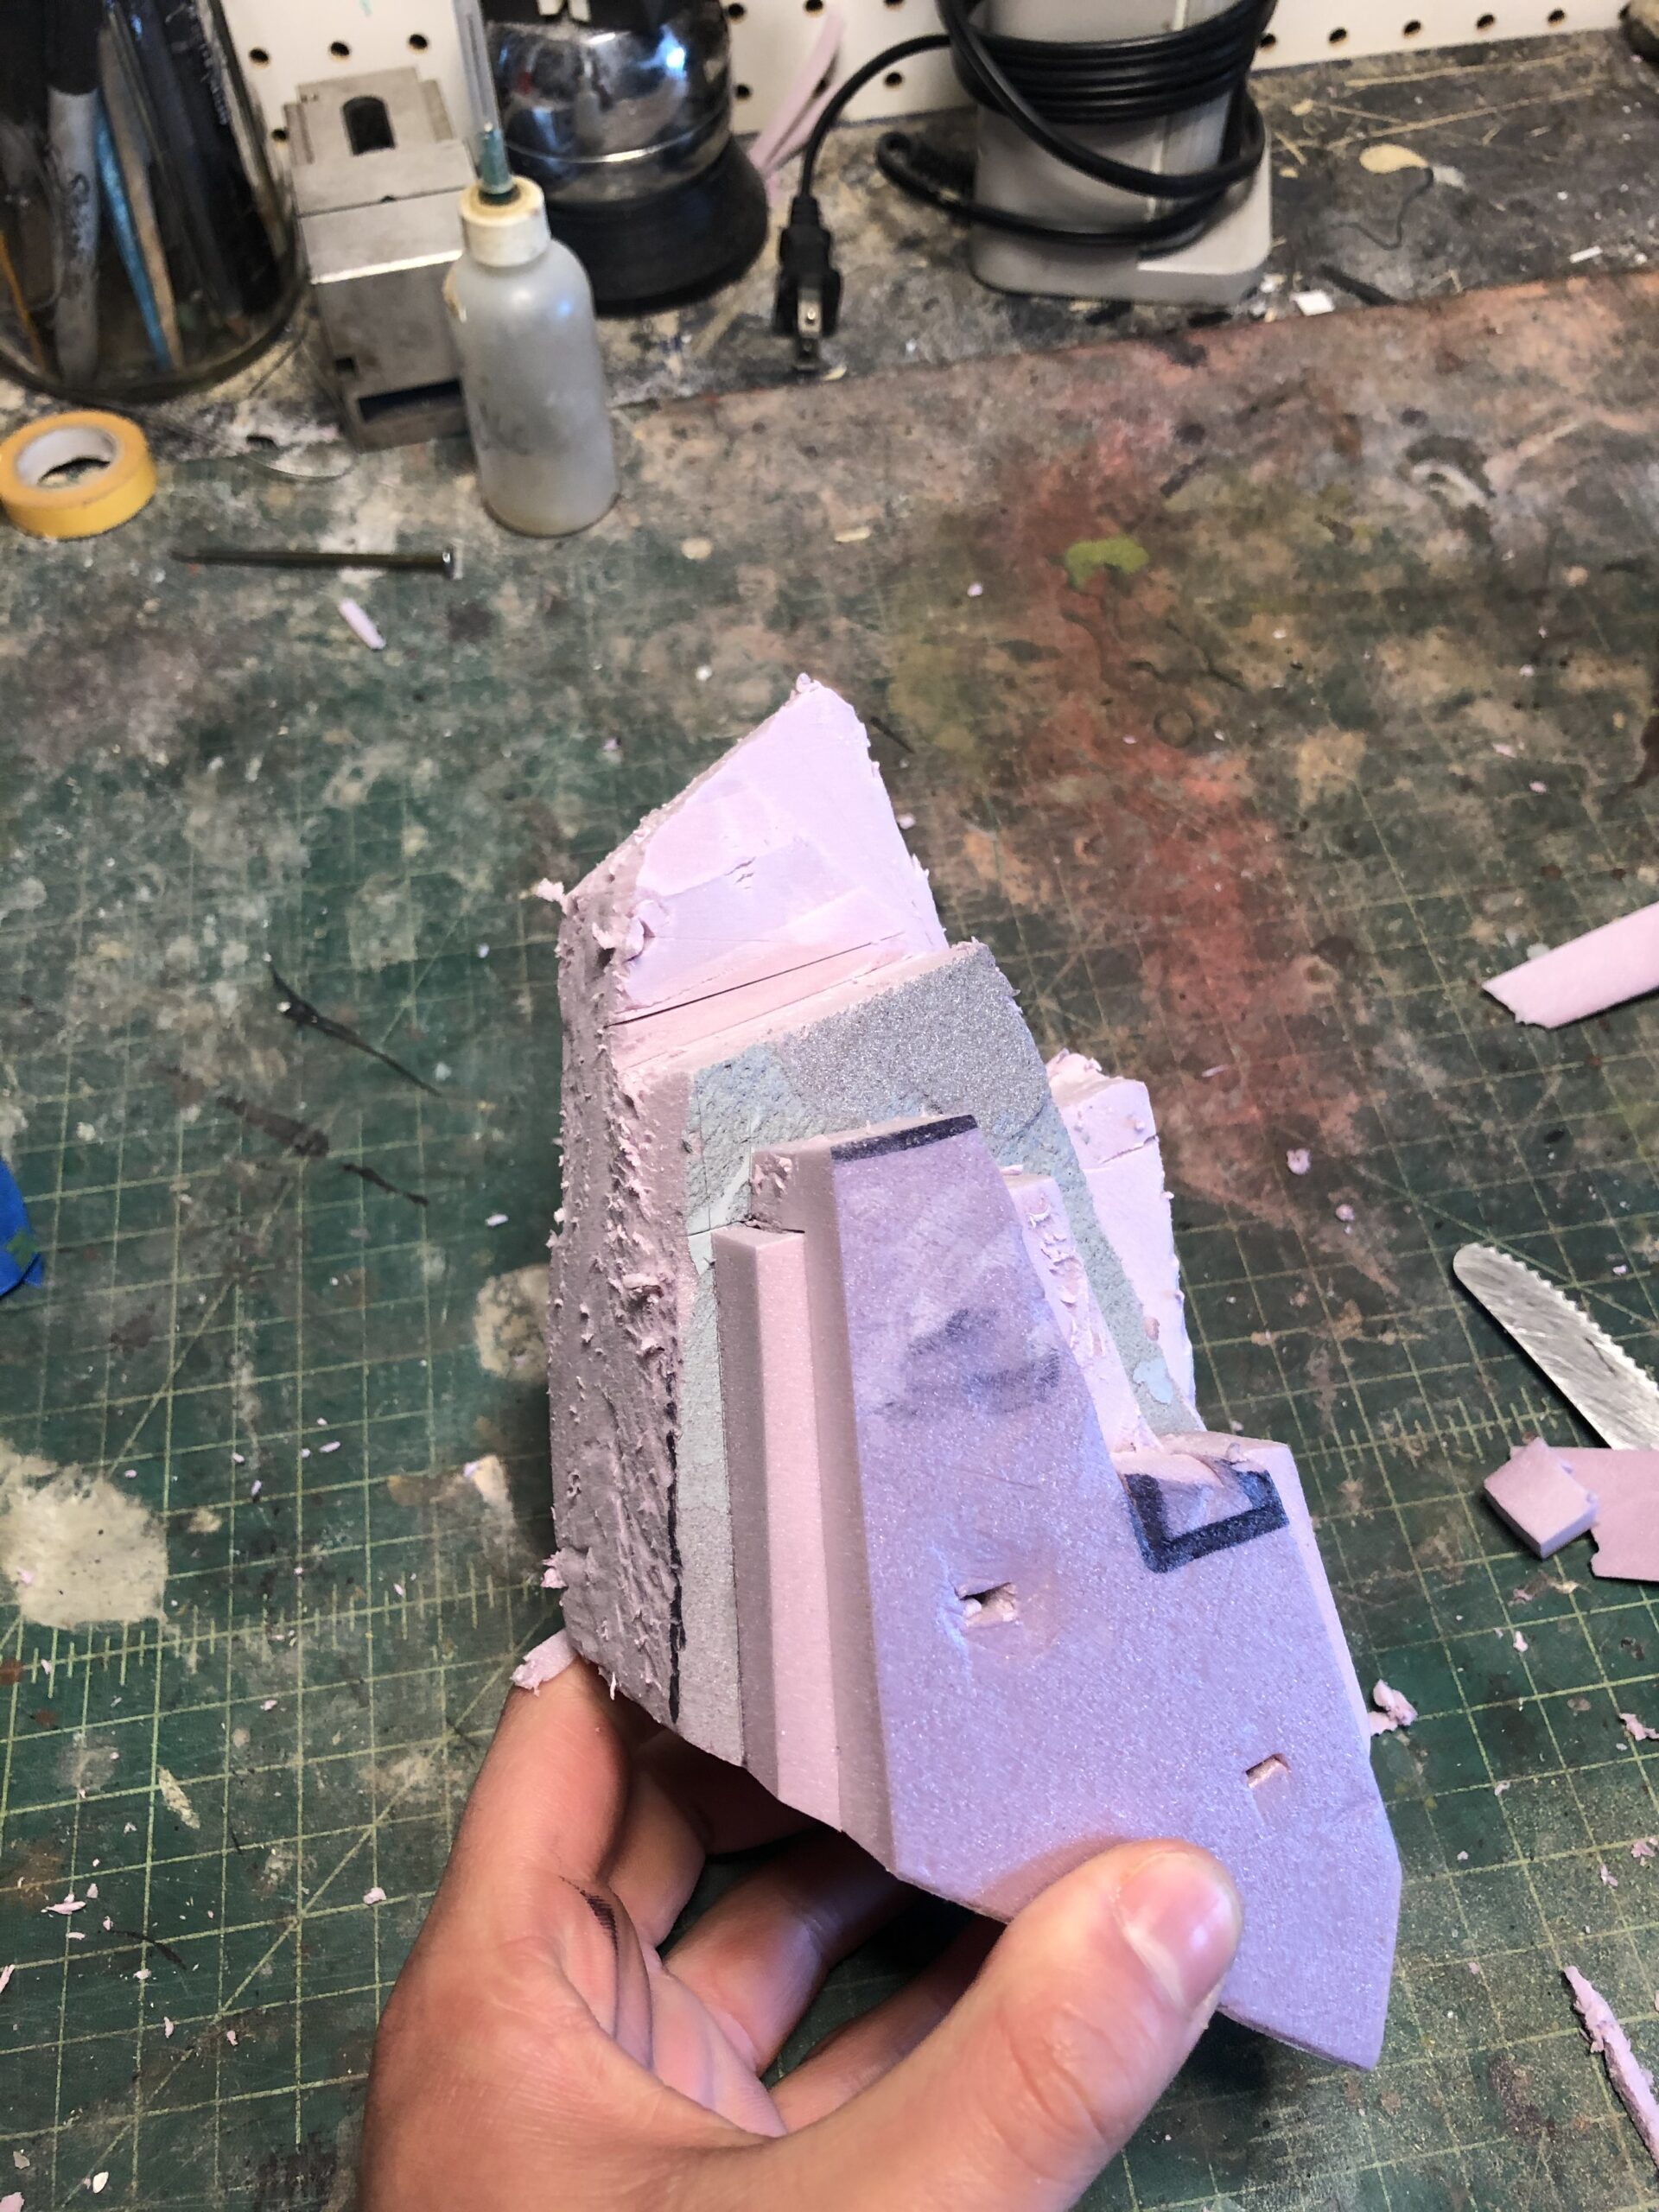

I also try to taper in some areas as well so it doesn’t look too square from a top view.
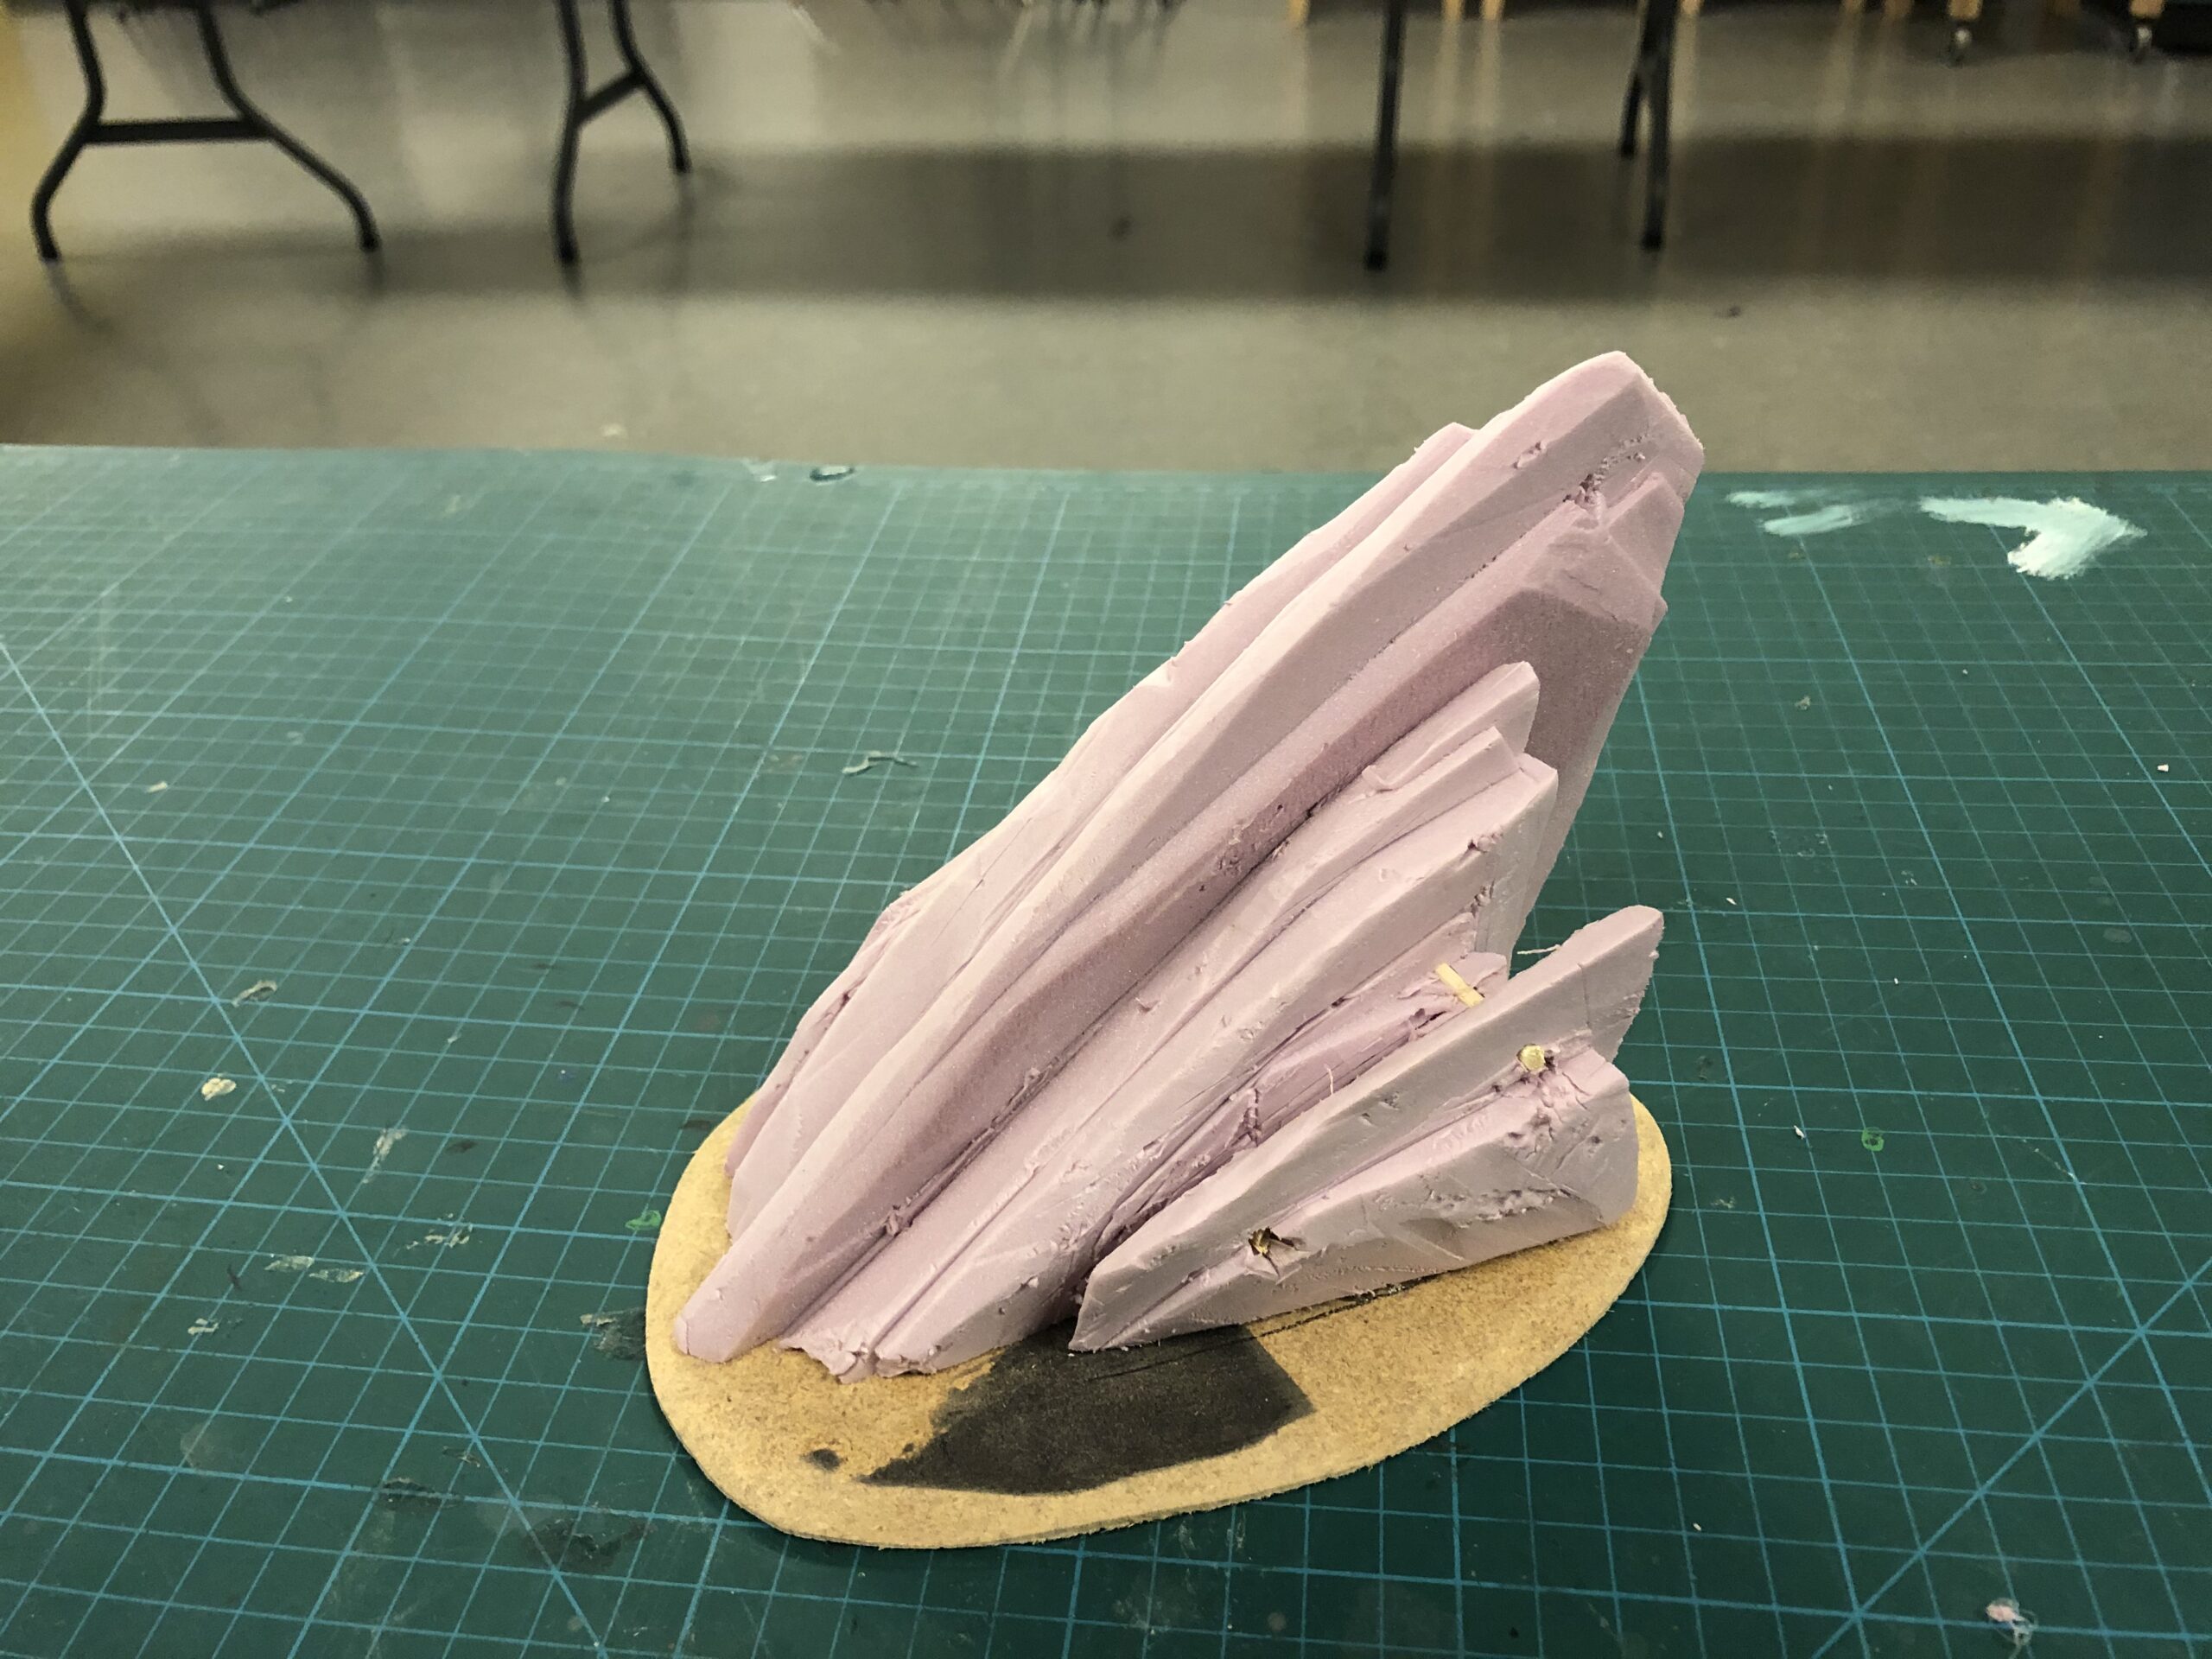
It is now time for basing your stone! You can use many different materials for this—I like hardboard because it’s thin, cheap, and durable enough. Foam core can work in a pinch, too. I begin by cutting out an organic shape and then use a knife and sandpaper to bevel the edge. This will read as a natural little hill lump on the gaming table. Glue your rock down to it using hot glue.
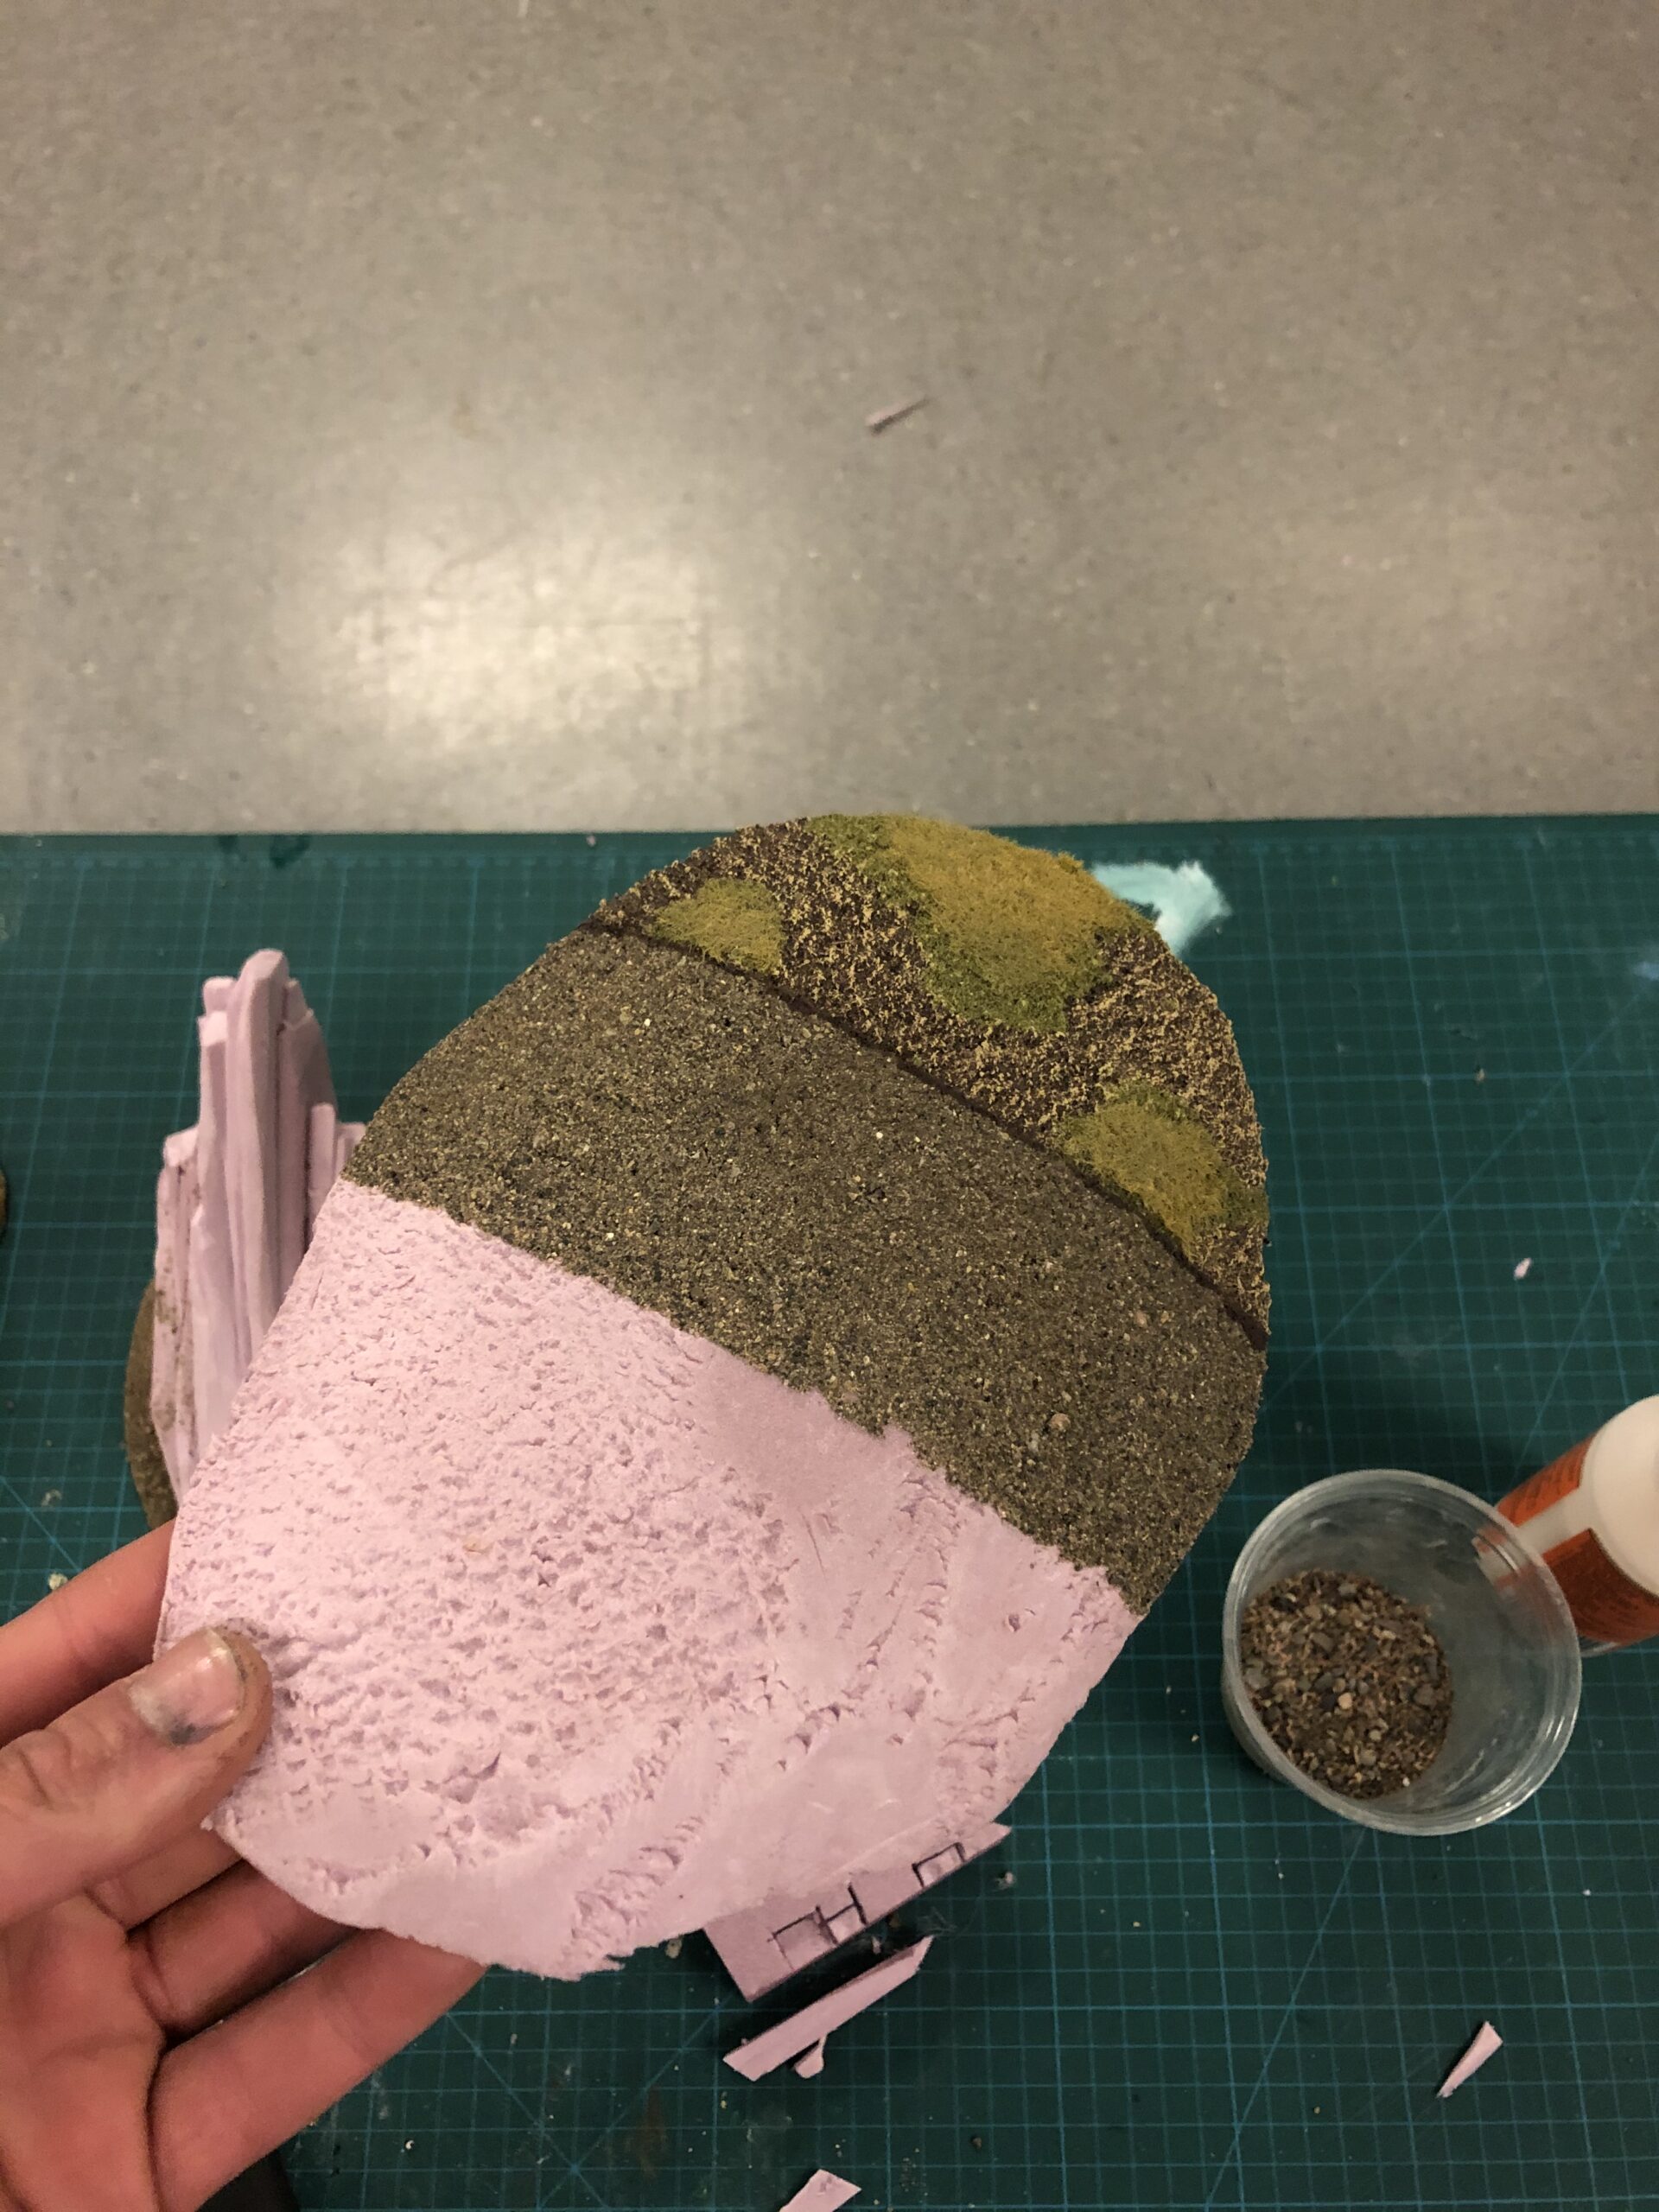
Coat your base with watered-down white glue and sprinkle sand all over it; I start with a coarser grain of sand and build it up in the corners where your rock is glued to the base. This adds some variation of texture and helps fill in any gaps that might exist as a result of your foam not being perfectly flat. I use a sifter to quickly apply the sand because you want to move quickly at this stage—getting all the sand applied before the glue dries is important or else you’ll end up with patches.

After everything is dry, it’s time for painting and adding grass however you like! And…BOOM! YOU HAVE NOW MADE ROCKS! EASY!
’Til next time!