Hi, friends, Danny Samuels here, art director with Privateer Press!
Oooooooh—fancy new title, eh?
Today I am going to talk through my process for building the Warcaster table. Many of you have been asking questions about it, so I thought I’d share a few insights about it. This was a really fun project because we had no previous terrain for this game—at the time I started, we had concept art for the miniatures but nothing else.
I started by trying to break down what made each Faction visually special. The Marcher Worlds, for example, seemed a lot more “rough and tumble” and a bit more cobbled together. So, I pitched to build a table for them since that type of aesthetic is much faster to build than something cleaner and more precise like the visuals for the Iron Star Alliance.
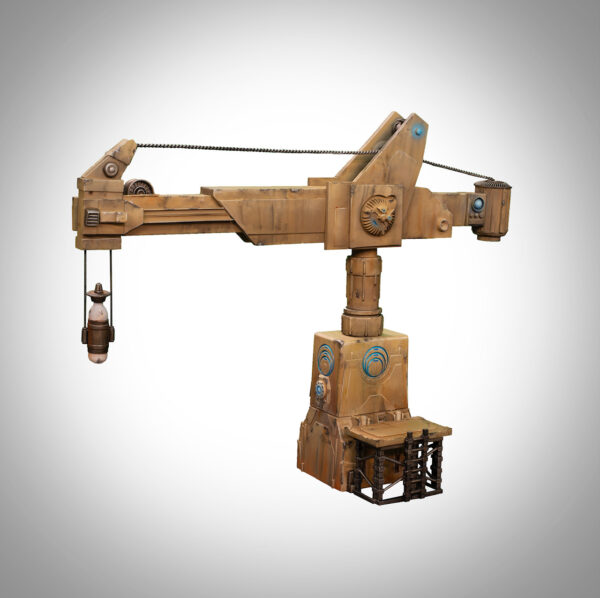
Next, Matt Wilson provided me with a rough sketch of the assets he wanted to see on the table. The most important element was a big crane to mine the Arc geyser.
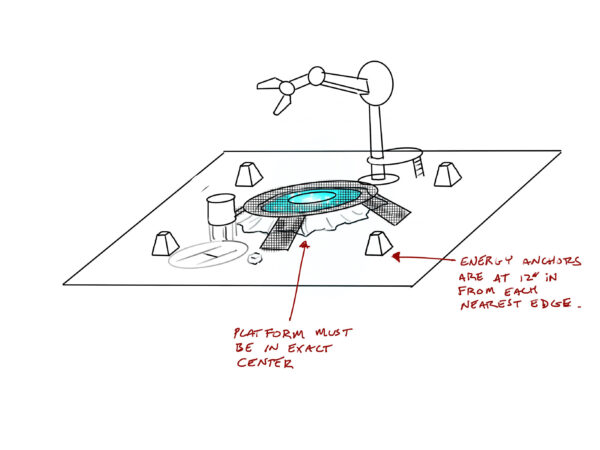
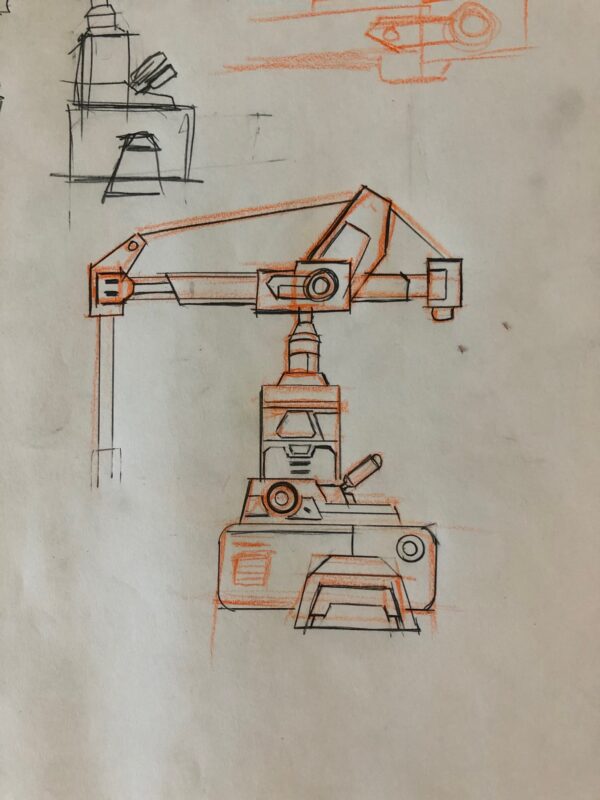
I did a quick sketch of the crane just to be sure I had the right idea about what Matt wanted. I knew, however, that a lot of the design would be determined by what sorts of kit-bash materials I could find. I normally tend to start with a sketch to generate a cool silhouette, but then my design gets determined further by what materials I find around my workshop and the office that are close to the desired shapes.
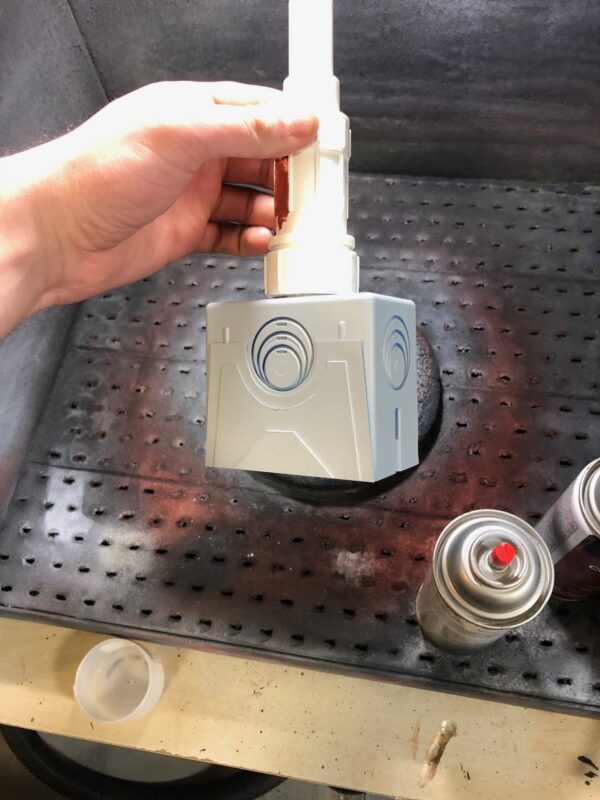
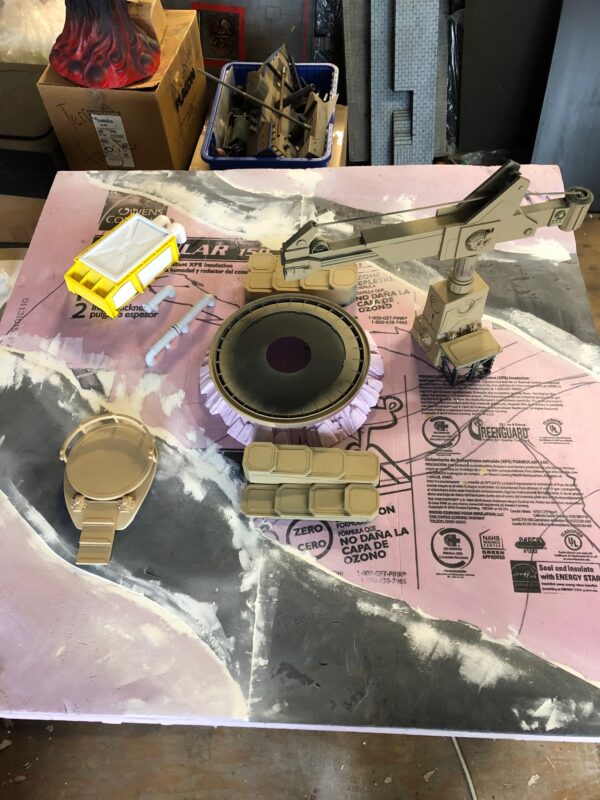
In this image below, you can see how I began to piece together parts of electrical junction boxes, styrene, and PVC pipes to make the base shape for the crane. If I’ve added a bunch of bits and bobs to something, I always prime things grey as I go—this allows me to see the overall build and not get distracted by lots of colors.
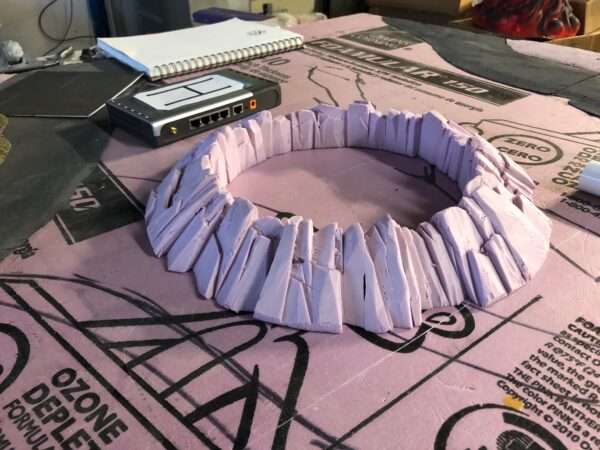
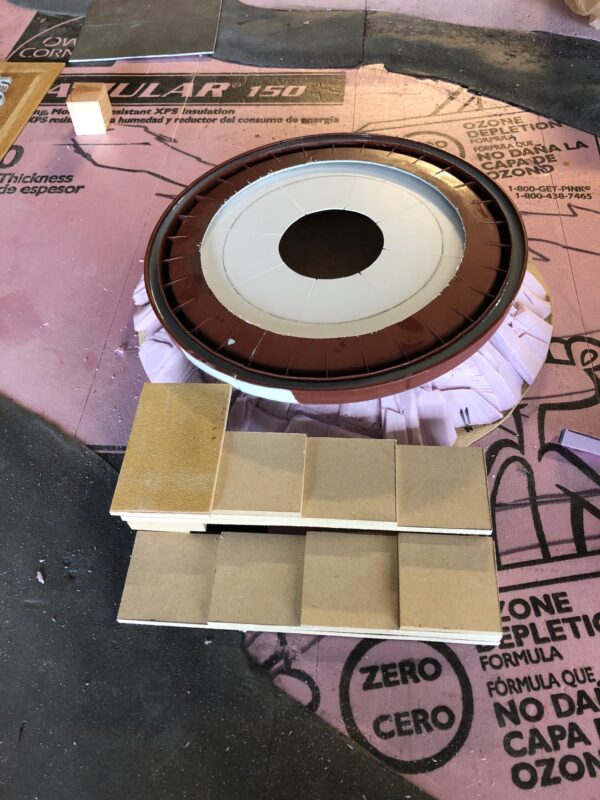
I also began carving the Arc geyser in foam. I used the top of a bucket for the Arc geyser platform.
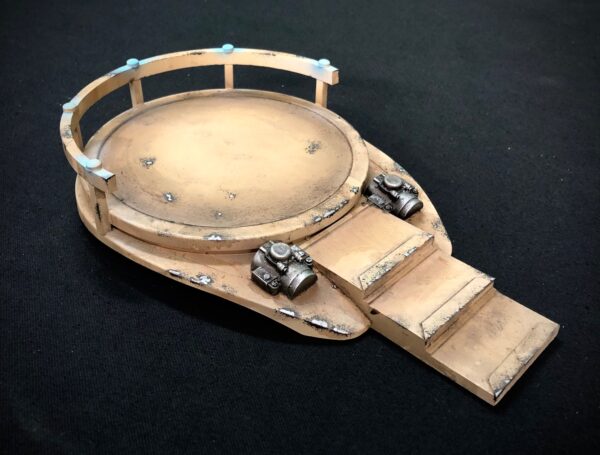
For the landing pad, I used an old broken kitchen scale, some styrene, and a section of large PVC pipe.
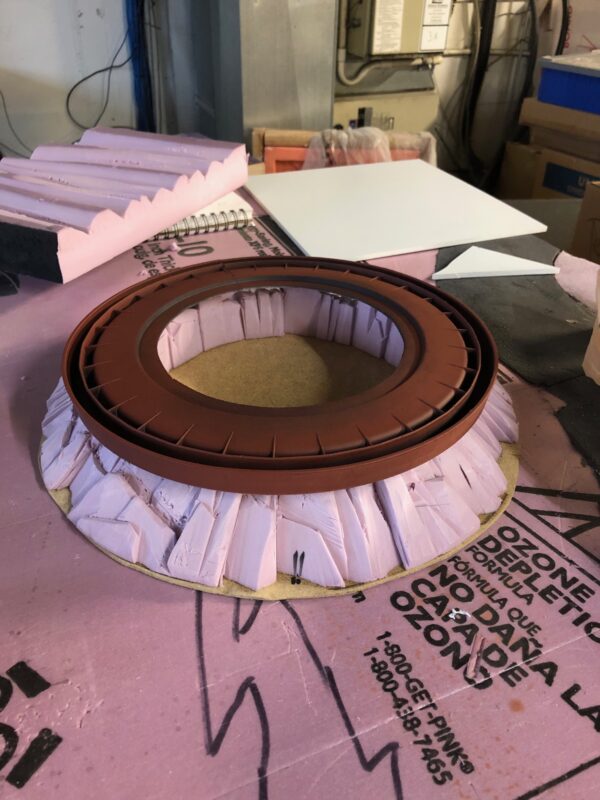
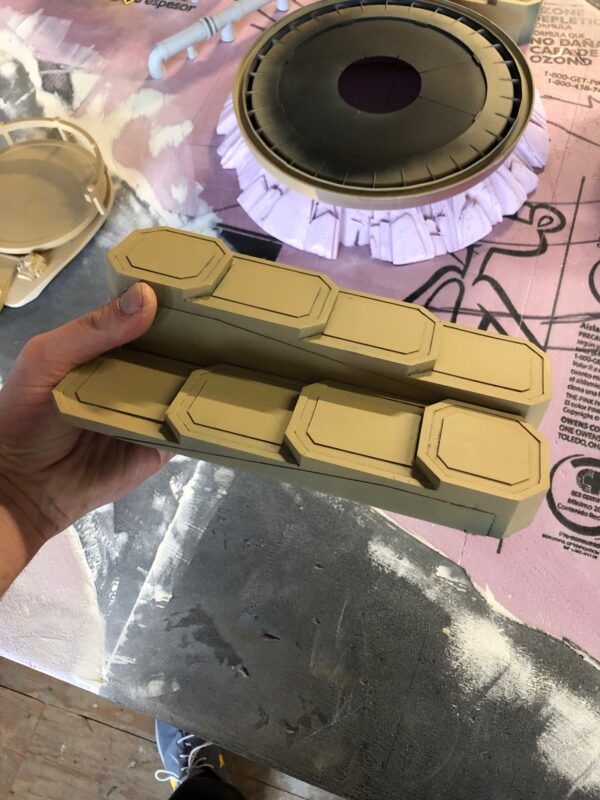
I started to block out other elements of the table as well; I began making switchback stairs from MDF that I cut on the band saw, as well as the top half of the crane (you can see the start of it on the left). It was also MDF. I ran out of grey primer at this point, so I switched to a can of red brown. I also added an interior circle made from styrene to the geyser platform. I think I poured resin into the big grove that the bucket would fit into on the lid to make it shallower as well, but I actually forget. WHOOPS!

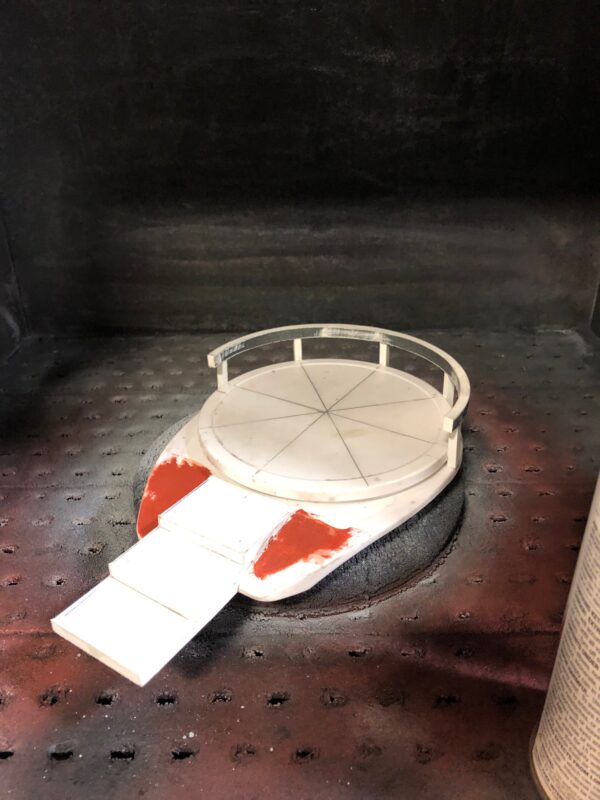
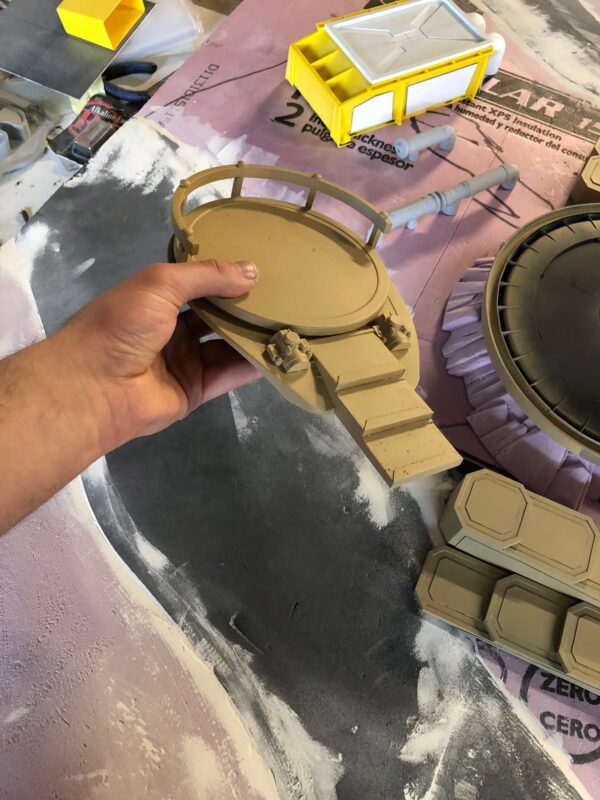
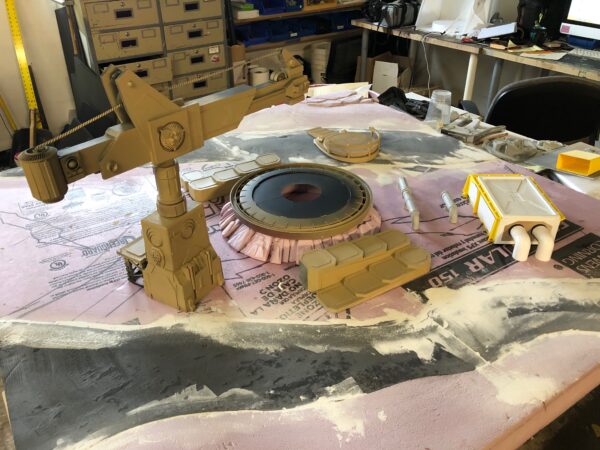
And here you can see the top of the crane in all its glory! I based it out in a tan to match the Faction colors.
The finished stairs were molded and cast in resin to speed up the process. A lot of this table had to be done quickly and inexpensively, so I had to come up with a lot of on-the-fly solutions to keep things moving along.
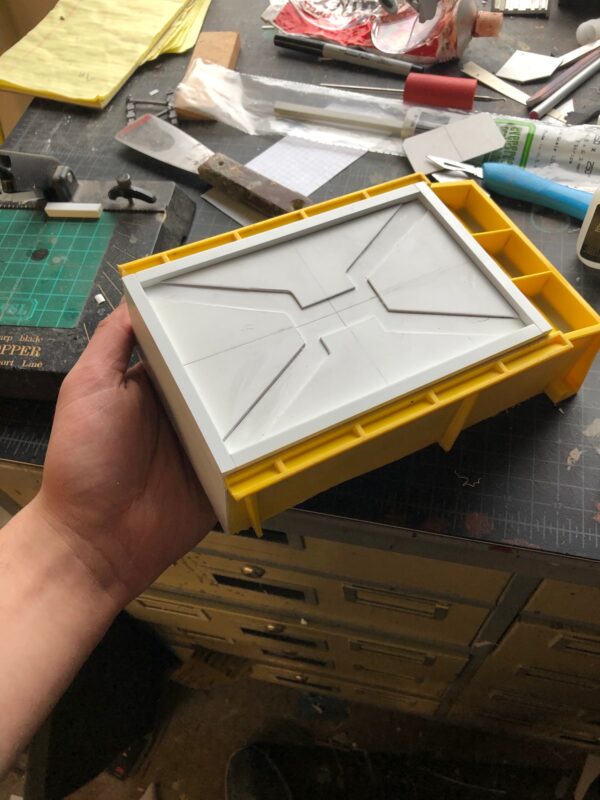
I carefully sawed a storage tub from the warehouse in half on the band saw then used styrene to detail it for another type of structure.
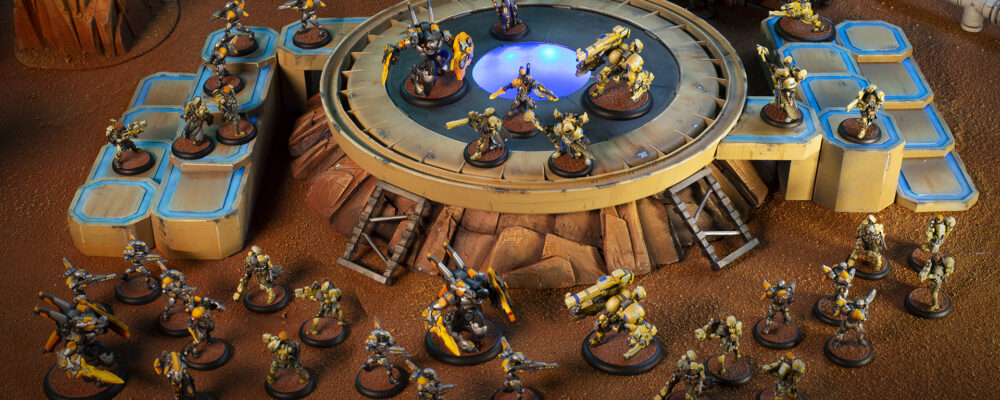
You can see the elements of the table really coming together. I wanted to keep everything modular to give me as much versatility as possible when I photograph all the models on it.
After I was comfortable with all the pieces, I added sand to the foam and painted everything and BOOOOOOM—it’s ready for photos like magic.
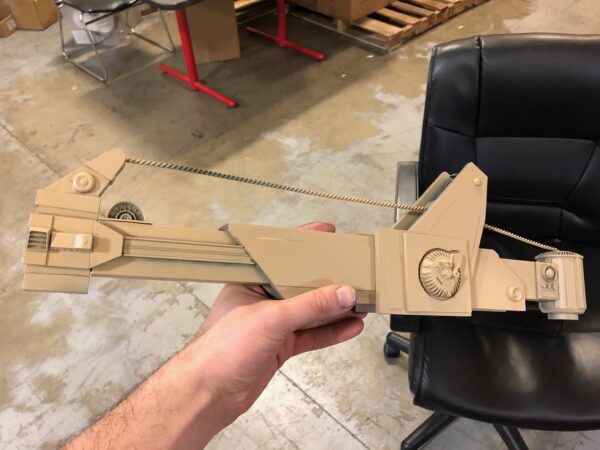
Here are some sweet photos of the crane and landing pad from the privateer_press_terrain Instagram. For more finished photos of the table, be sure to take a look at our Kickstarter and our website devoted to Warcaster: Neo-Mechanika!
https://www.kickstarter.com/projects/privateerpress/warcaster-neo-mechanika
BYEEEEEEEEEEE ’til next time!
