I’m back for another blog on the intricacies of WARMACHINE and HORDES box photography. This time, I’ll use Croak Raiders to demonstrate how the photography for a 10-model unit comes together.
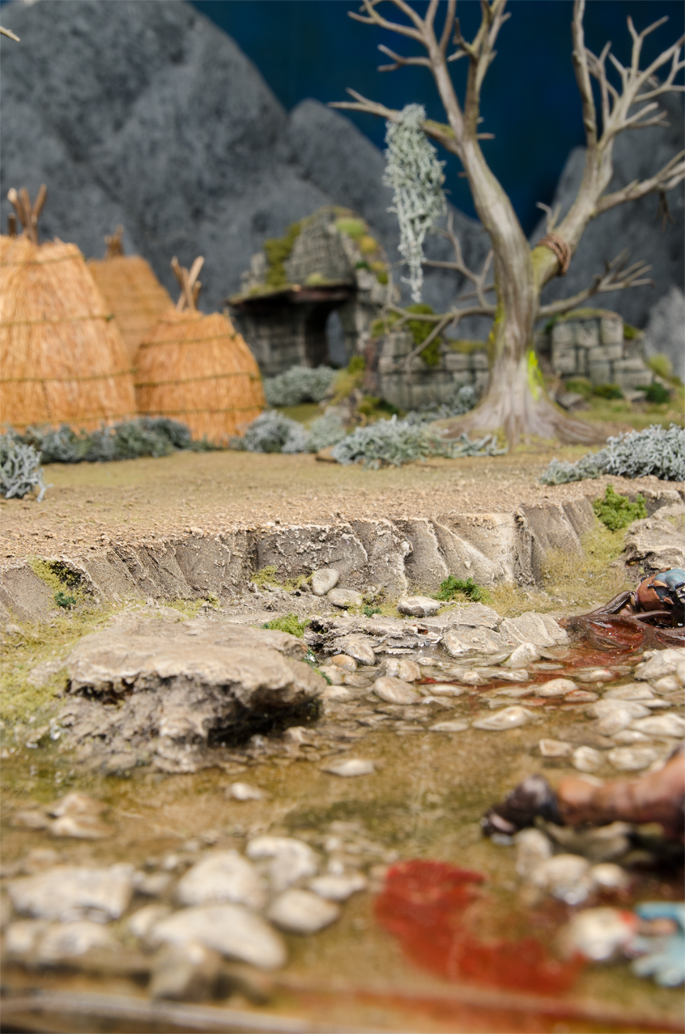
The Croak Raiders are frog people, so naturally they’ll need a swampy environment for their box shot. This terrain has a fantastic creek running through it filled with the corpses of fallen trolls—perfect for the Croak Raiders box. I’ll add huts, ruins, and lichen to fill out the background and frame the area where the croaks will stand.
Once I have the terrain set up and framed, it’s time to start placing models. I’ll start with the unit leader, as he’ll be at the center of the piece.

I’ll remove the bases in Photoshop later on, so while placing the models I have to imagine where they’ll actually appear in the final piece. The bases add a lot of visual height—especially on the 30 mm models—so it can be tricky to get the placement just right. I’ve done quite a few of these unit boxes now, however, so I have a good idea where these guys will sit once the bases are removed.
Once I’ve decided on the visual center of the piece, I’ll start placing and shooting the rest of the unit. I only have one of each unique sculpt to work with, so I’ll have to shoot each grunt three times to show the full unit.
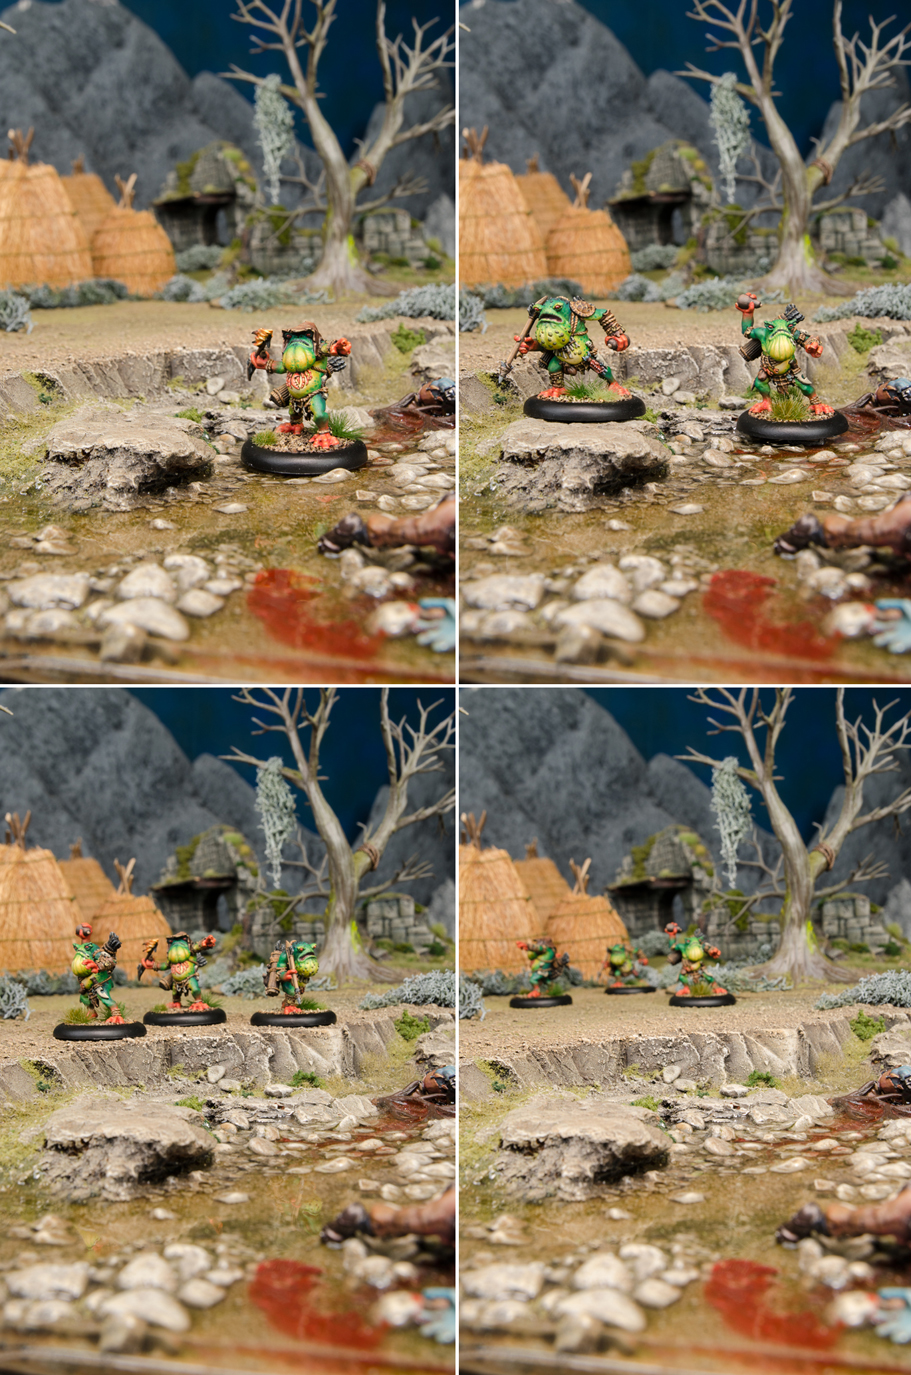
Ultimately, each Croak will be on its own layer in Photoshop, so I’ll be able to move each model around if I have to and they’ll still look natural. I don’t want to move them too much, though, because I have to keep the depth of field exactly where I want it. If a Croak is more in focus than the terrain it’s sitting on (or vice versa), it’ll break the illusion.
All the photos are now taken, and it’s time to put them together. The unit photos take quite a bit of time to complete because there are a lot of parts to manage. This particular image ended up as thirty-three separate layers!
Each Croak gets cut out of its background image and placed in the frame. The usable space on the front of a WARMACHINE/HORDES box is quite a bit smaller than the photo, so these unit shots can get a bit crowded. That also means the frame on the box now covers a lot of the background elements. I really want those huts and the tree in the shot, so I’ve resized the background image to get some of those elements back in.
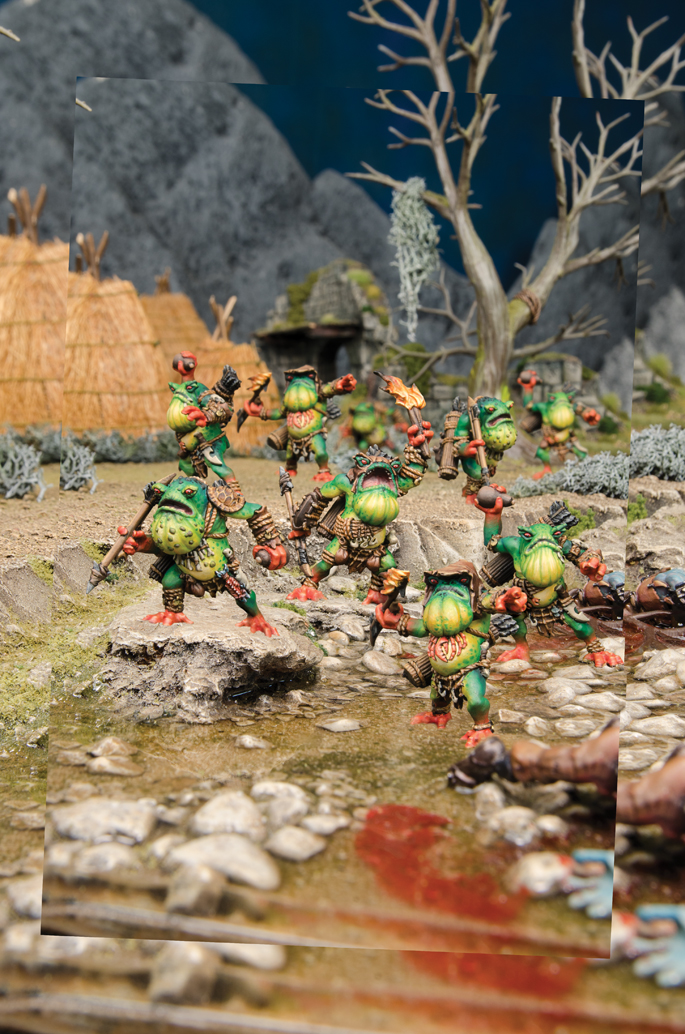
The more eagle-eyed among you may have noticed there are now only nine Croaks visible. I wrestled with this piece for a while and ultimately decided the tenth Croak wasn’t fitting, so I took it out. Sometimes there just isn’t enough room for everything. In this case, the dynamic poses of the Croak Raiders don’t leave a lot of extra space. Removing a model frees up the space I need to make everything else look good.
The models are all where I want them, so now it’s time to add a few effects. I’ll add shadows under each Croak, reflections for each Croak near the creek, swampy atmospheric effects, and a dark gradient in the background to make the Croaks really pop.

This is looking pretty rad! Time to throw it into the box frame and make sure everything fits.
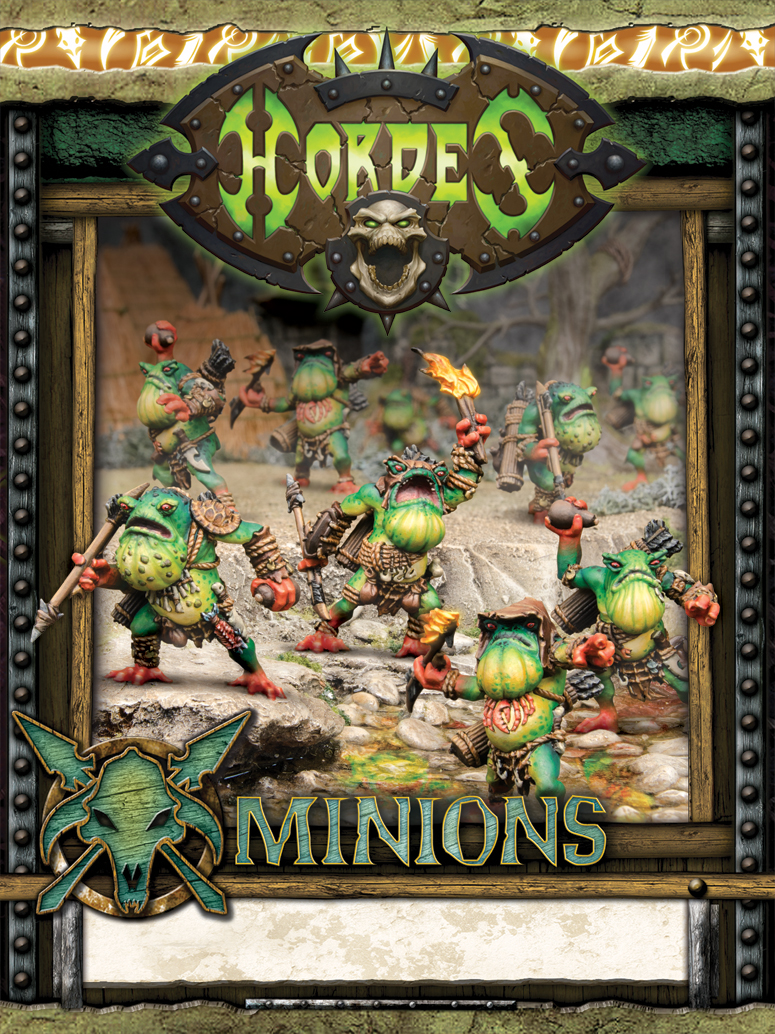
The frame covers up a lot, but this composition fits nicely. I’ve allowed the guys on the left and right to break the frame, which gives the piece nice depth.
Minions models are some of my favorite to photograph. The Croak Raiders were especially fun to shoot because of their bright colors and cool details. It’s always a challenge to shoot a full unit, but I really like how this one turned out.
So there you go! That’s another unit box finished, and it’s on to the next one. I can’t wait to show you what I’m working on now—but for now, it’s still a huge secret.