For my last Insider, I put together an assembly diagram for the Convergence of Cyriss Battlegroup box. For this Insider, I thought I would share a little of the progress I’ve made on my Convergence of Cyriss army.
When painting an army, I love to take the time to develop alternate paint schemes. I usually start by looking over the studio paint schemes to see if I find something I want to keep in terms of colors. For my Convergence army, I knew I really wanted to brighten up the color pallet and add a non-metallic focus color. After looking around the office and skimming the Internet for inspiration, I noticed the Convergence of Cyriss token set sitting on my desk. That teal color was perfect!
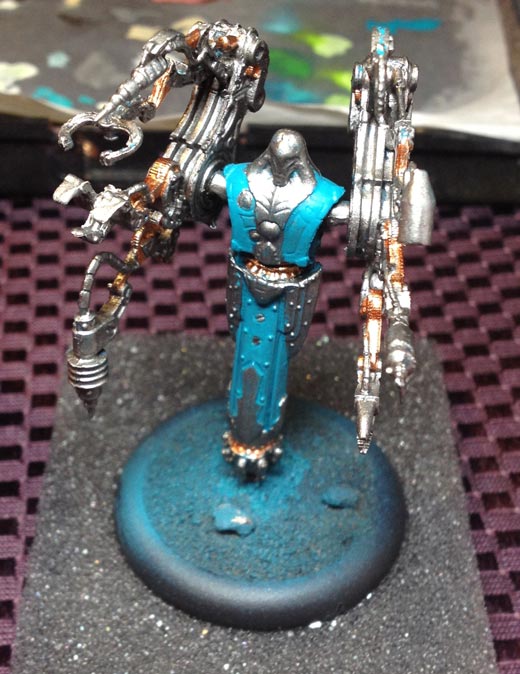
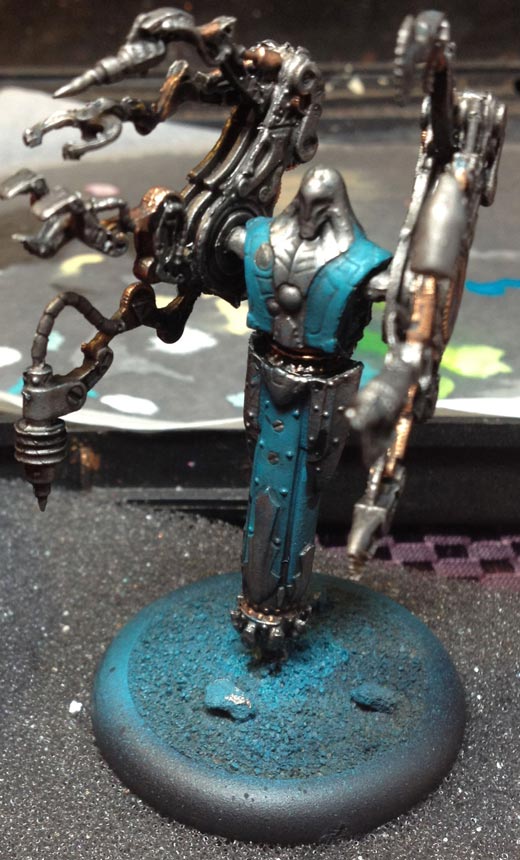
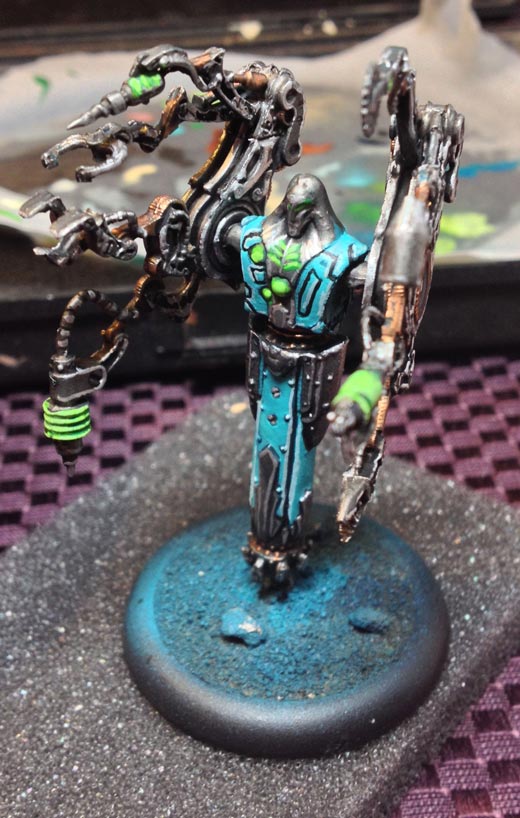
Teal would bring the perfect amount of brightness I was looking for to my paint scheme. So, after a bit of playing around with the colors, here is the result:
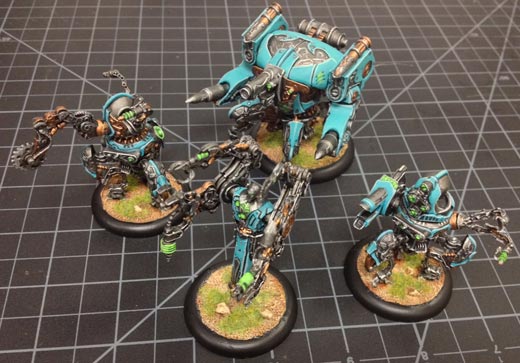
This paint scheme was quick and easy, so here is how to re-create it:
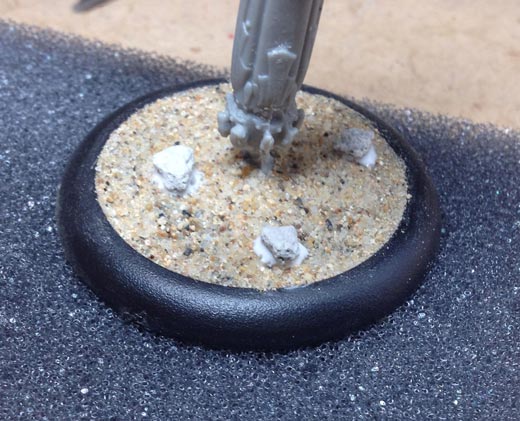
After the model has been fully assembled, glue on some modeling sand. To show a little more variance in the bases I added a few pieces of ballast used for model trains. I prefer to base my models before painting them, as the primer will assist in holding the basing materials to the model. After everything is dry, it’s time to base the model using P3 Primer.
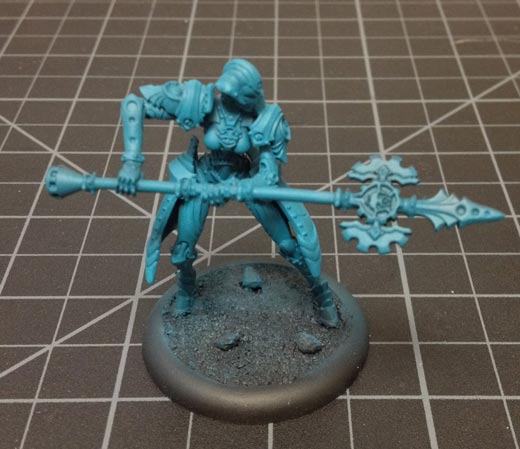
Once the model is dry lay down the base coat of Meredius Blue, using an airbrush if you have one, to help speed up the process.
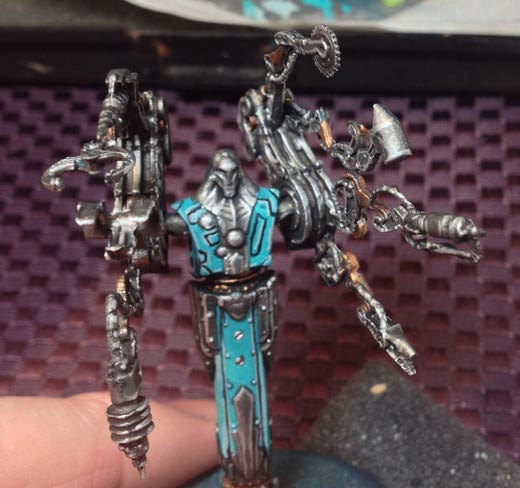
Once the basecoat is completely dry, go back and pick out all the areas you want to be white metal using Cold Steel.
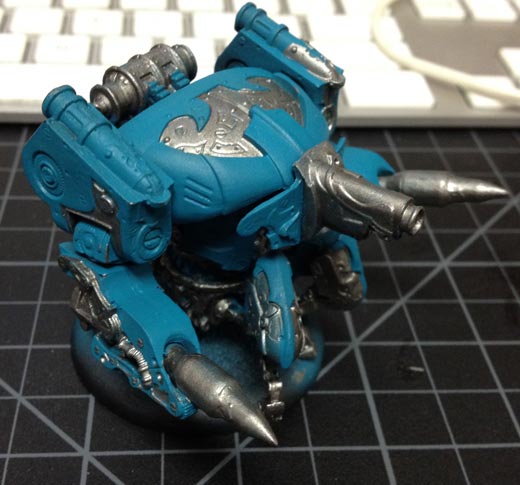
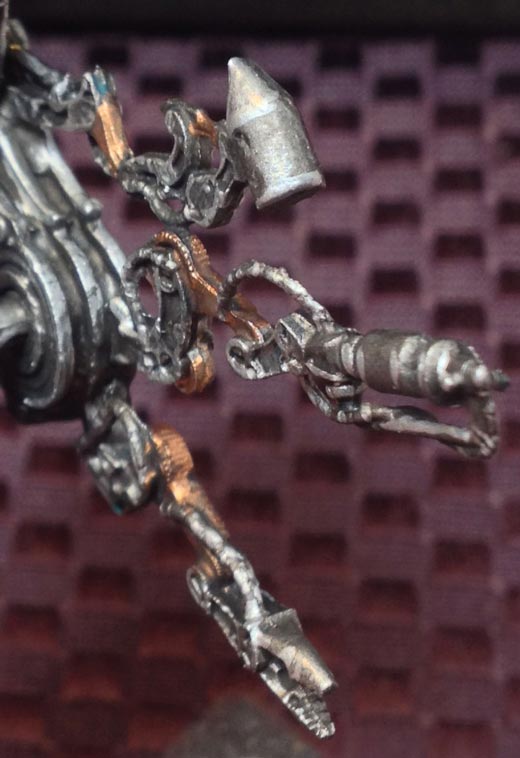
Then go back and pick out areas to be a near-brass color and paint them Rhulic Gold.
With the base colors applied, it’s now time to give the model a wash. Take P3 armor wash, thin it down with water, and apply a healthy coating.
Then go back to the previous areas of Meredius Blue and add a second coat, making sure to leave some of the washed color showing from the previous step. This allows for more depth as the model is highlighted. For the first highlight to the blue, I use Arcane Blue. Apply the Arcane Blue over the Meredius Blue, again making sure to allow small areas of the previous layers to show through to create more depth. To finish highlighting, use Underbelly Blue as a hard-edged highlight.
It will be easier to highlight the white metals, as the armor wash has already created a natural-looking highlight to the Cold Steel. Simply add a final layer of highlights using Quick Silver.
To highlight the brass color, mix a small amount of Solid Gold with Rhulic Gold. For this metal, I chose not to do a hard-edge highlight and instead simply used a small drybrush to apply an additional layer.
Next up is the glow effect. Start by applying Iosan Green.
Highlight by drybrushing a small amount of Necrotite Green over the Iosan Green.
Finally, mix a small amount of Necrotite Green with Menoth White Highlight and drybrush this color over the previous layer as desired.
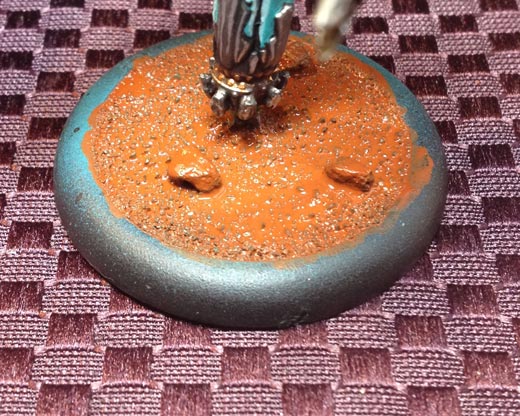
To finish the model I used Bloodstone and covered the entire base in a solid layer. Allow this layer to completely dry. I would suggest sticking the model next to a box fan to help speed up the drying process.
Once the Bloodstone is completely dry, lightly drybrush a layer of Rucksack Tan over the Bloodstone. Be careful when doing this not to get too much on the model, though a small amount here and there will help give the illusion that the model is walking through the dirt.
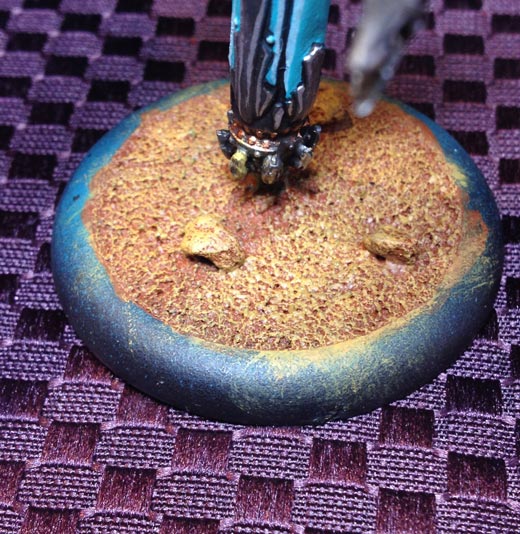
To finish the base, drybrush a layer of Menoth White Base over the Rucksack Tan. Glue on some static grass and hit the model with a matte varnish spray to seal it.
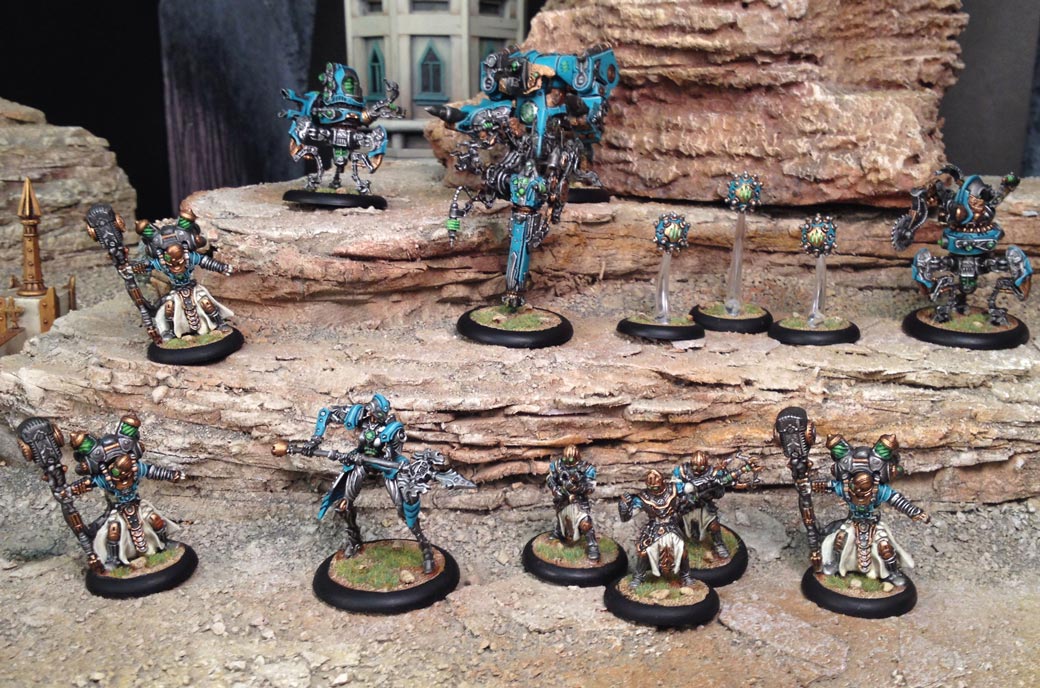
I hope everyone is out there enjoying the new Convergence of Cyriss faction. I can hardly wait to see what kind of alternate paint schemes everyone else has created!