by Charles Foster III
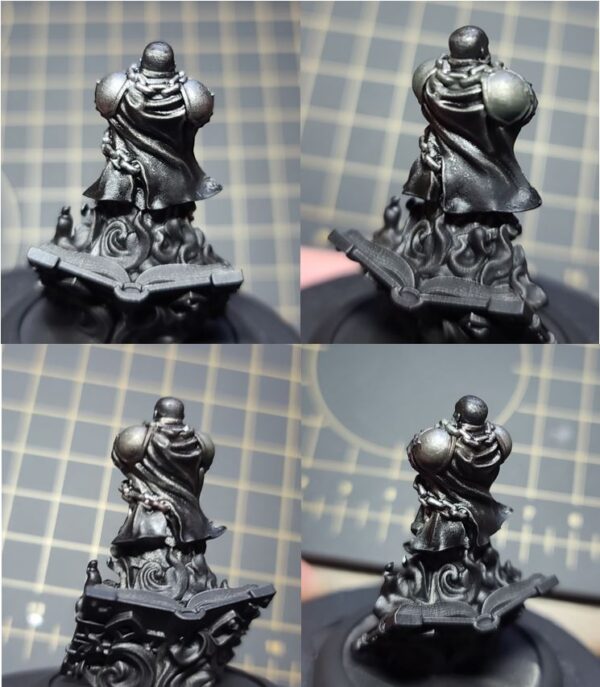
Prep
For this model, there isn’t anything fancy to prep—just a little black primer, thin and even across the model.
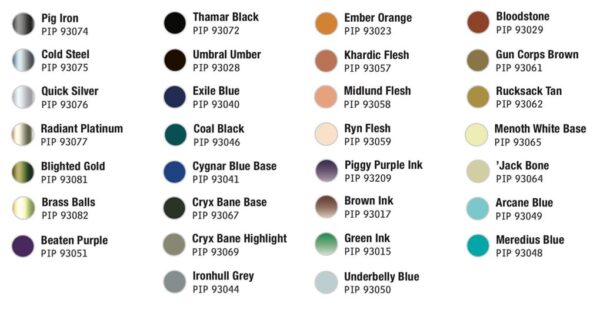
Colors Used
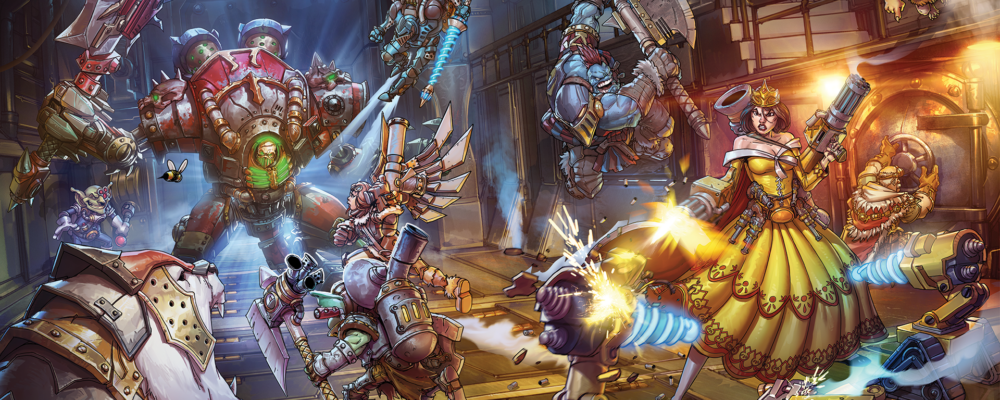
Welcome back to another painting Insider. This week, we’re expanding on some of the alternate paint schemes with the Living Covenant. A few weeks ago, I painted up a great looking Feora the Forsaken, which can be found here. I was really digging that paint scheme and think this is an opportunity to continue with the scheme. So, let’s grab some paint and brushes and dive in.
Blighted Steel
Step 1) I start with the blighted steel by drybrushing an even coat of Pig Iron over the areas.
Step 2) For my first shade, I apply Cryx Bane Base.
Step 3) Next, I take Brown Ink, Green Ink, and Thamar Black and mix them together in a 4:2:1 ratio. I apply this color as the second shade to deepen the shadows on these metallic areas.
Step 4) For the first layer of highlighting, I apply Cold Steel.
Step 5) Once the model is complete and sealed with Dullcote or matte sealant, I return to these areas and apply a final highlight of Quick Silver.
Blighted Gold
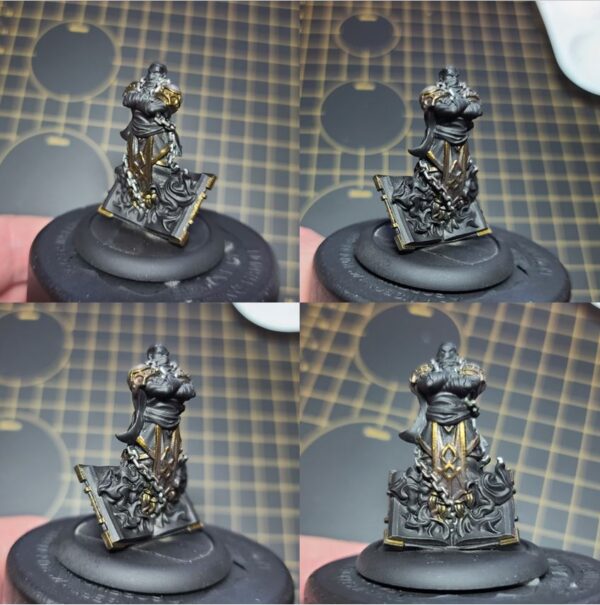
Step 1) Next, let’s move on to the golds on the model. I start by basecoating the area using Blighted Gold.
Step 2) For my first shade, I take a 50:50 mix of Cryx Bane Base and Brown Ink.
Step 3) For the second shade, I grab Umbral Umber and Coal Black. I mix this in a 3:1 ratio of Umbral Umber to Coal Black and apply it to the gold areas, focusing on the deepest regions.
Step 4) For my first layer of highlights, I start by applying a bit of Brass Balls.
Step 5) Finally, once the model is complete and sealed, I return and apply final highlights with a mix of Brass Balls and Radiant Platinum.
Dark Blue Cloth
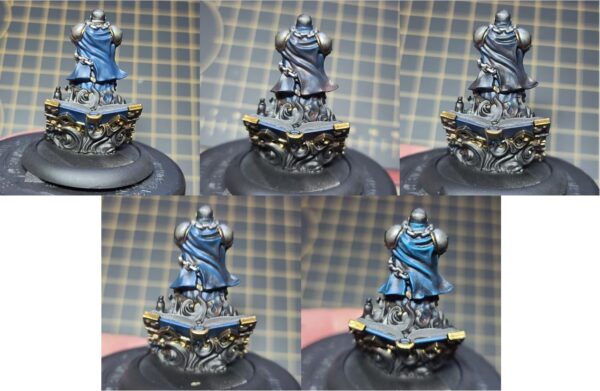
Step 1) To get the look I’m going for on the cloth, I start with a 50:50 mix Coal Black and Exile Blue. I apply this in thin layers to get a solid, even basecoat.
Step 2) Next, I water down Umbral Umber and apply this as the first shade.
Step 3) To darken the deepest areas of shadow, I use a second shade of Thamar Black.
Step 4) For the first highlight, I add a few drops of Cygnar Blue Base to the Coal Black and Exile Blue mix from the first step of this section. I apply this color to start to brighten up the cloth.
Step 5) Taking this one step further, I add Underbelly Blue to the previous mixture to apply as a final highlight.
Purple Skin
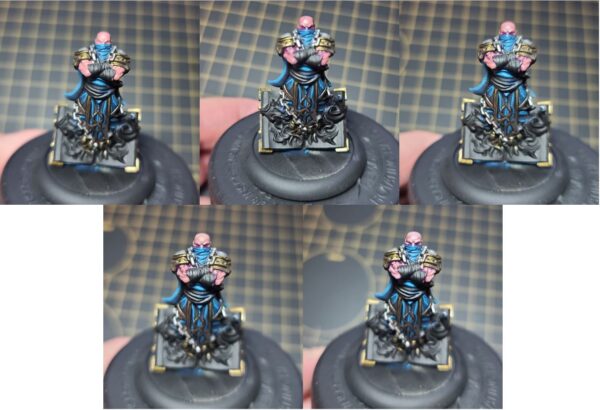
Step 1) To get that frozen look of frostbitten skin, I mix Khardic Flesh with Beaten Purple in a 50:50 ratio and apply this color as my basecoat.
Step 2) To create even shadows for the skin, I take Piggy Purple Ink and thin it out with water in a 1:4 ratio. I then apply this in thin layers as a glaze. Make sure each layer has fully dried before applying another layer.
Step 3) After letting the ink dry completely, I take the base mixture and apply it as a layer to bring the skin back up. I make sure to leave the lower area slightly visible to create depth on the face.
Step 4) I add Midlund Flesh to the base color to create the first highlight for the skin.
Step 5) Finally, I add Ryn Flesh to the mixture and apply as a final highlight.
Book Pages
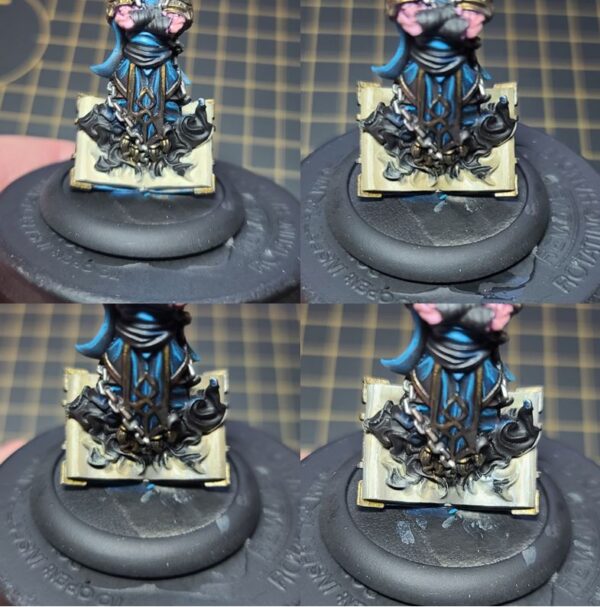
Step 1) To paint the pages of the book, start off with a solid basecoat of ’Jack Bone.
Step 2) Paint in any freehand script or designs you want to include by mixing Umbral Umber and Thamar Black.
Step 3) Apply shading with a mixture of Mixing Medium, Ember Orange, and Cryx Bane Highlight. Try to avoid going over any of your designs and freehand.
Step 4) To deepen the shading, mix Gun Corps Brown and Ironhull Grey with a lot of Mixing Medium.
Step 5) To add in highlights, mix Menoth White Highlight, ’Jack Bone, and more Mixing Medium and carefully use this mixture to apply highlighting.
Step 6) Finally, using Umbral Umber and Thamar Black, touch up the script in any place it was overly covered by the previous shades and highlights.
Blue Fire

Step 1) An important part of this model will be the blue flames. To start the fire and glow areas, I use a basecoat of Coal Black.
Step 2) Time to work the colors up by adding a little bit of Meredius Blue to the Coal Black and begin to work the highlights up.
Step 3) For my next highlight, I use straight Meredius Blue and create another layer of highlighting.
Step 4) Finally, mix in Arcane Blue to the previous step and apply as the final highlight on the highest raised areas.
Step 5) I mix in a little Menoth White Base to the mixture to create the highest highlights and apply to the tips.
Basing
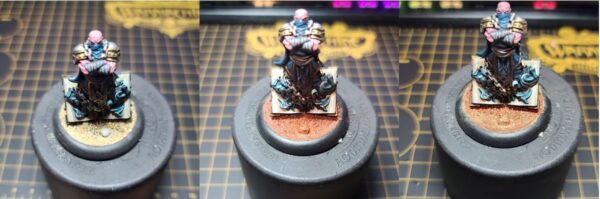
Step 1) Only one thing left to do, drop some basing on. I add in sand and ballast with Elmer’s white glue and let it dry completely.
Step 2) Next, I water down a bit of Bloodstone and apply across the base material to let it soak in. In most cases, I apply a hair dryer to help this process along.
Step 3) Once it’s dry, I drybrush on a little bit of Rucksack Tan.
Step 4) For the final highlight, I drybrush on a thin coat of Menoth White Base.
Step 5) Finally, I glue on some static grass.
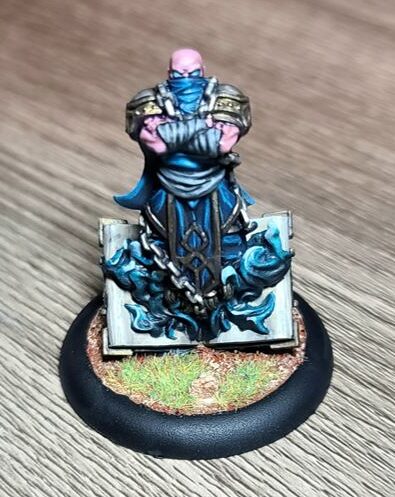
I am really loving the look of this paint scheme! I will 100 percent be painting up an army in this color scheme at some point. Need to get these Riot Quest models done to move onto some new armies! Join me next time when we take on the master of TNT and everyone’s favorite goblin, Gubbin! See you guys next time.