by Charles Foster III
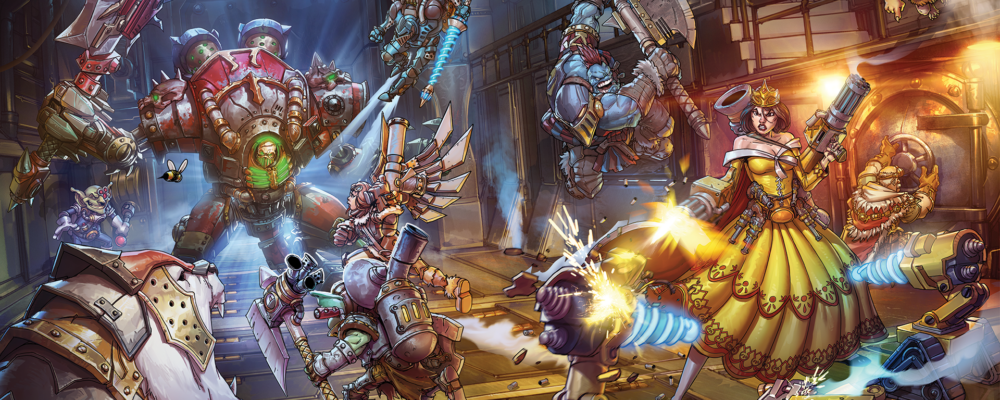
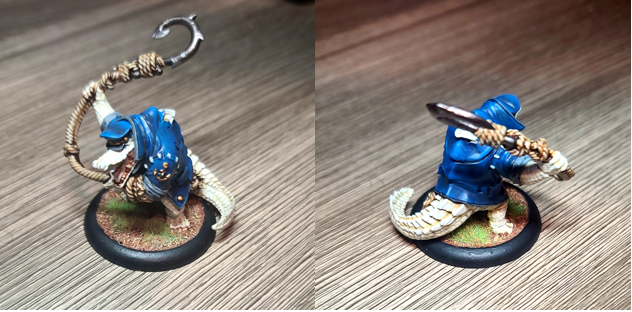
Back in the saddle for another painting Insider, and this was the closest poll of all so far. When I checked in on Sunday to see which model I would be painting, it was literally a 50/50 tie. After a few hours, I checked again, and Captain Crawtooth was just barely ahead. So, with that smallest of margins, I reached for the paintbrush and away we went.
Colors Used
Model Prep
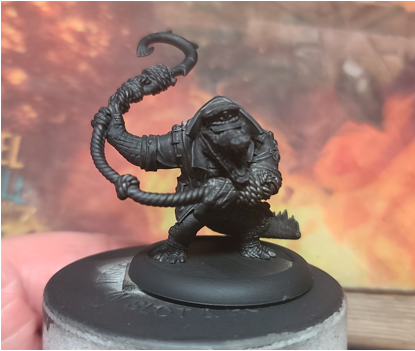
Nothing out of the ordinary for this one: I just give the model a once over with some black primer.
Skin Tones
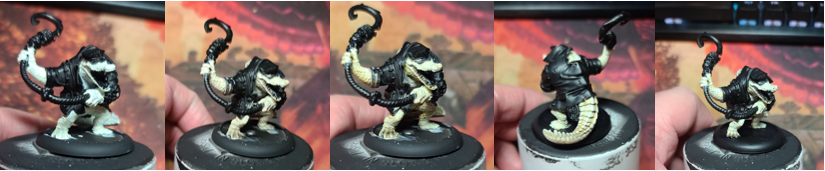
Step 1) Paint all of the skin areas with a solid basecoat of Menoth White Highlight.
Step 2) Wash the model with some watered-down Hammerfall Khaki.
Step 3) Some areas could use a bit more shade to define the areas, so I water down Battledress Green and apply as a wash. Only apply this to the deepest of shadowed areas as it will easily overpower the lighter wash from the previous steps.
Step 4) Drybrush the skin with Menoth White Highlight. This will allow you to reclaim some of the detail on the upper areas that might have been muted with the wash.
Step 5) Highlight the edges of the scales with Morrow White to make them stand out.
Blue Jacket

Step 1) Start by basecoating the area using Cygnar Blue Base.
Step 2) Begin shading the area by applying a coat of Exile Blue to recesses.
Step 3) To then deepen the shadow, mix Exile Blue and Battlefield Brown. I use a mixture ratio of 3:1 Exile Blue to Battlefield Brown.
Step 4) To highlight the area, use Cygnar Blue Highlight.
Grey Sleeves
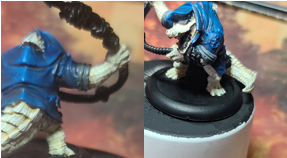
Step 1) I start by basecoating the sleeves in Ironhull Grey.
Step 2) I shade this area with Asheth Grey.
Step 3) Finally, I hit the area with a highlight by mixing Frostbite and Ironhull Grey together.
Ropes
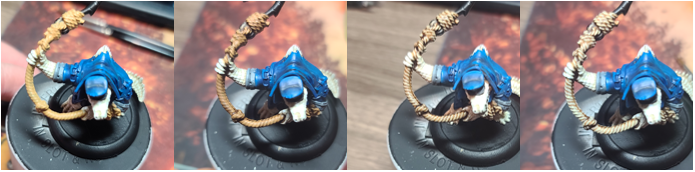
Step 1) For the ropes, I start with a solid basecoat of Rucksack Tan.
Step 2) I want a deep look for the shade, so I mix Umbral Umber with Brown Ink and apply as a wash.
Step 3) I highlight the strands using Menoth White Base. Make sure to only highlight the raised areas.
Step 4) Finally, to mute it down a little bit, I thin out Brown Ink with water at a 5:1 ratio of water to Brown Ink and apply as a final wash.
Hook
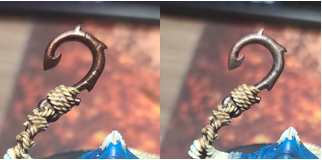
Step 1) Next up, the rusty metal hook. I start with a solid coat of Deathless Metal.
Step 2) I thin out Pig Iron with some water and apply as a wash. Take your time and make sure the Pig Iron doesn’t slip onto any of the rope areas.
Step 3) To highlight, I use Cold Steel and pick out some of the hard edges and nicks in the hook’s surface.
Golds

Step 1) For the gold areas, I basecoat with Molten Bronze.
Step 2) To shade this color, I wash these areas with Brown Ink. A little goes a long way over the top of the Molten Bronze, so take care when applying it. If you do go a little overboard, simply reapply your base color.
Step 3) To highlight the area, I use Solid Gold mixed with Molten Bronze.
Step 4) After sealing the model, return to these areas and use Solid Gold on the most raised surfaces.
Mouth
Step 1) For the inside of the mouth, put down a solid basecoat of Ryn Flesh.
Step 2) To deepen the color, add some water to Flesh Wash and apply as a thin wash.
Step 3) Finally, go back with Ryn Flesh to create a highlight. You can take this one step further and use Ryn Flesh with Menoth White Highlight to create a final highlight.
Teeth and Claws

Step 1) For the teeth and claws, I start off with Bloodstone.
Step 2) Making sure to leave some of the previous layer showing through, I add a layer of Rucksack Tan.
Step 3) Finally, on the highest areas, I use a little Menoth Base White.
Basing
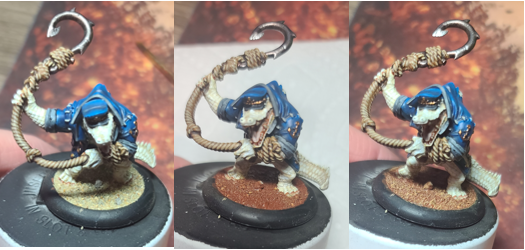
Step 1) Add in sand and ballast with Elmer’s white glue and let it dry completely.
Step 2) Water down a bit of Bloodstone and apply across the base material to let it soak in.
Step 3) Once it’s dry, I drybrush on a little bit of Rucksack Tan.
Step 4) I drybrush on one final highlight of Menoth White Base.
Step 5) Glue on some static grass.
With the basing complete, we’ve added another model to the completed list. With so many people voting for Bumbles and just bear-ly missing the cut, I think I will go ahead and forgo a poll this time and paint Bumbles for next week’s insider. See you next time, painters!