
by Michael Kessler
Hi, everybody! I’m Michael, and I’m back to teach you how to make some basic water terrain!
Whether the game is WARMACHINE, HORDES, or Warcaster: Neo Mechanika, water terrain can make gameplay more interesting and can be some of the most aesthetically pleasing terrain out there. But, in my experience, it’s some of the most underrepresented terrain in most game stores.
Building good water terrain isn’t as difficult as it first seems. I hope this step-by-step article will help demystify the process.
So, let’s get to it!
Supplies and Tools Required
- 1/8˝ MDF or similar suitable hardwood
- Wood glue
- Sandpaper/sanding block, various grits (100–300 grit)
- Wood filler putty
- Play sand/model railway ballast
- Jigsaw or scroll saw
- Belt sander (not strictly required but a massive time-saver!)
- Chip brush
- Craft sticks or tongue depressors
- Hot glue gun
- Snap-blade knife or hobby knife
- Formula P3 Umbral Umber: https://store.privateerpress.com/umbral-umber/
- Formula P3 Rucksack Tan: https://store.privateerpress.com/rucksack-tan/
- Formula P3 Menoth White Base: https://store.privateerpress.com/menoth-white-base/
- Formula P3 Inks: https://store.privateerpress.com/search.php?search_query=ink§ion=product
- Envirotex Lite
Bonus Tool
Blowtorch
(…yes, really.)
A Note On Safety
Follow all manufacturer-recommended safety instructions when using power tools and other sharp, pointy things. Just… c’mon. You know.
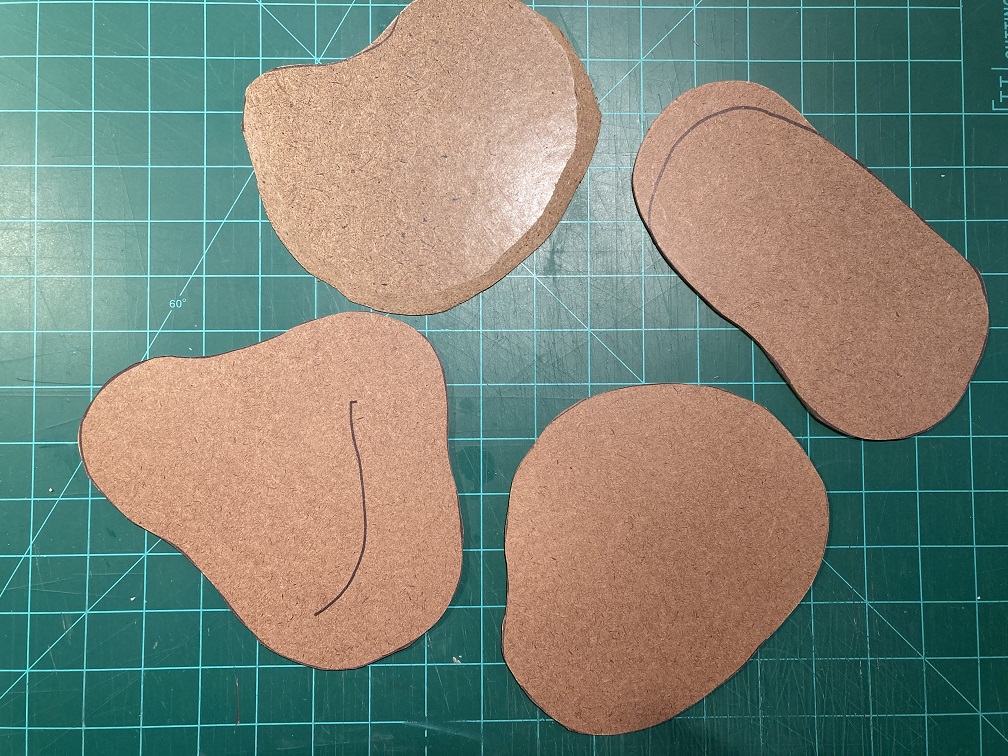
Step 1: Draw Some Shapes
Get a marker and your MDF. Draw some vaguely roundish, organic-ish shapes on it.

Step 2: Cut Out Those Shapes
Cut those shapes with your jigsaw.
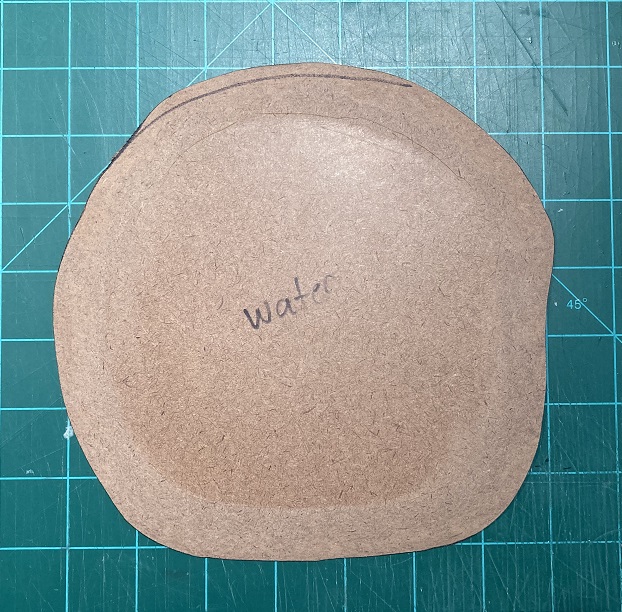
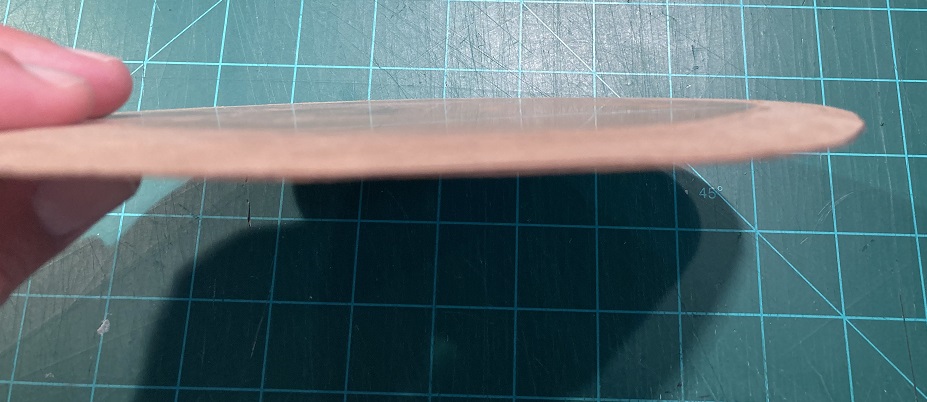
Step 3: Bevel the Edges
Take your cut shapes to that belt sander and start sanding!
Try to sand a gentle slope all around the edges, coming into the material approximately 1˝ all around. It’s okay if you sand slightly more or slightly less, but anything less than about ¾˝ makes for a noticeably sharp incline on the table and can make it hard to position models on the finished piece.
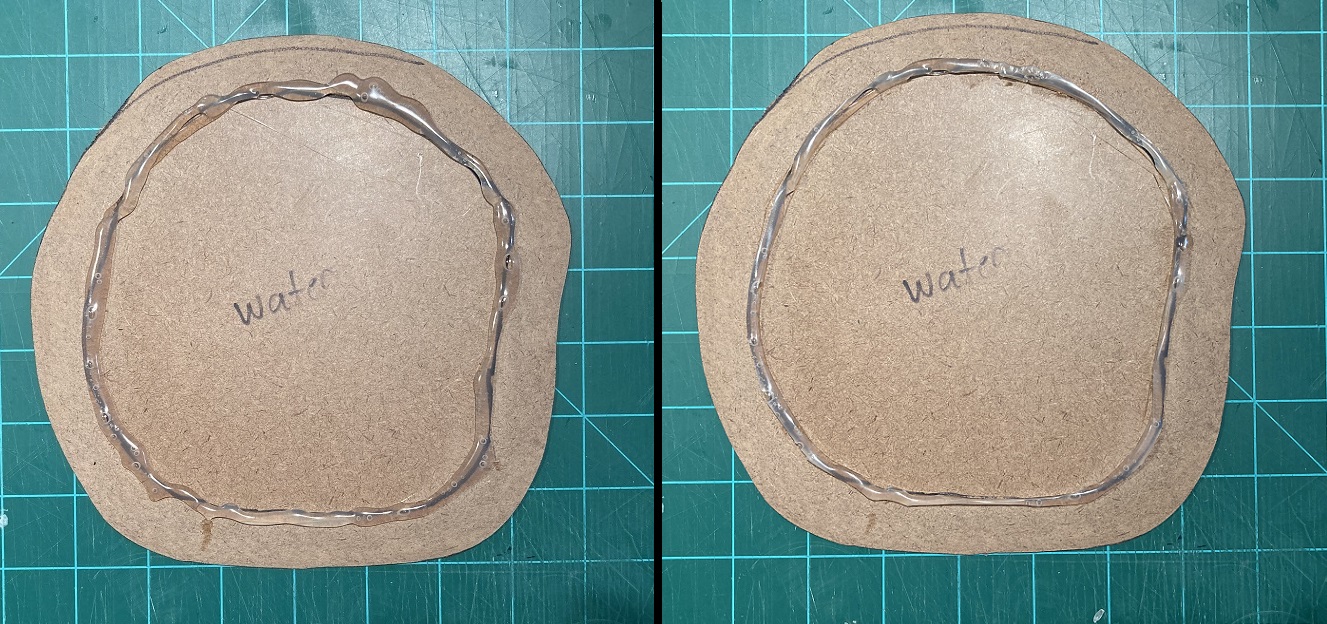
Step 4: Hot Glue the Water Containment Field
Hot glue? Yes!
A bead of hot glue is my personal secret weapon for making good, consistent water terrain. While the final containment wall will be formed from wood putty, the hot glue provides an initial point from which to build. Without it, I’ve found building up a good-looking wall to be difficult and needlessly time consuming.
Lay down a bead of hot glue roughly 1˝ from the perimeter of the piece. You can see that I drew a guideline in marker before applying the hot glue.
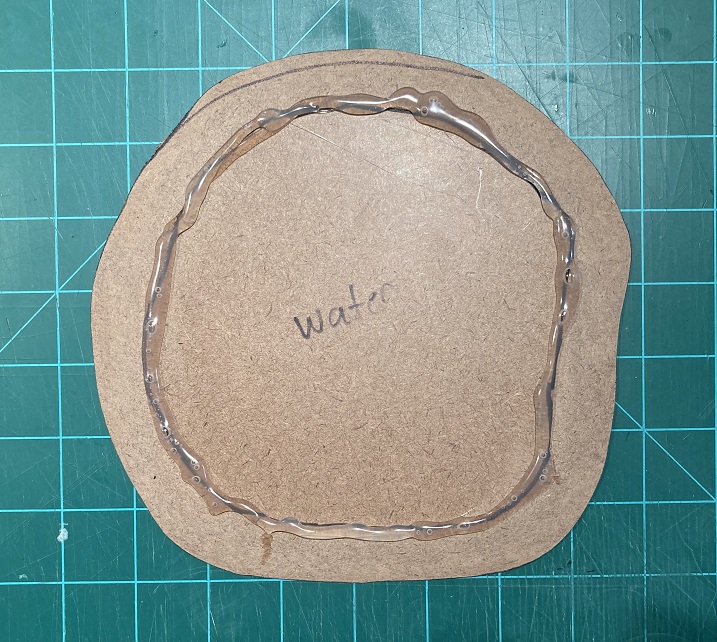
The bead of glue should be about as tall as a 30mm base, as you can see here:
A spare battlegroup box Kozlov 1 demonstrates the glue proper depth. (Did you know that a gorgeous new Kozlov 1 sculpt is now available? It is, and you should get one!): https://store.privateerpress.com/lord-kozlov-viscount-of-scarsgrad-khador-warcaster/
Don’t worry if you glop a blob of hot glue here or there, either too wide or too tall. We’ll fix it in post!
…
Okay, now we’re in post.
Grab a snap-blade knife and trim away any excessively large areas of glue, focusing on the inner edge of the containment area. Ultimately, the inner wall on the finished piece should drop away fairly sharply. This (along with a good paint job) helps lend a sense of depth to the water feature.
You can see the difference in the glue from the “before” photo on the left, to the “after” photo on the right:
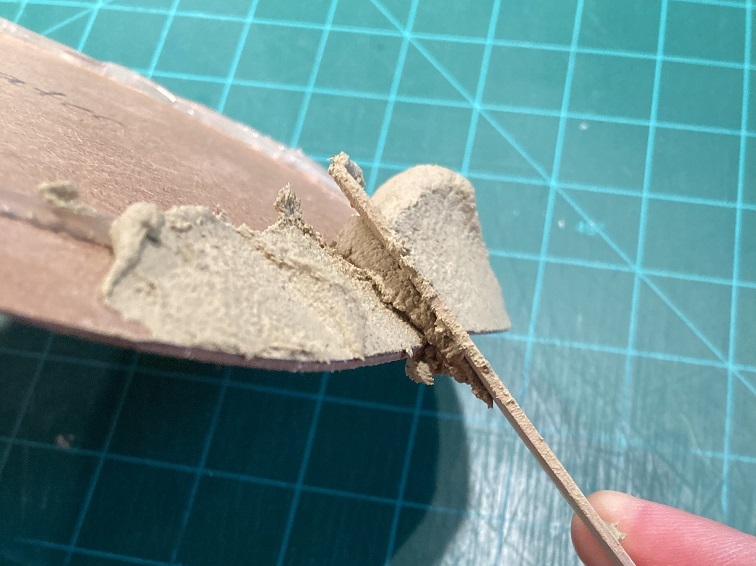
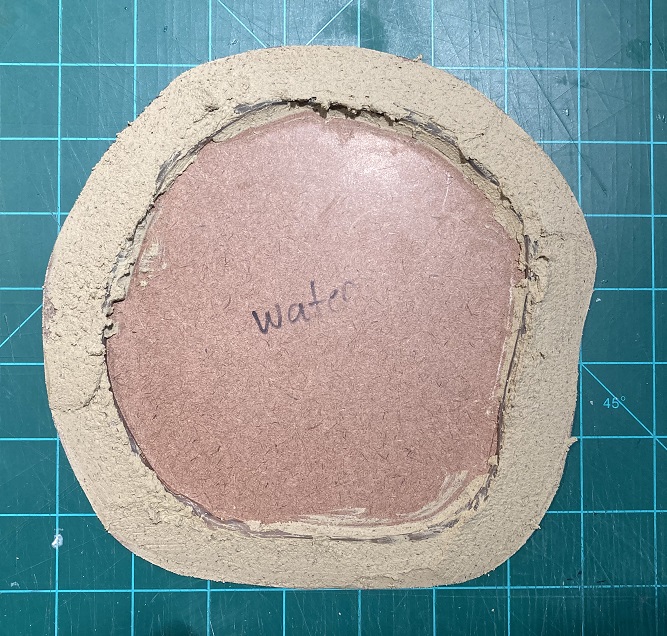
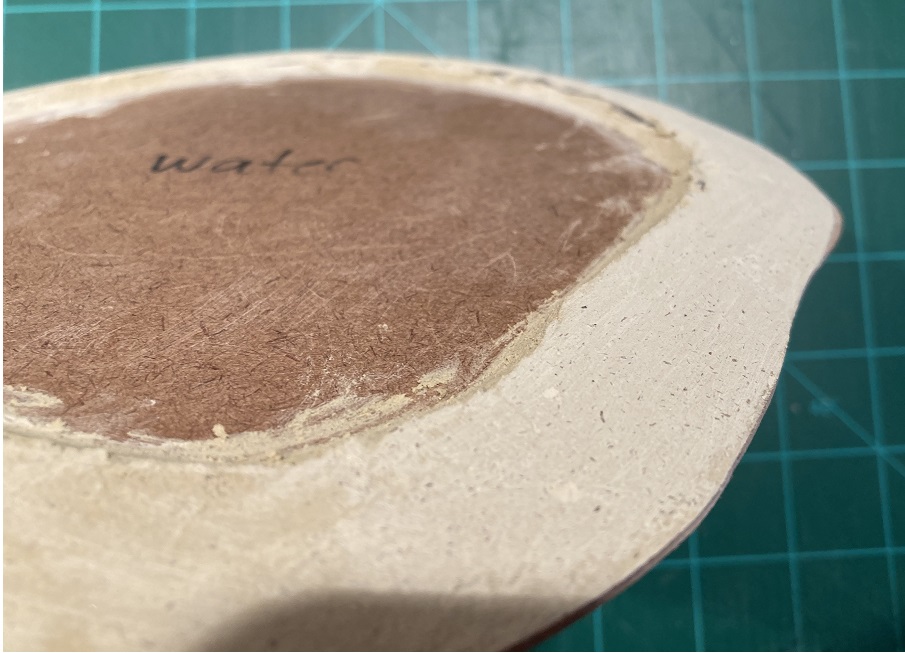
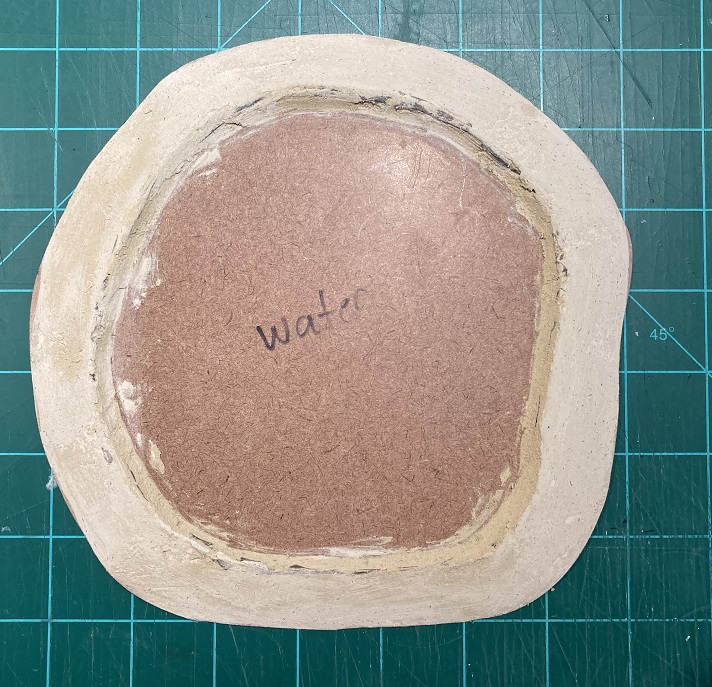
Step 5: Form the Banks with Wood Putty
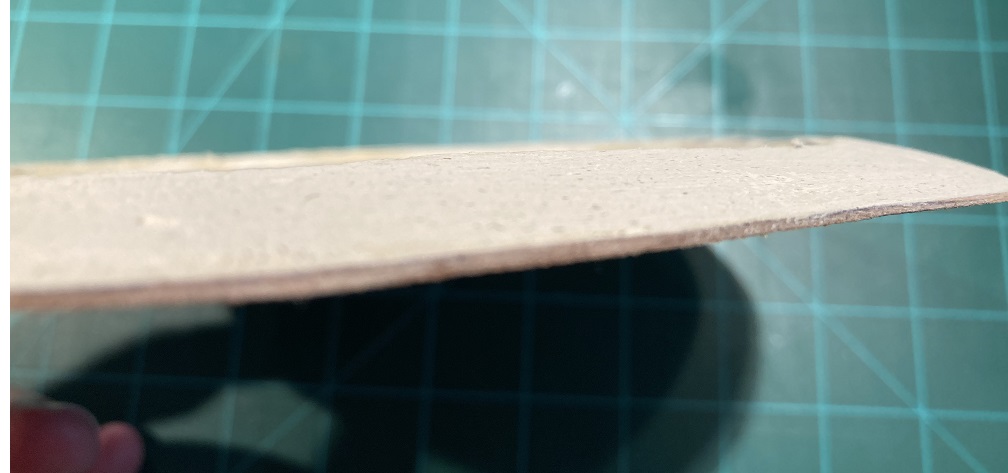
Grab your wood putty and a tongue depressor.
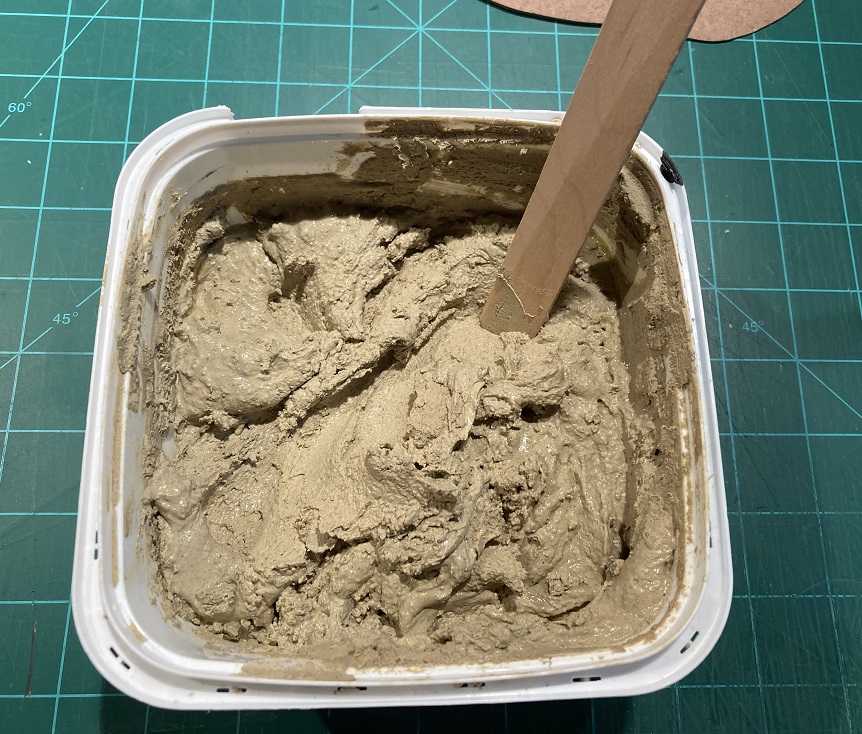
Scoop some wood putty with your stick and, using smooth pulling motions, apply the putty to form the banks. The putty should just barely crest the bead of hot glue, hiding it from the naked eye. Try to make the slope as gentle as you can. Wood putty is sticky, so don’t worry if the first pass is not perfect. We’ll let the putty dry and repeat this step as necessary, sanding away any burrs or problem areas in post.
Got your first coat down? Good! Let it cure overnight.
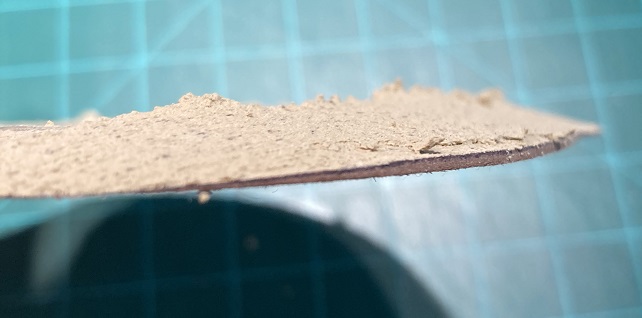
Step 6: Sand Everything, First Pass
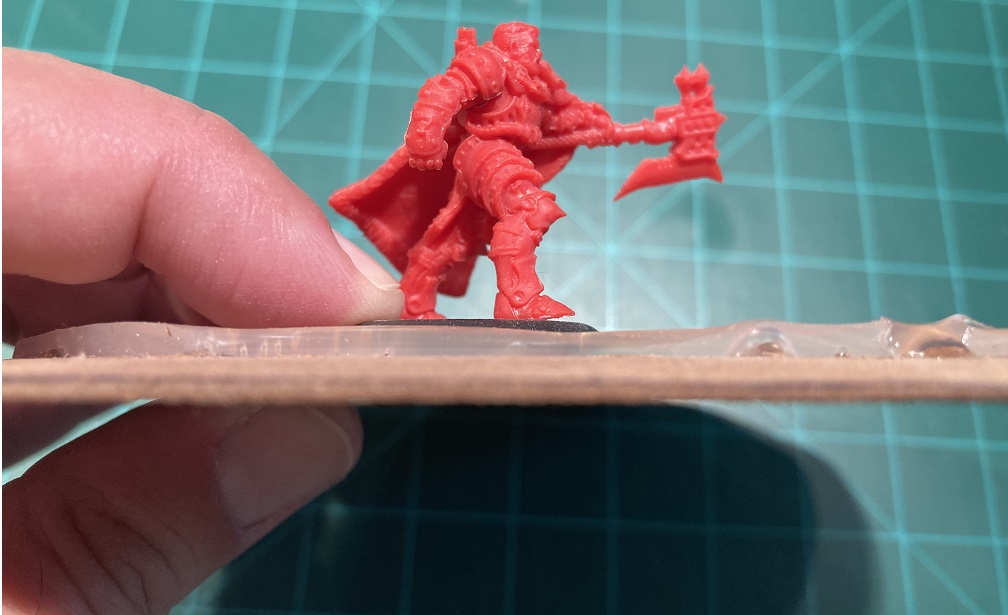
Grab your sanding block and sand the outer banks into a gentle slope. Keep a test model handy and use it to check balance at various points. This will allow you to find any problematic areas and correct them.
The hot glue should be completely covered by the wood putty at this point, with maybe only hints of it showing on the rim in places. Exposed glue will look unnaturally smooth later, so try to cover it as best you can.
Allow the wood putty to cure before moving on to the next step.
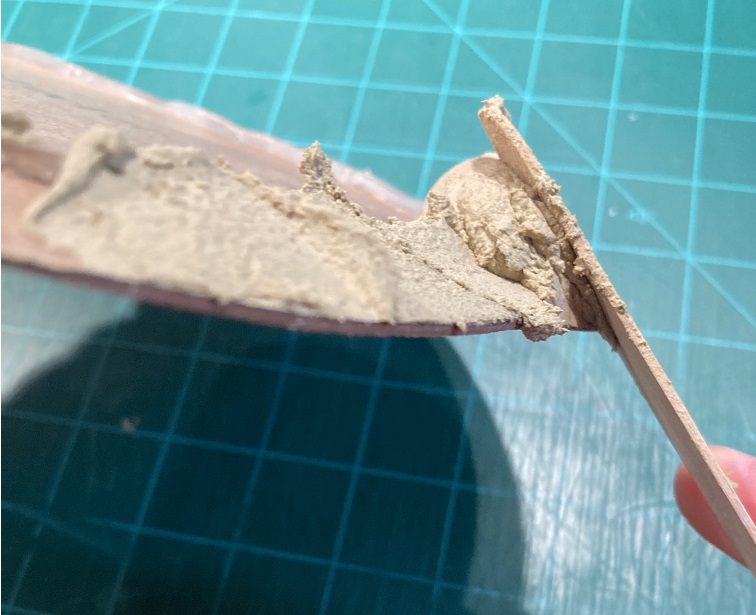
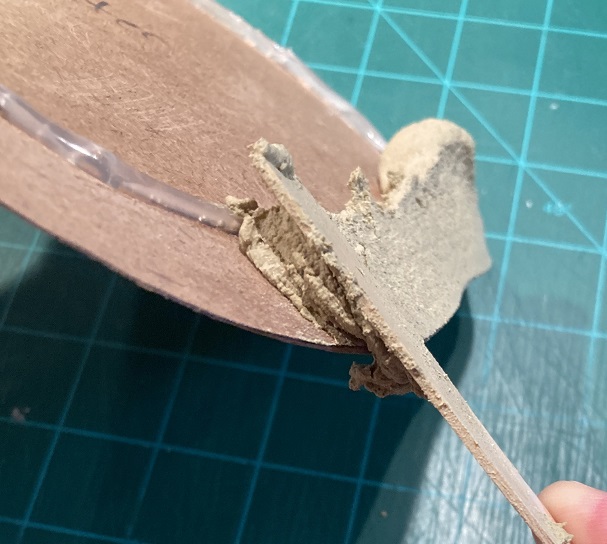
Step 7: Form the Inner Banks
The inner banks should be fairly steep, as in the picture below. Apply wood putty on the inside of the bead of glue, and then scrape most of it away using the curved edges of the craft stick/tongue depressor.
Form the inner banks after the first sanding pass in order to keep repairs to the inner banks to a minimum. Additionally, you can cover up any remaining exposed hot glue at this stage.
Let the putty dry, and sand as necessary.

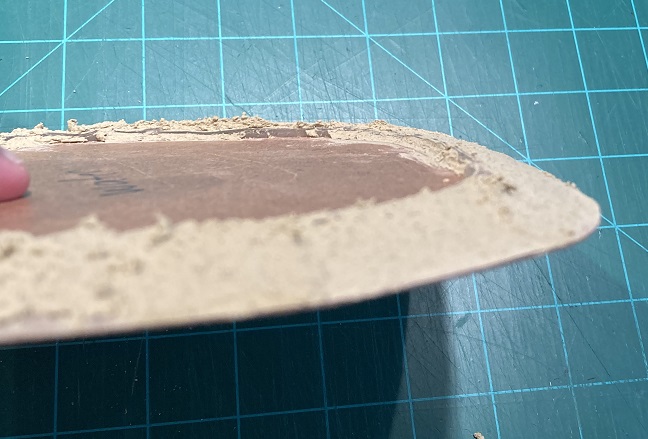
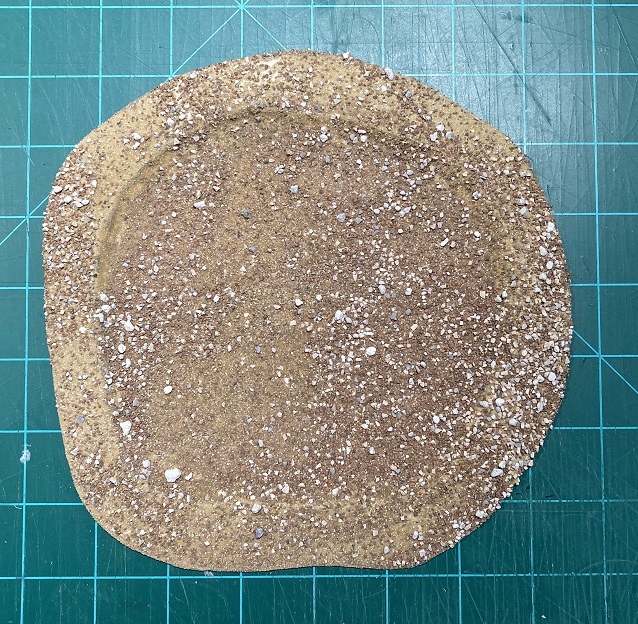
Step 8: Apply Sand and Ballast
Make a mixture of approximately 85/15 wood glue to water. Using your chip brush, paint this mixture onto your terrain.
You can see that I laid down an old paper bag in order to keep my work area free of glue. You can do the same in order to keep your glue contained!
The glue should be fairly viscous and should not readily drip from the edges. Apply a solid coat over the entire surface but avoid pooling, especially on the inner edges of the banks.
Cover the terrain piece with your sand and ballast mix, shake off any excess, and let it dry overnight.
Tip!
Clean your chip brush with some dish detergent and running water, just like you would clean your miniature brushes. Do this before the glue dries, and you’ll be able to reuse this brush on future projects!
Step 9: Seal the Terrain
Despite the glue, the sand and ballast is still somewhat brittle. We’re going to apply a very thin layer of wood glue to further protect it.
Make a mixture of roughly 50/50 wood glue and water. The glue mix should be roughly the consistency of milk when mixed properly.
Coat the terrain with this mixture. Try to avoid pooling while ensuring sufficient coverage. Let this dry overnight.

Now the real fun begins.
Step 10: Finishing the Terrain
“A picture is worth some number of words.”
—Some old dead dude
If one picture is worth a bunch of words, why then, it’s probably impossible to put a value on 24 or more pictures every single second!
Did you know? Privateer already has a Hobby Hangout video that covers exactly this topic!
Here are some relevant notes from the video:
The ground is painted with the following colors:
-
-
- Basecoat: Umbral Umber
- Highlight 1: Drybrush Rucksack Tan
- Highlight 2: Light drybrush Menoth White Base
-
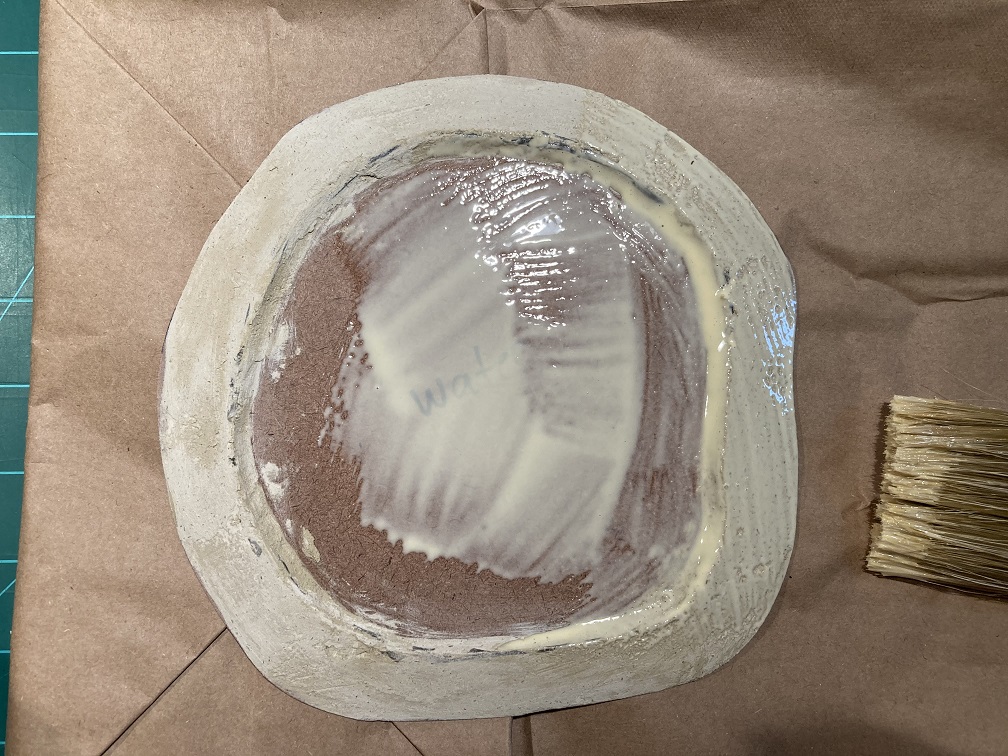
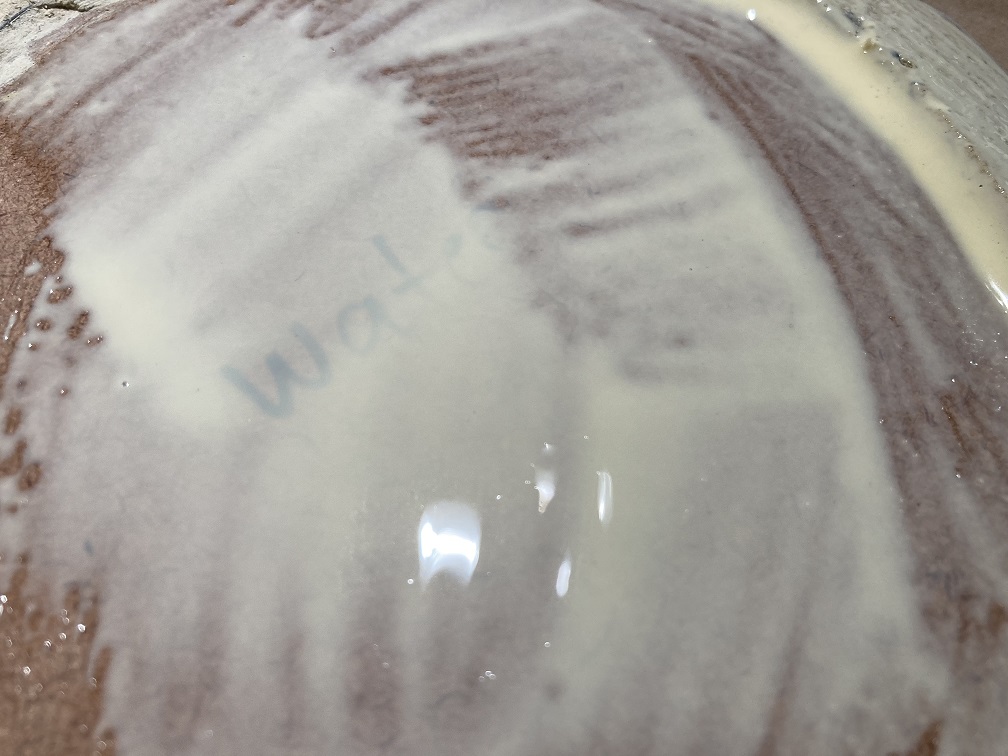
Mixing and pouring Envirotex Lite:
The very last step is to add flock and static grass to the banks. That’s a pretty straightforward process, and really, you’re probably worn out after all that blowtorch practice anyway, so we’ll call it a day.
Now, go forth and build some great water terrain!
Until next time!