
Hello! For those of you wondering who this random author is, I am Jaden from Line of Sight! Line of Sight is a multimedia production group focused on WARMACHINE and HORDES. We host multiple podcasts on our website and have one of the biggest stockpiles on the Internet of written content about the game we all love. You can find us, should you wish, at www.loswarmachine.com.
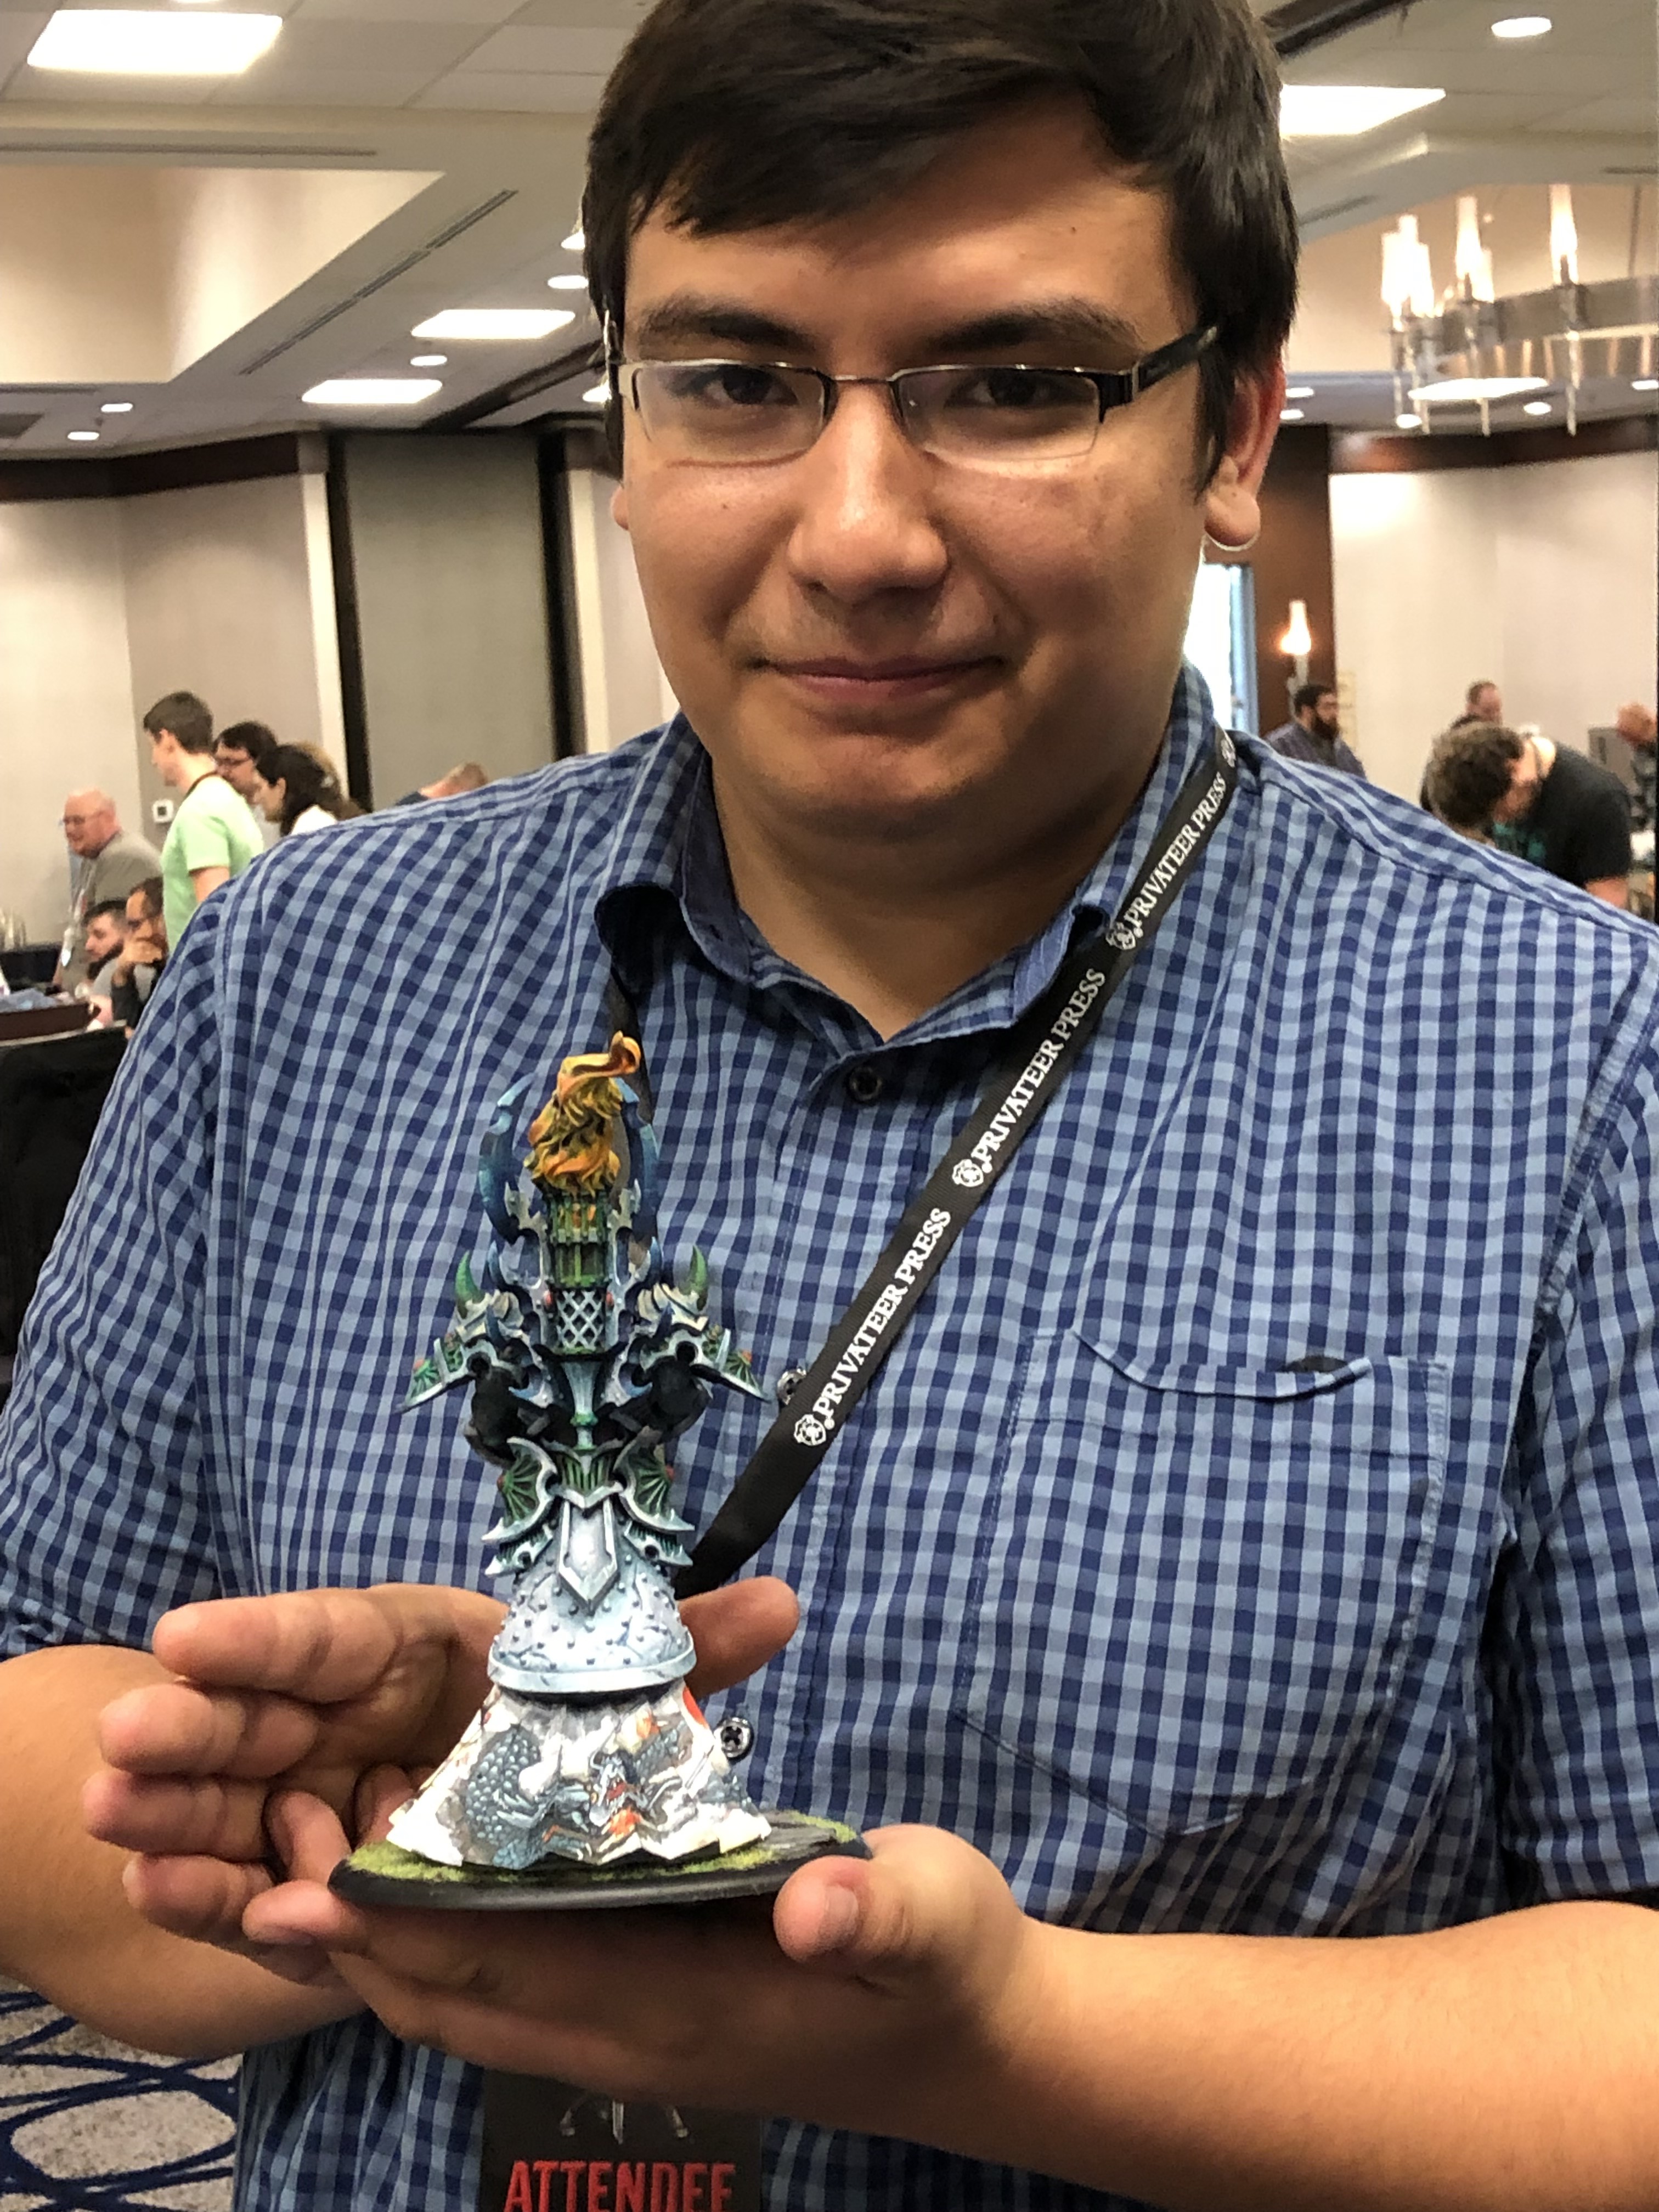
I was given the opportunity to paint a Void Archon and review it while chatting with Doug Hamilton at Warfaire Weekend this year.
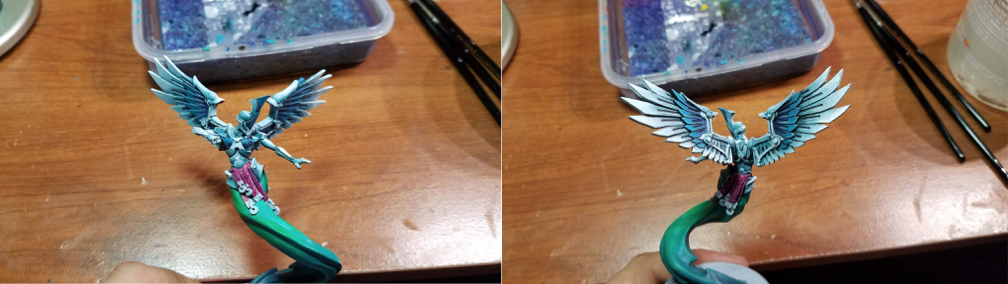
When I got home and unpacked from the convention, I busted out the model and was delighted to find that it’s only five pieces.

The wings and body are resin, and the arms are white metal. The flashing is pretty minimal—there are two nubs on the body, the connections to the casting piece on the wings, and the edges of the wing tips have some mold lines. There’s a mold line in a few places on the “void” part of the body and in a couple of places on the arms as well.
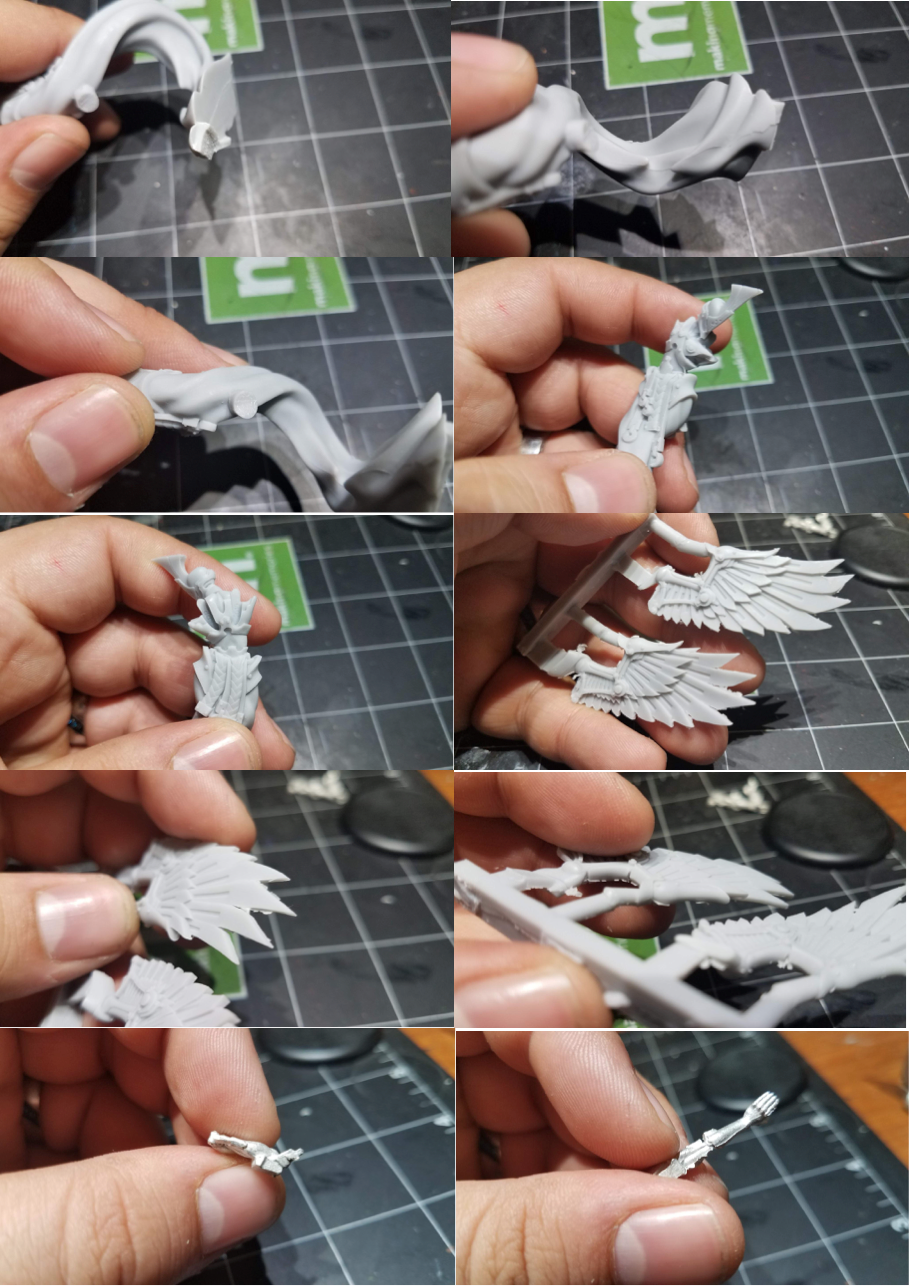
This model went together like a dream once it was all cleaned. The connection points on the wings are huge and chunky and are nearly invisible once attached, and the arms connect in big blocky ways as well. I would not expect pins needed on this model.
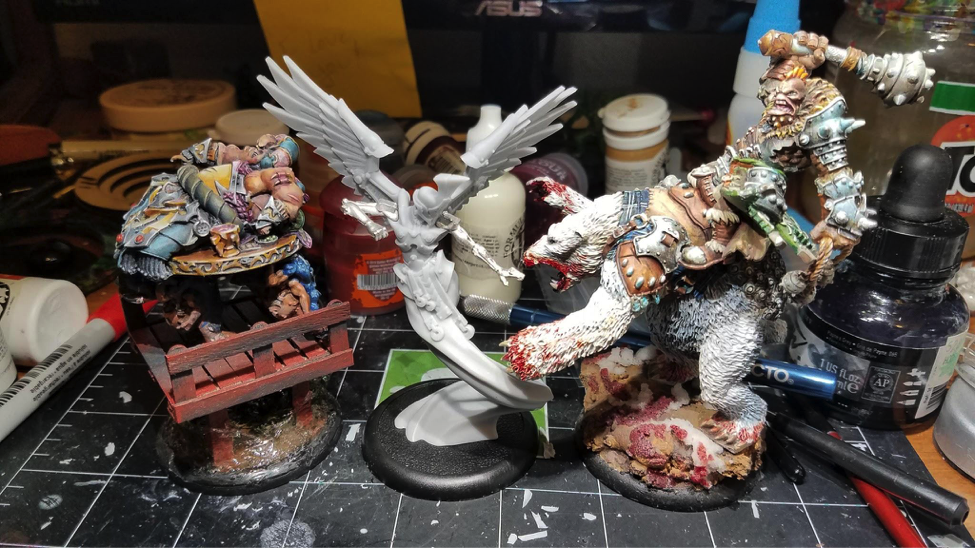
Additionally, this model is very large—here it is next to Borka 2 and my modified Rasheth, both of which are rather impressive pieces in their own right.
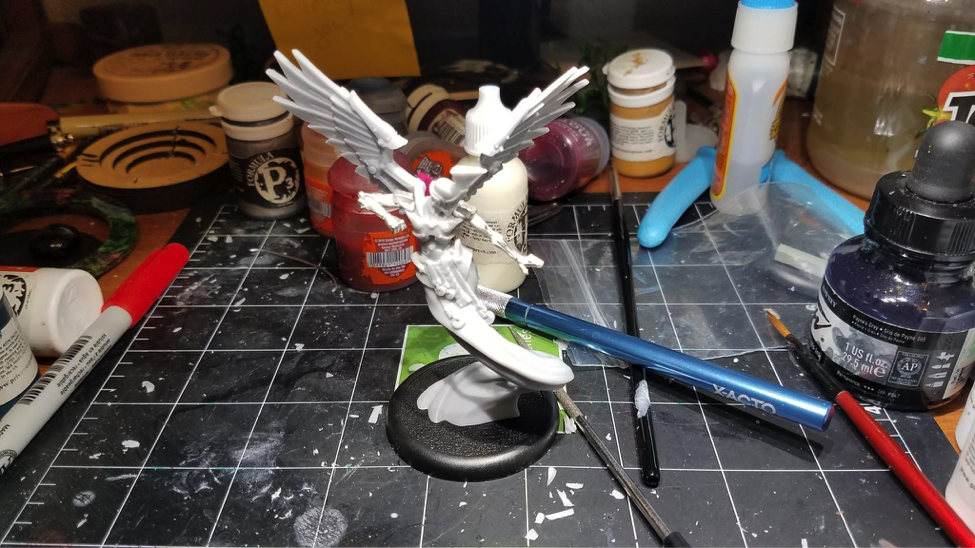
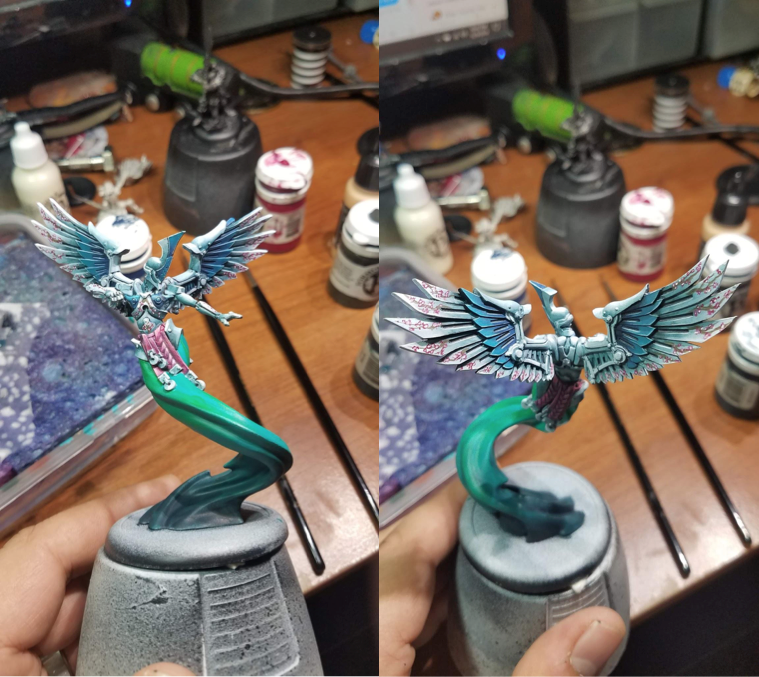
Once assembled, it was time to prime! I rarely prime anything anymore without doing a zenithal prime, and this model was no exception.
(Side note: a zenithal prime is where you prime a model a dark color and then use a lighter color spray primer from above to create contrast and see where highlights should be.)
Also, use a model holder. Mine is a spray paint can lid with double-sided tape holding the model on; this saves your hands strain, and lets you prime from all angles without the need for gloves.

Let’s have a look at the colors I used on this particular model before we get started.
- P3 Eldritch
- P3 Coal Black
- P3 Exile Blue
- P3 Meredius Blue
- P3 Frostbite
- P3 Morrow White
- P3 Thamar Black
- P3 Murderous Magenta
- P3 Menoth White Highlight
- P3 Thornwood Green
- P3 Yellow Ink
I started off basecoating the “void” part of the Archon, and I decided I was going to wet blend Eldritch at the top down to Coal Black at the base. Wet blending is where you apply a color in quite a thick coat, and then, before it dries, you apply a second color next to it and then mix them together on the model. This lets you get some fairly nice-looking blends to start with in a very short amount of time.
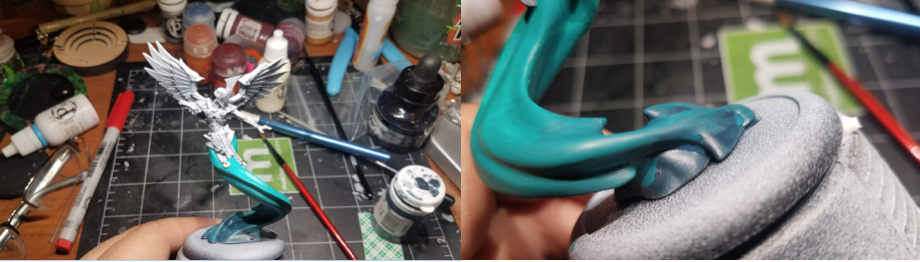
You can see there’s some unblended portions down at the base—this was just a first pass. I ultimately went back and forth with the two colors a number of times before being satisfied with the look.
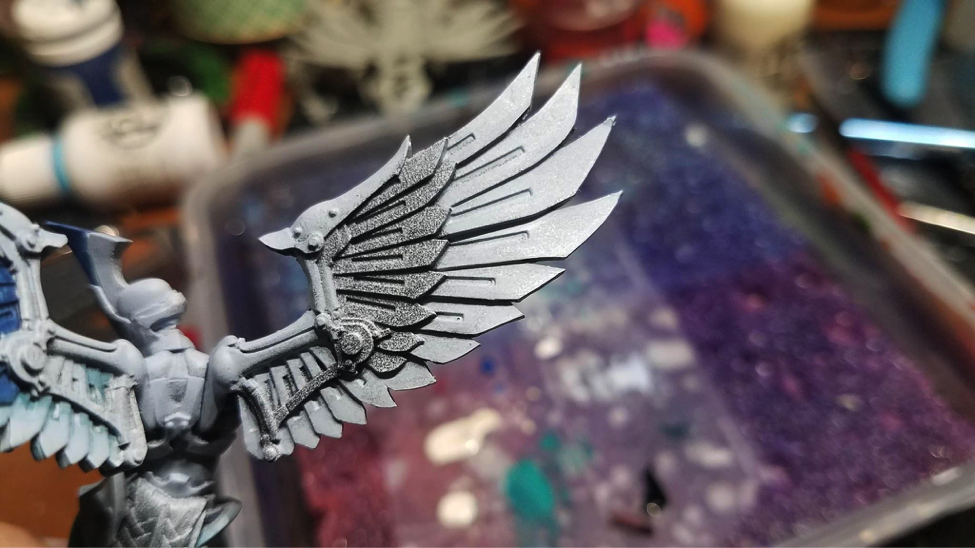
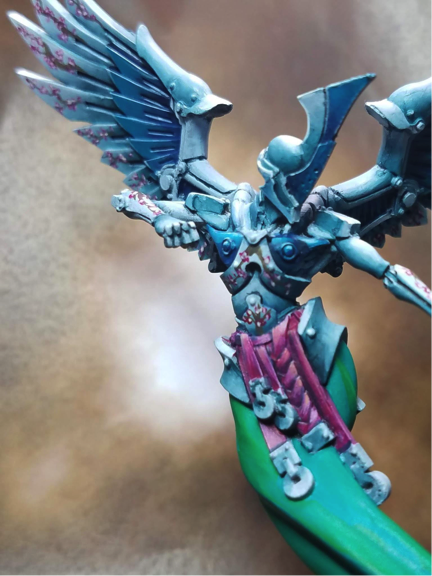
I left this for a while to start working on the wings next, and the tips or primary “feathers” I basecoated in Frostbite (right-side wing). I also basecoated most of the armor with this color, and the following steps are done across the whole model.
After basecoating the inner feathers with Exile Blue, I started shading the Frostbite areas with very thin glazes of Coal Black.
(Side Note: a glaze is a very thinned-down paint so that it is very translucent. This lets you blend it easily and control how dark or light you want colors to be. Here’s a rough key to see what I mean comparing various dilutions of Coal Black over both Black and Tan.)

See how the glazes just barely cover the tan? That’s what we do now in several layers (waiting for each layer to completely dry before applying another) to shade the feathers, using 2 Brush Blending to blend the glaze out a bit.
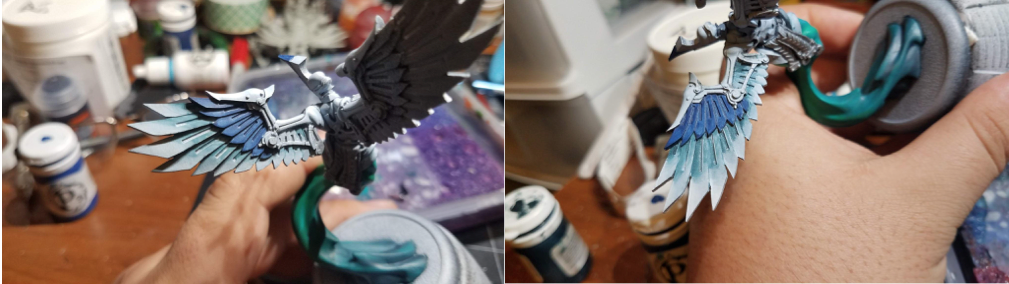
Notice how in the second picture the blend is darker but slightly blotchy? That’s okay! We will come back later and smooth that out a bit. Next up is to highlight the tips with Morrow White.
Simultaneously, because I was bored of painting white-ish things, I used some glazes of Meredius Blue to add highlights to the edges and tips of the darker feathers.

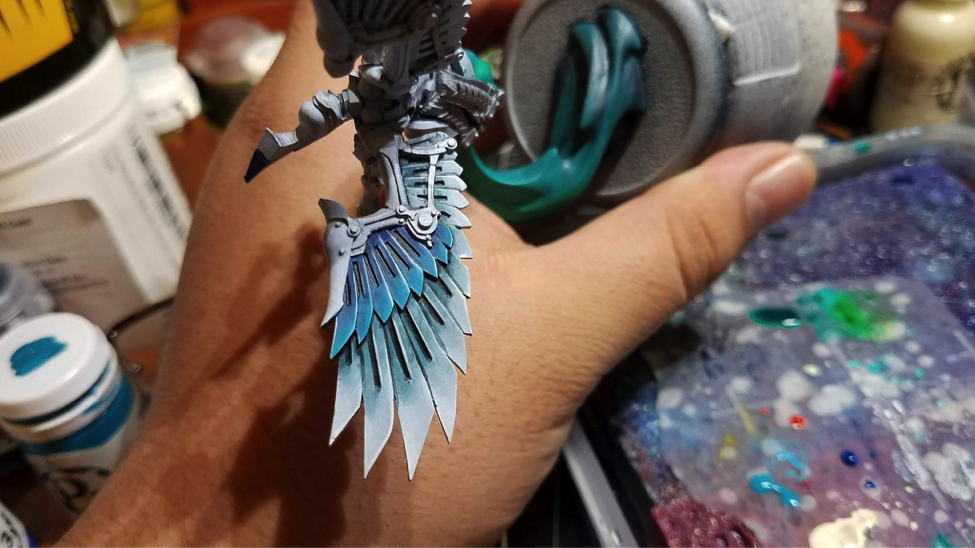
There are a couple of steps all mooshed into one in this next picture. I used two glazes of Frostbite on the lighter feathers to smooth out the blending by covering the spots where the Coal Black intruded into the lighter color with the base color. I also used glazes of Exile Blue to smooth out the blending on the darker feathers.
Then, I used Thamar Black to darken in the grooves on the feathers before using Morrow White and the edge of my paintbrush to do an edge light on the edges of the feathers.
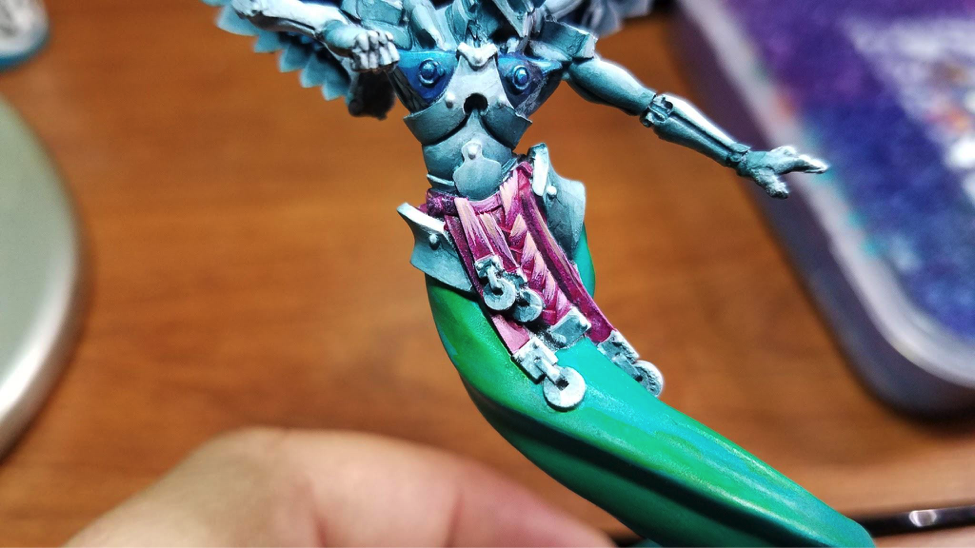
Doing the same process across the entirety of the body and basecoating the belt in Murderous Magenta takes us to this point in the progression. I’ve also mixed Eldritch and P3 Yellow Ink together to highlight the top of the void area and glazed in some shadows with Coal Black and Thamar Black.
Next step is a very rough highlight of the belt by mixing Murderous Magenta with Menoth White Highlight and then with a very little amount of Yellow Ink. I will smooth this out later with glazes of Murderous Magenta and then shade with Coal Black. I am using Coal Black in many of the shadows to draw the whole piece together.
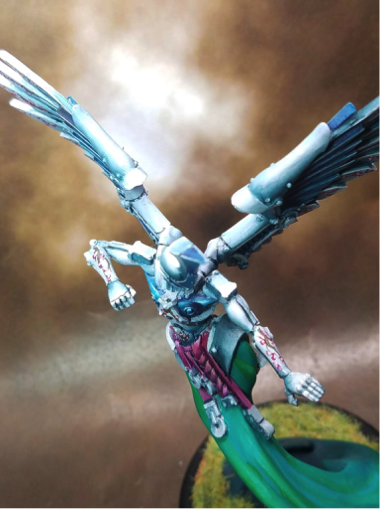
At this point, I was unsure if my “schtick” for this scheme was going to look very good on the Void Archon. Some of you might remember my Japanese Immortals from earlier this year.
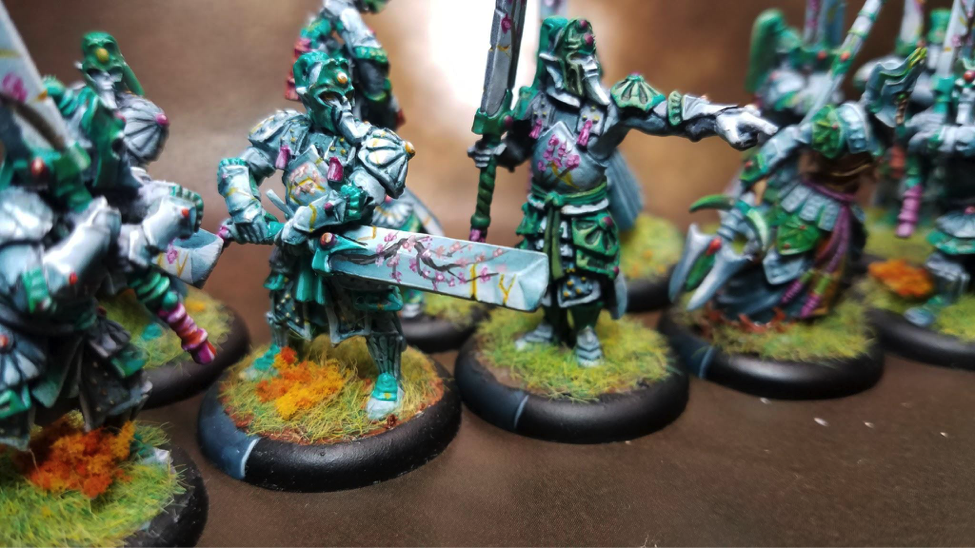
And it should be apparent that I am following this scheme pretty religiously for the Void Archon here since they are an option in the Exalted theme force.
Time to break out the technology! Using my iPad, I edited this picture of the model to see if I really wanted to put the Cherry Blossoms all over it.
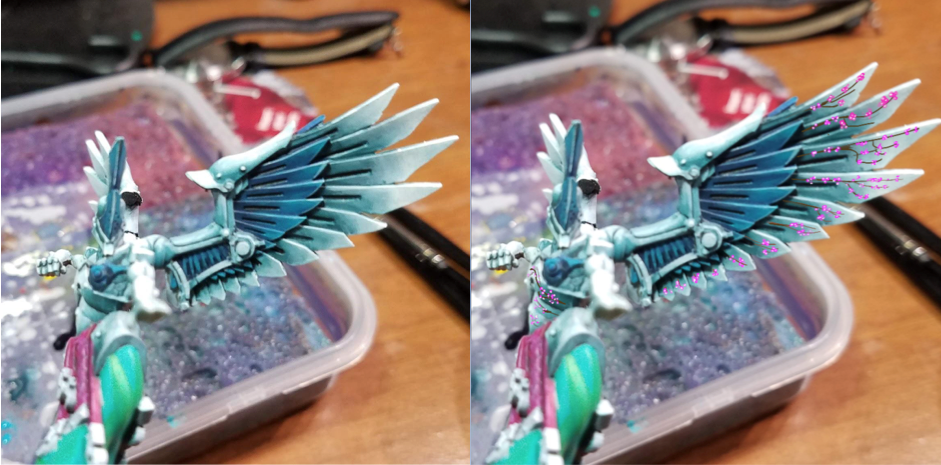
With some great feedback from a number of friends and members of the community, I opted to go for it. The result?
If you are interested in a tutorial on how to achieve this in your own models, you can find one right here!
Closing in on the end of the project, all that is really left to do is smoothing out the blends on the belt and adding some shading is the base. I opted for something very simple to not draw the eye from the Archon. I started by laying down a thin layer of wood filler paste to simulate dirt.
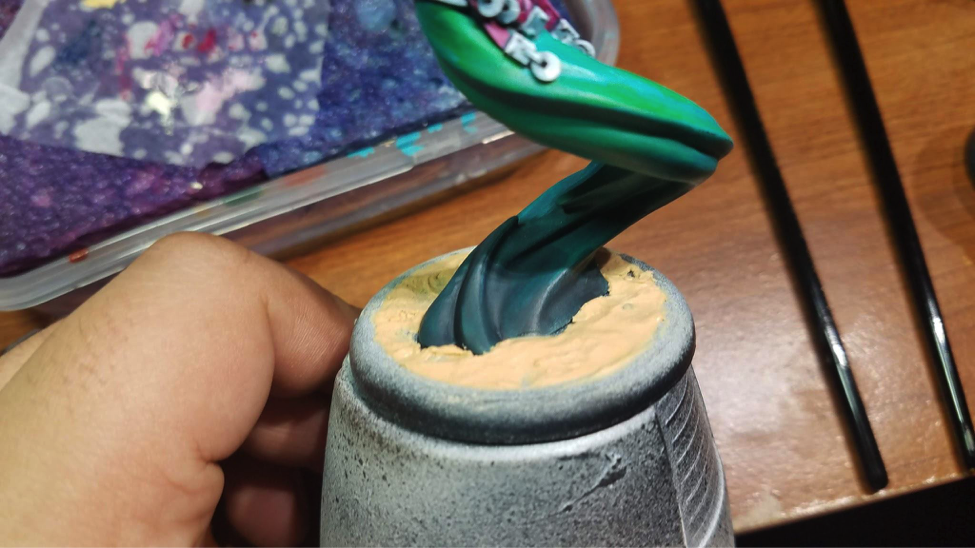
Once dry, I painted it dark brown, added some flocking, painted the base rim black, and took some pretty pictures!
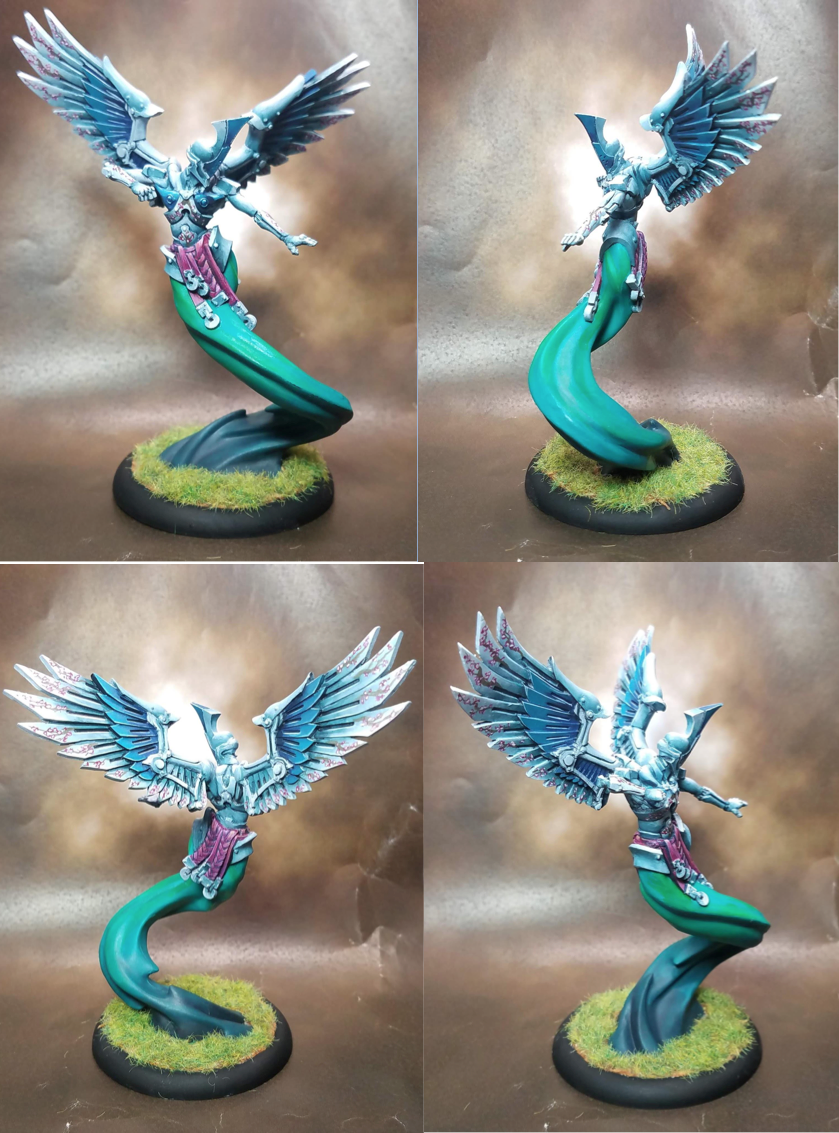
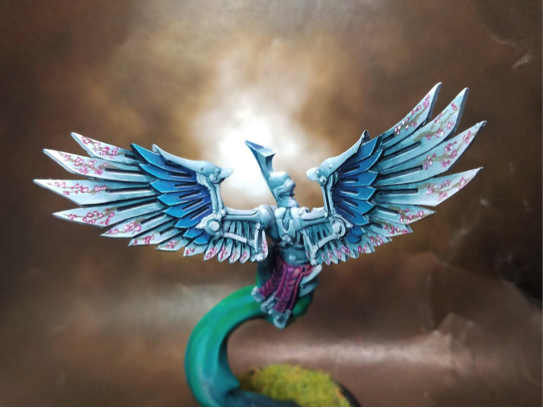
And there we are, all finished and ready to spray down support models from half the table away!
I really enjoyed painting this model, and I hope you enjoyed seeing the progression. Thanks a ton to Privateer Press for the opportunity to document this little journey, and I hope to be able to do this again soon!