Hello, everyone. My name is Geordie, and I’m the newest addition to the painting studio here at Privateer Press. For my first Insider, I’d like to share a conversion I’ve been working on recently for my Skorne army.
I remember the first time I saw the Vessel of Judgment in person. I was instantly impressed by the strongman pulling the vessel. Unlike most male miniatures, which feature well-defined abdominal muscles, the strong man has a solid, keg-like stomach, as well as massive shoulders. The miniature looks like a complete brute; the only problem was that a brute like him belongs among the skorne. That’s how my dream to create a shirtless Tyrant Xerxis was born. (As a quick aside, I find “shirtless Xerxis” rolls off the tongue best when you pronounce it Shirt-Lease Zurx-Cease. I should also note that it sounds better the louder you say it. It’s a wonder that I don’t have more friends.)
The traditional Xerxis model is already pretty awesome. Still, if he was awesome before, how much more awesome would he be with 100% less shirt? I decided to create a less action-oriented pose. Rather than pancaking his enemies, my Xerxis is standing by, calmly surveying his army as it rushes into battle. To create this look, I combined parts from the original Xerxis model, the Tyrant Commander, Tyrant Vorkesh, and, of course, the Vessel of Judgment.
In case you’re interested in trying a similar conversion, I’ve written out the steps of my process:
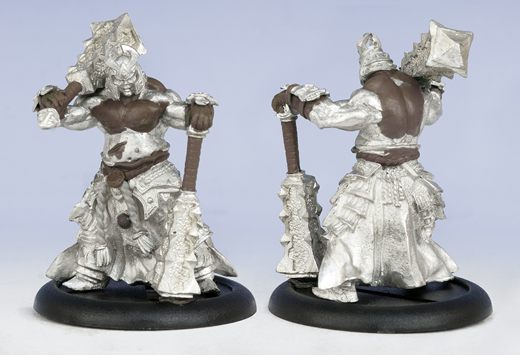
- Using a file or a router, remove the Menofix from the back of the Vessel strong man. Saw off the model’s head.
- Using a hand saw, remove the head and legs from the Tyrant Commander.
- Pin the head, legs, and torso together, then fill the gaps with Formula P3 Modeling Putty. In the waist area, extend the cloth from the robe upward to cover the gap you just filled.
- Build up the muscles with putty even more at this stage, because Xerxis is a monster. This stage will cover up any rough spots on his back where the Menofix was removed.
- Use clippers to snip off the top portions and bottom pommels of Xerxis’ clubs, then drill holes in the separate parts with a pin vise and reconnect them with wire. Use Formula P3 Brown/Aluminum Putty to rebuild the weapon grips.
- Drill holes in the strongman forearms and insert wires to act as an armature for the arms and hands, then attach the clubs by gluing them to these wire armatures.
- This step was the most difficult: sculpt the arms and hands to grip the two clubs. I’m not a masterful sculptor, so they’re far from perfect, but they turned out good enough, and once the model is painted, any small mistakes will not be very noticeable. If you’re uncomfortable sculpting hands, find hands from another miniature and attach them at the ends of the wires instead.
- In this last step, carefully cut the armor off of Tyrant Vorkesh’s forearms, hollow the pieces out, and attach them to Xerxis. Then sculpt straps to hold them on.
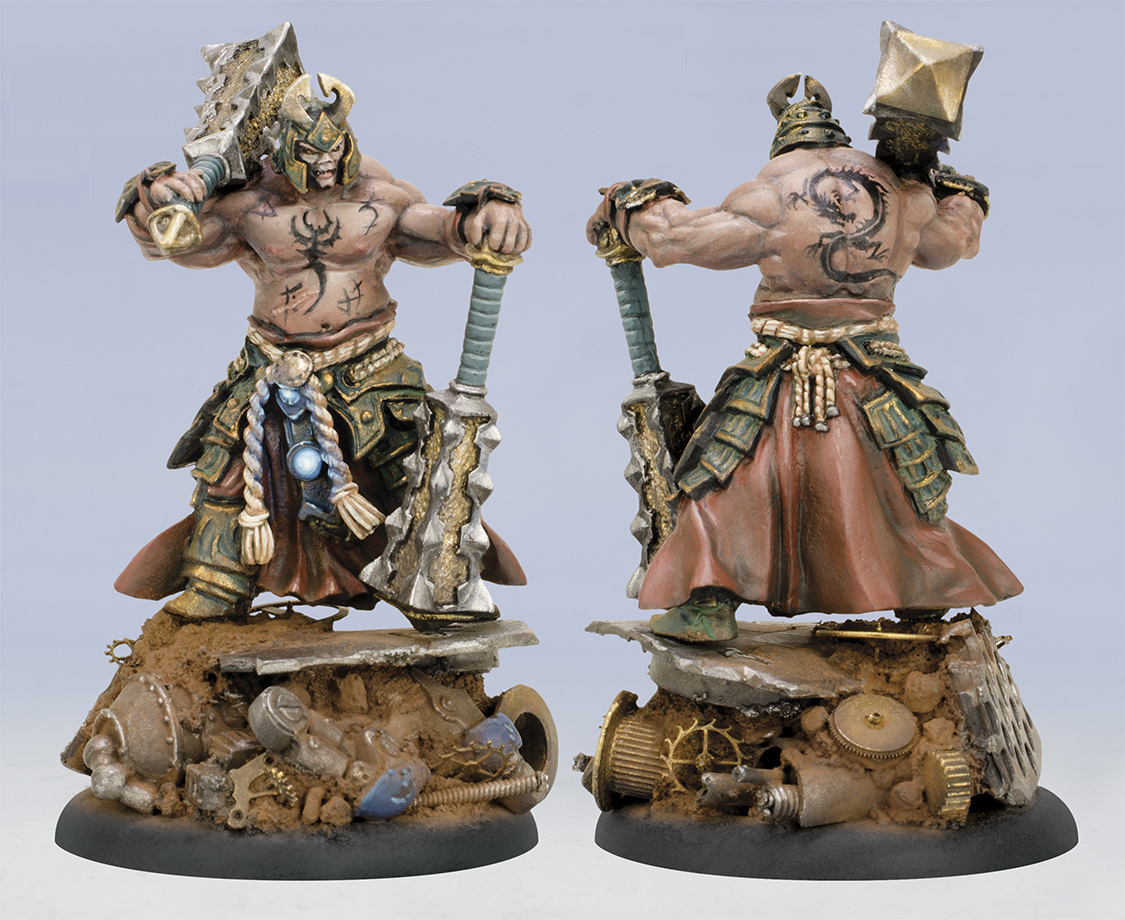
I ended up with a unique piece that was really fun to build and will be even more fun to paint. Converting is a great way to personalize your miniatures, and not every conversion needs to be incredibly ambitious. This particular model isn’t tournament legal, so make sure you consider what you want to do with your final piece before you spend hours working on it. Take a look at the parts section of the online store, and you will quickly find bits that will inspire you to work on your own conversions.