A while back I asked Brian Dugas to do a custom mod of Molik Karn with a helmet for me, and he finally delivered.
Now that Brian is finished with the sculpting, it’s time to assemble the model and make a few simple modifications. I decided to make the back-banners a little taller and the blades a bit sharper. These are simple changes and can be accomplished in just a few steps:
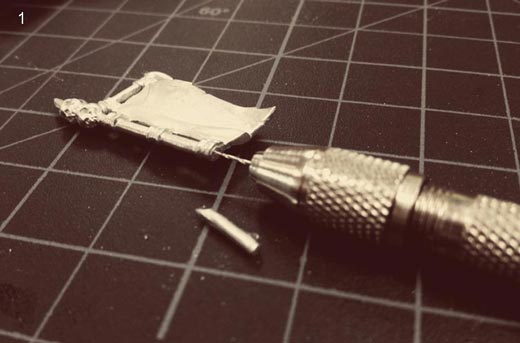
Step 1) To heighten the banners, I need a brass rod with the same thickness as the banner poles; the rods in the Formula P3 1.90-mm Pinning Expansion set are a perfect match. Since the positioning of the 1.90-mm rod will need to be very precise, I start by making a pilot hole with a Formula P3 .50-mm drill bit. This pilot hole keeps the larger drill bit in position and prevents it from slipping off-center once I start drilling.
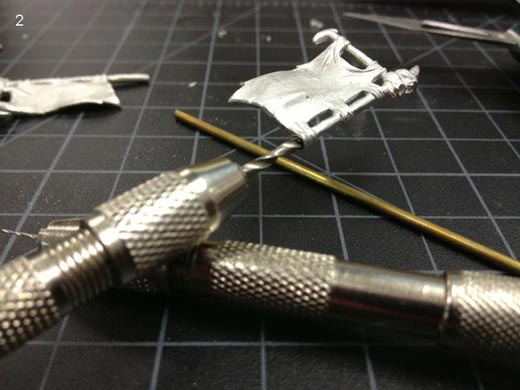
Step 2) The pilot hole works like a charm, and the 1.90-mm bit does its job perfectly.
Step 3) Now I glue the rods in place. I cut them a little longer than needed, so I’ll have some extra room to adjust.
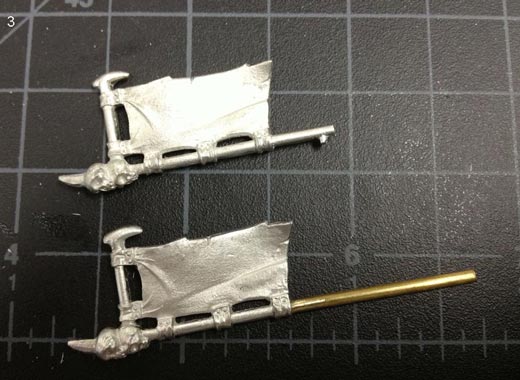
Step 4) The next step is to sharpen the blades. Blades are always sculpted thick for metal casting, but with a Formula P3 File Set you can sand them down to create a smooth finish. On the left you can see what the blade looked like before, and on the right you see what it looks like now. Keep a small, flat area on the blade’s edge so it won’t chip or nick. Sharpened blades look really good, and it’s an easy modification to make. I’ve been doing this with most of my miniatures while cleaning them.

Step 5) For a slight change in pose, I pressed a ball of Formula P3 Modeling Putty mixed with P3 Super Glue between the left arm and shoulder, then raised his arm until I liked its new position. In this last photo, Molik Karn is repositioned and complete, with a new helmet, taller back-banners, and sharpened blades.
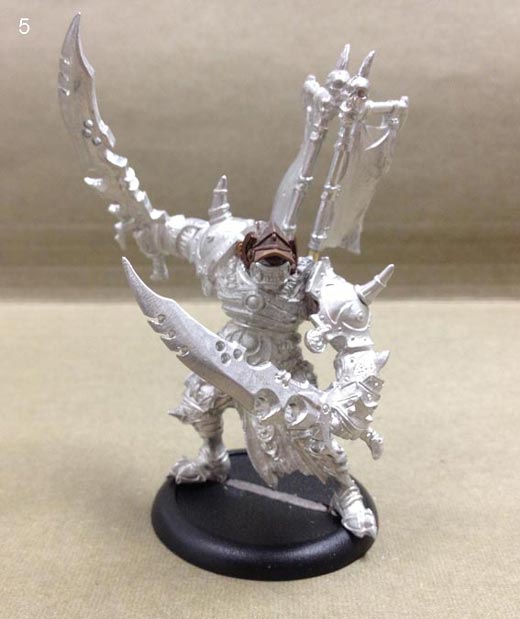
Now it’s time to paint him!
Ron