In my last blog, I talked about one of my side sculpting projects. Picking up where it left off, today I’ll talk about sculpting the cloth for this model.
I wanted to do something a bit more interesting than plain cloth for his arms. We have a few models with studded cloth, so I decided on that. The example shown was made flat, but the same technique applies to a round surface, I found the hardest part was to keep the distance between the studs even so it doesn’t look messy.
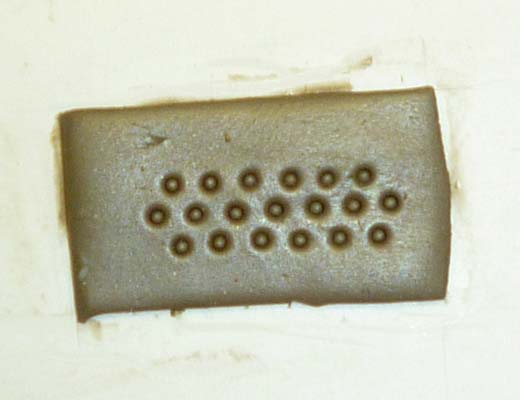
First, I took a small tube and pressed it into the putty to make the studs and to set the pattern. If one or two of them is crooked, that isn’t a big problem since you’ll likely be doing this on curved or round surfaces. You will have to improvise and maybe move some of them to make it look just right.
After making the studs, take a sharp hobby knife and cut lines between each stud. If you accidentally cut into one of the studs, that’s okay; there is a way to fix that.
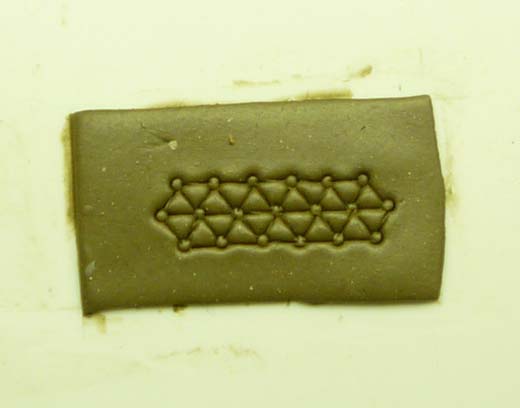
In order to make the cloth between the rivets look like it has bulk—tunics like this usually had diamond or triangle shaped plates of metal between the layers of cloth—we need to make it look like the cloth is thicker and the studs are holding it together with the plates underneath.
Take a thin needle or similar tool and make small “dimples” on each stud. Make these dimples in each direction. There will be a lot of them, but this helps push the putty away from the stud and toward the center of the triangle. This will give it that bulk we are looking for.
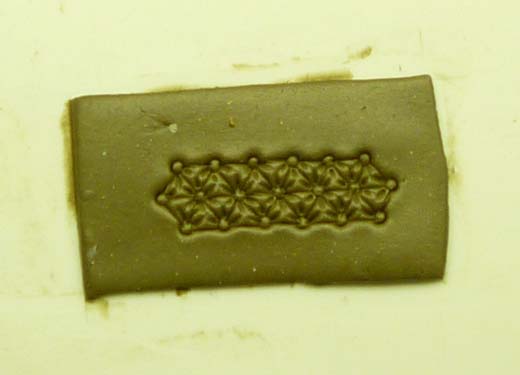
You can leave it at this stage if you want, but if you made a few marks in the studs with your knife, you can go an extra step to correct the marks. Take very small balls of putty and press them on top of the stud; basically, you are making a new stud over the top of the old one.
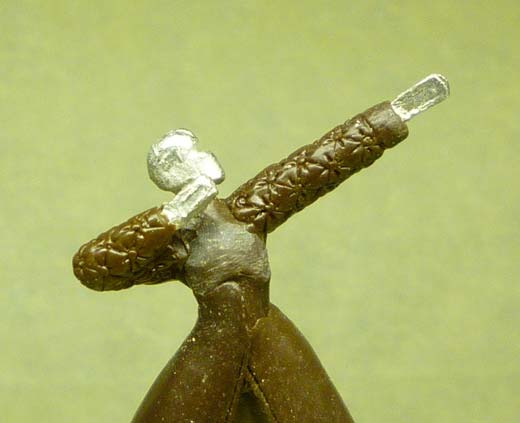
Here are the finished sleeves for the archer. On the right arm I had to improvise a lot since it’s bent. I also oblitereated any folds I had made in the elbow, making the quilted pattern. I’d like to find a way to have both the folds and pattern, but for now this will do.
That’s it for now! Next time, I’ll talk about making the chest armor.